Installation and maintenance
condensing unit manual
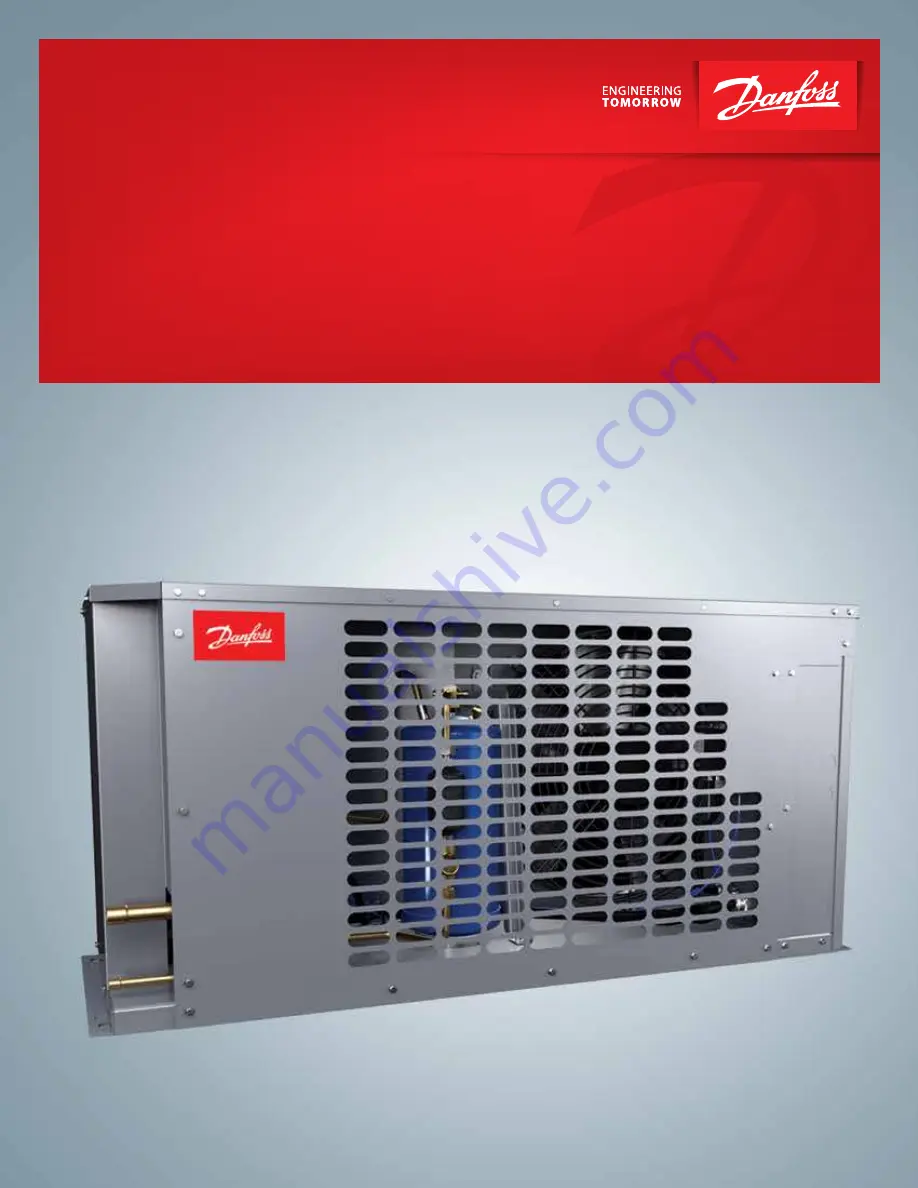
OP-HJXM / HNXM / HRXM / LNYM / LRYM / LJZM
Manual
http://cc.danfoss.com
Page 1: ...Installation and maintenance condensing unit manual OP HJXM HNXM HRXM LNYM LRYM LJZM Manual http cc danfoss com ...
Page 2: ...out by qualified personnel only Follow these instructions and best practices on refrigeration engineering during installation commissioning maintenance and servicing tasks 2 The condensing unit must only be used for its designed purposes and within its scope of application 3 Under all circumstances EN 378 or any other applicable local safety regulation requirements must be fulfilled 4 The condensi...
Page 3: ...pallet jack for handling Use appropriate and safe lifting equipment Store and transport the unit in an upright position Store the unit between 30 F and 120 F Don t expose the packaging to rain or corrosive atmosphere After unpacking check that the unit is complete and undamaged Introduction Handling and storage Installation Maintenance Unit must be carried out by qualified personnel only Handle th...
Page 4: ...ial Use clean and dehydrated system components The suction piping connected to the compressor must be flexible in 3 dimensions to dampen vibrations Furthermore piping has to be done in such a way that oil return for the compressor is ensured and the risk of liquid slug over in compressor is eliminated The unit must be securely installed on a stable and rigid support and fix from the beginning It i...
Page 5: ...applied to this product it causes transformation of characteristics or the destruction Operation will become unstable when using other than sine waves for the power supply In this case proper control may not be achieved To ensure stable operation sine wave AC power supply must also be stable F V S Full Voltage Set point The pressure at which the control delivers 95 output effective voltage R M S V...
Page 6: ...uch as snow or freezing Check if a line to line short circuit is detected at a connection point of the fan motor It is recommended to protect the circuit with a thermal relay or circuit protector Note Make sure to remove the cause of burn out before conducting a test run Otherwise burn out may occur again Surge voltage was applied Check if a lightning surge or similar occurred or not PCB burn out ...
Page 7: ...tenance Switch off the system and isolate the main power supply Ensure that power supply cannot be switched on during installation All electrical components must be selected as per local standards and unit requirements Refer to wiring diagram for electrical connections details Ensure that the power supply corresponds to the unit characteristics and that the power supply is stable nominal voltage 1...
Page 8: ...fy that all electrical connections are properly fastened and in compliance with local regulations When a crankcase heater is required it must be energized at least 12 hours before initial start up and start up after prolonged shut down or belt type crankcase heaters Never start the unit when no refrigerant is charged All service valves must be in the open position Check compliance between unit and...
Page 9: ...ions are still adequately fastened Keep the unit clean and verify the absence of rust and oxidation on the unit components tubes and electrical connections The condenser must be checked at least once a year for clogging and be cleaned if deemed necessary Access to the internal side of the condenser takes place through the fan panel Microchannel coils tend to accumulate dirt on the surface rather t...
Page 10: ...7 4 16 5 7 8 1 2 HRXM0500 2 28 8 49 4 31 5 7 8 1 2 HRXM0600 2 28 8 49 4 31 5 7 8 1 2 HRXM0700 2 28 8 49 4 31 5 7 8 1 2 HRXM0750 2 39 1 61 2 31 5 1 1 8 5 8 HRXM1000 2 39 1 61 2 31 5 1 1 8 5 8 Unit Dimensions in Fig Height H in Width W in Length D in Suction line Liquid line LJZM0150 1 19 5 43 5 13 4 5 8 3 8 LJZM0200 1 19 5 43 5 13 4 5 8 3 8 LNYM0400 1 28 2 47 4 16 5 7 8 1 2 LNYM0500 1 28 2 47 4 16 ...
Page 11: ... 8 X 7 8 W D H 2X Knockout 7 8 Liquid Line C L C L Suction Line 2X Double Knockout 1 1 8 X 7 8 W H D 2X Knockout 7 8 C L Suction Line Liquid Line C L 2X Double Knockout 1 1 8 X 7 8 W D H 2X Knockout 7 8 Liquid Line C L C L Suction Line 2X Double Knockout 1 1 8 X 7 8 W H D Figure 1 Figure 2 Dimensions ...
Page 12: ...CC ES 014 A6 22 Electrical wiring diagrams Wiring Diagram 119 8312 Wiring Diagram 119 8313 Electrical Code N HJXM0150 HNXM0200 0400 HRXM0500 LJZM0150 0200 Electrical Code Q HNXM0200 0400 HRXM0500 1000 LJZM0150 0200 ...
Page 13: ...nual 13 FRCC ES 014 A6 22 Electrical wiring diagrams X 4 2 1 N 3 N O LOAD N C LOAD Wiring Diagram 119 8315 Wiring Diagram 119 8493 Electrical Code Q HJXM0150 Electrical Code Q LNYM0400 0500 LRYM0600 0800 ...
Page 14: ...through the evaporator 6 The low pressure control switch closes when the suction pressure rises above the cut in setting 7 The compressor contactor gets energized and supply power to allow the compressor and condenser fan to run 8 The room temperature gradually decreases to the desired temperature 9 Once the desired temperature is attained the thermostat opens and the liquid line solenoid closes i...
Page 15: ...ure rises to 45 F to 55 F the cycle limit switch closes and it energizes the Liquid line solenoid valve to allow the refrigeration cycle to begin again 5 If the termination thermostat fails to close the fail safe set on the timer will terminate the defrost 6 The defrost heaters are off 7 The low pressure control closes when the cut in pressure is attained allows the compressor to start 8 When the ...
Page 16: ...aders in our business and positioned us as distinct variable speed technology specialists Today we operate from engineering and manufacturing facilities spanning across three continents Danfoss Inverter Scrolls Danfoss Turbocor Compressors Danfoss Scrolls Danfoss Optyma Condensing Units Danfoss Maneurop Reciprocating Compressors FRCC ES 014 A6 22 Danfoss DCS CC 2018 02 Our products can be found in...