1
DESCRIPTION
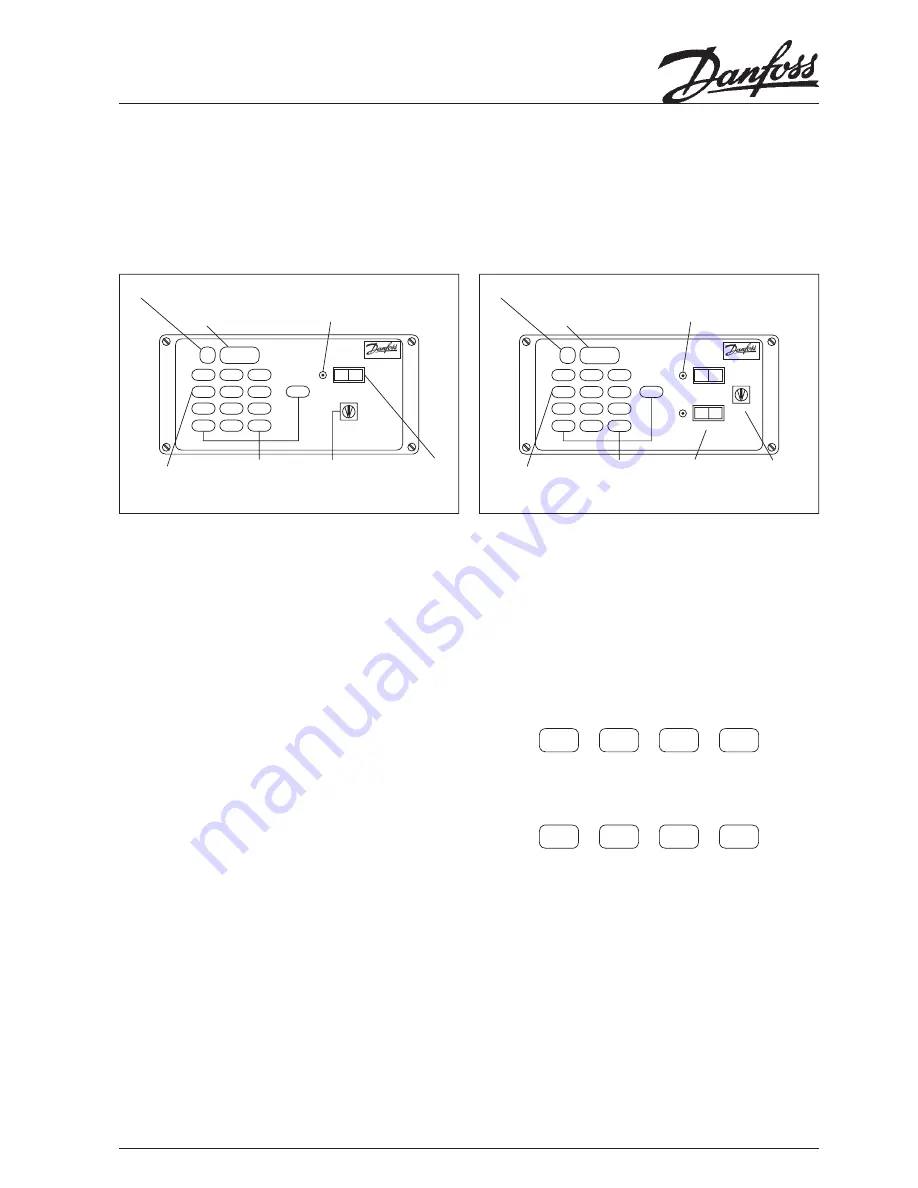
Model 841 is a single channel unit.
Model 842 us a two channel unit. The two channels operate totally
independently of each other and can have different programmes set.
Both the models have a number of common features as described
below:
The
Day
and
Time
are displayed as fi ve digits on the liquid crystal display
(LCD)
The fi rst digit in its separate window marked
Day
will be numerical from
1 to 7 which may be allocated in sequence to the days of the week at the
user’s discretion. The normal convention is Monday = 1, Tuesday = 2 .........
Sunday = 7.
The remaining four digits in the window marked
Time
will display the time
to a resolution of one minute from 0000 to 2359.
A short ‘bleep’ will be heard if a keypad is pressed. In addition when a
numeric keypad is pressed the associated digit on the LCD will either
blink or change.
The 3 position selector switch (one for each channel on Model 842) may
be set to
Off
to override the programmes or may be set to
Auto
to follow
the programme which has been set, the third position marked
Manual
is
a continuous ON but only as long as the switch is held down.
The output status indicator light will be illuminated when the selector
switch is at
Auto
and a programme event occurs, or when the selector
switch is held in the
Manual
position.
The unit can be set at time of installation to provide either an On duration
from 1 to 15 seconds in half second pulses, or a continuous pulse from 1 to
15 seconds. (In the case of Model 842 each channel can be set to different
pulse types but of the same duration).
It is recommended that the key be removed from the keyswitch to prevent
unauthorised or accidental changes to the settings. The key can only be
removed when in
Run
position.
Seven Day Pulsed Electronic Timeswitch
Model 841 - Single Channel
Model 842 - Two Channel
User Instructions
TIME OF DAY
The mains electricity supply must be ON, the key inserted and turned to
Set
Time
position before carrying out the operations detailed below.
When the timeswitch is fi rst connected, or when the battery has been
allowed to discharge fully, and the mains electricity supply is switched ON
a dash (-) will be displayed in each of the fi ve digit positions.
Decide which day of the week you wish to assign as Day 1.
Press the number key representing the current day of the week (listen for
the ‘bleep’).
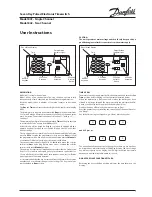
Key in the time using four keypads e.g. 8:30 a.m. must be keyed as
0 8 3 0
and 6:15 p.m. as
1 8 1 5
The unit will not allow the entry of a spurious day or time e.g. day 8 will not
be accepted nor will a time entry of 3600. Depression of an out of range
key will not register on the display; the LCD digit will blink but remain
unchanged until an acceptable number is keyed.
DO NOT PRESS ANY FUNCTION KEYPADS.
Returning the key to the Run position will enter the time shown on the
display.
7
8
9
4
5
6
1
2
3
Verify
0
Cancel
Enter
0 9 i 5
3
841
Auto Off
Manual
Output
Set Pro-
gramme
Set Time
Run
Day
Time
Day of Week Display
Time
10
Numeric
Keypads
3 Function
Keypads
3 Position
Keyswitch
Output Status
Indicator Light
3 Position
Selector
Switch
7
8
9
4
5
6
1
2
3
Verify
0
Cancel
Enter
0 9 2 8
3
Auto Off
Manual
Output
Set Ch.2
Set Ch.1
Run
Day
Time
Day of Week Display
Time
10
Numeric
Keypads
3 Function
Keypads
4 Position
Keyswitch
Output Status
Indicator Light
3 Position
Selector
Switch
Auto Off
Manual
Output
Set Time
CAUTION:
The unit operates at mains voltage and should only be opened by a
qualifi ed engineer after disconnection from the mains supply.
842


