Test Operation
Si39-504
106
Test Operation
1.
Test Operation
1.1
Procedure and Outline
Follow the following procedure to conduct the initial test operation after installation.
1.1.1 Check work prior to turn power supply on
Check on refrigerant piping /
insulation materials
Check airtight test and vacuum
drying.
Check on amount of refrigerant
charge
Check the stop valves for
conditions.
Terminal
Dryer
(1000W)
Check the below items.
2
Power wiring
2
Control transmission wiring
between units
2
Earth wire
¡
Is the wiring performed as specified?
¡
Is the designated wire used?
¡
Is the wiring screw of wiring not loose?
¡
Is the grounding work completed?
¡
Is the insulation of the main power supply circuit deteriorated?
Use a 500V megger tester to measure the insulation. (*1)
2
Do not use a megger tester for other circuits than 200V (or
240V) circuit.
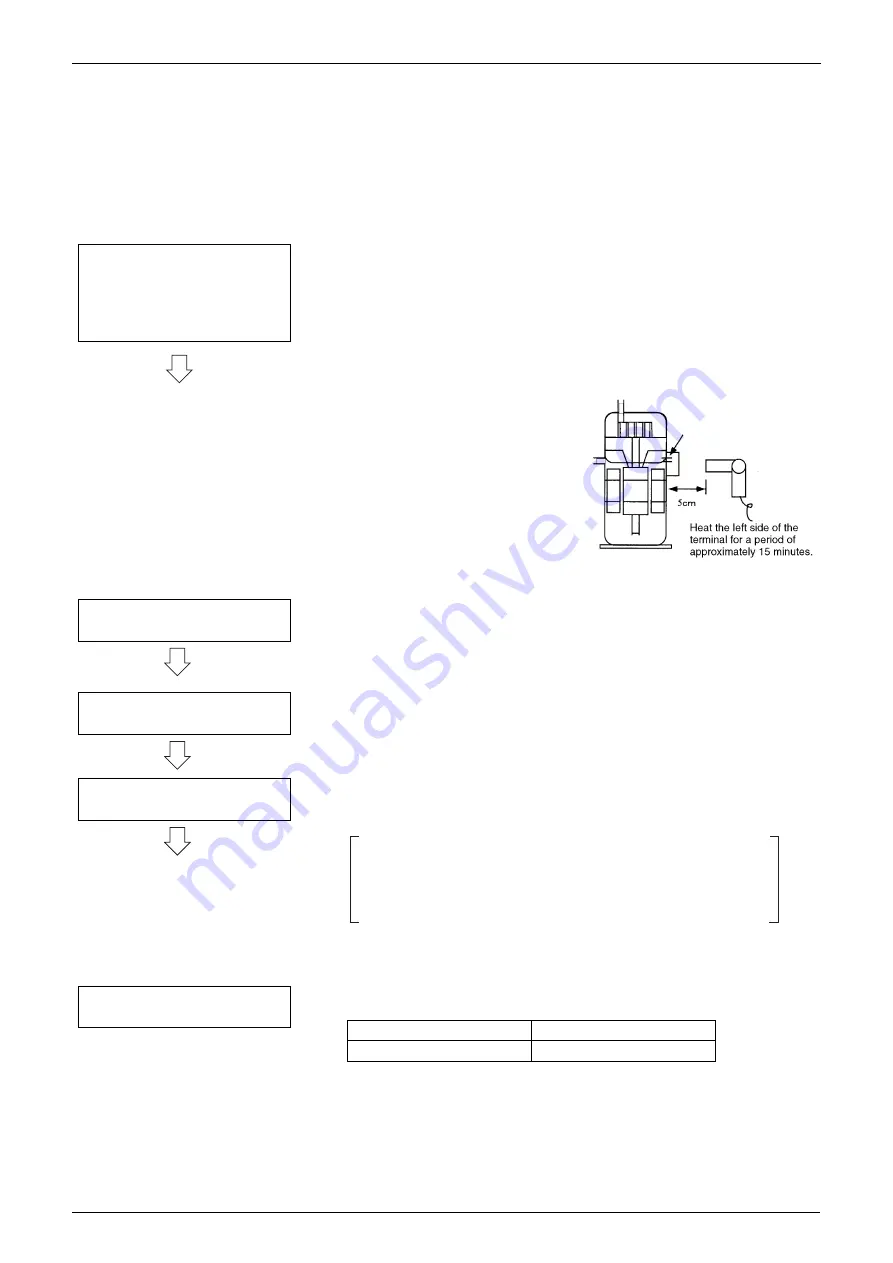
*1:Measure to be taken against decreased insulation resistance in
the compressor
If the compressor is left to stand for
an extended period of time after the
refrigerant charge with the stop valve
open and the power supply OFF, the
refrigerant may be mixed in the
compressor, thus decreasing the
insulation resistance.
Heat the compressor as shown on
the right and then recheck the
insulation.
¡
Is the pipe size proper?
¡
Is the pipe insulation material installed securely?
Liquid and gas pipes need to be insulated. (Otherwise causes
water leak.)
¡
Have the airtight test and the vacuum drying been conducted
according to the procedure in the Installation Manual?
¡
Has a proper amount of refrigerant been charged according to the
result of the "Calculation of the refrigerant additional charging
amount"?
Charge refrigerant in the liquid state from the service port of the
liquid-side stop valve, with stopping the outdoor unit after the
completion of vacuuming.
If the total amount of refrigerant calculated cannot be charged,
follow information in "Additional charging of refrigerant" on the
following page to charge the refrigerant by the deficient amount.
¡
Has the refrigerant additional charging amount been recorded on
the "Service Precautions" label?
¡
Check to be sure the stop valves are under the following
conditions.
Liquid-side stop valve
Open
Gas-side stop valve
Open
Summary of Contents for VRV II RXYQ5MATL
Page 53: ...Specifications Si39 504 42 Specifications...
Page 115: ...Outline of Control Indoor Unit Si39 504 104 Function...
Page 161: ...Field Setting Si39 504 150 Test Operation...
Page 172: ...Si39 504 Troubleshooting by Remote Controller Troubleshooting 161...
Page 266: ...Si39 504 Piping Diagrams Appendix 255 RXYQ8MA 10MA 12MAYL E TL E 3D048033A...
Page 267: ...Piping Diagrams Si39 504 256 Appendix RXYQ14MA 16MAYL E TL E 3D048034A...
Page 271: ...Wiring Diagrams for Reference Si39 504 260 Appendix RXYQ8MA 10MA 12MAYL E 3D047088C...
Page 272: ...Si39 504 Wiring Diagrams for Reference Appendix 261 RXYQ14MA 16MAYL E 3D047089C...
Page 273: ...Wiring Diagrams for Reference Si39 504 262 Appendix 2 1 2 RXYQ MATL E RXYQ5MATL E 3D049059A...
Page 274: ...Si39 504 Wiring Diagrams for Reference Appendix 263 RXYQ8MA 10MA 12MATL E 3D049060A...
Page 275: ...Wiring Diagrams for Reference Si39 504 264 Appendix RXYQ14MA 16MATL E 3D049061A...
Page 283: ...Wiring Diagrams for Reference Si39 504 272 Appendix FXCQ40M 50M 80M 125MVE 3D039557A...
Page 285: ...Wiring Diagrams for Reference Si39 504 274 Appendix FXKQ25M 32M 40M 63MVE 3D039564B...
Page 289: ...Wiring Diagrams for Reference Si39 504 278 Appendix FXMQ40M 50M 63M 80M 100M 125MVE 3D039620B...
Page 290: ...Si39 504 Wiring Diagrams for Reference Appendix 279 FXMQ200M 250MVE 3D039621B...
Page 291: ...Wiring Diagrams for Reference Si39 504 280 Appendix FXHQ32M 63M 100MVE 3D039801D...
Page 292: ...Si39 504 Wiring Diagrams for Reference Appendix 281 FXAQ20M 25M 32MVE 40M 50M 63MVE 3D034206C...
Page 309: ...Selection of Pipe Size Joints and Header Si39 504 298 Appendix Note 1...
Page 315: ...Method of Replacing The Inverter s Power Transistors and Diode Modules Si39 504 304 Appendix...


