Installer reference guide
R32 split series
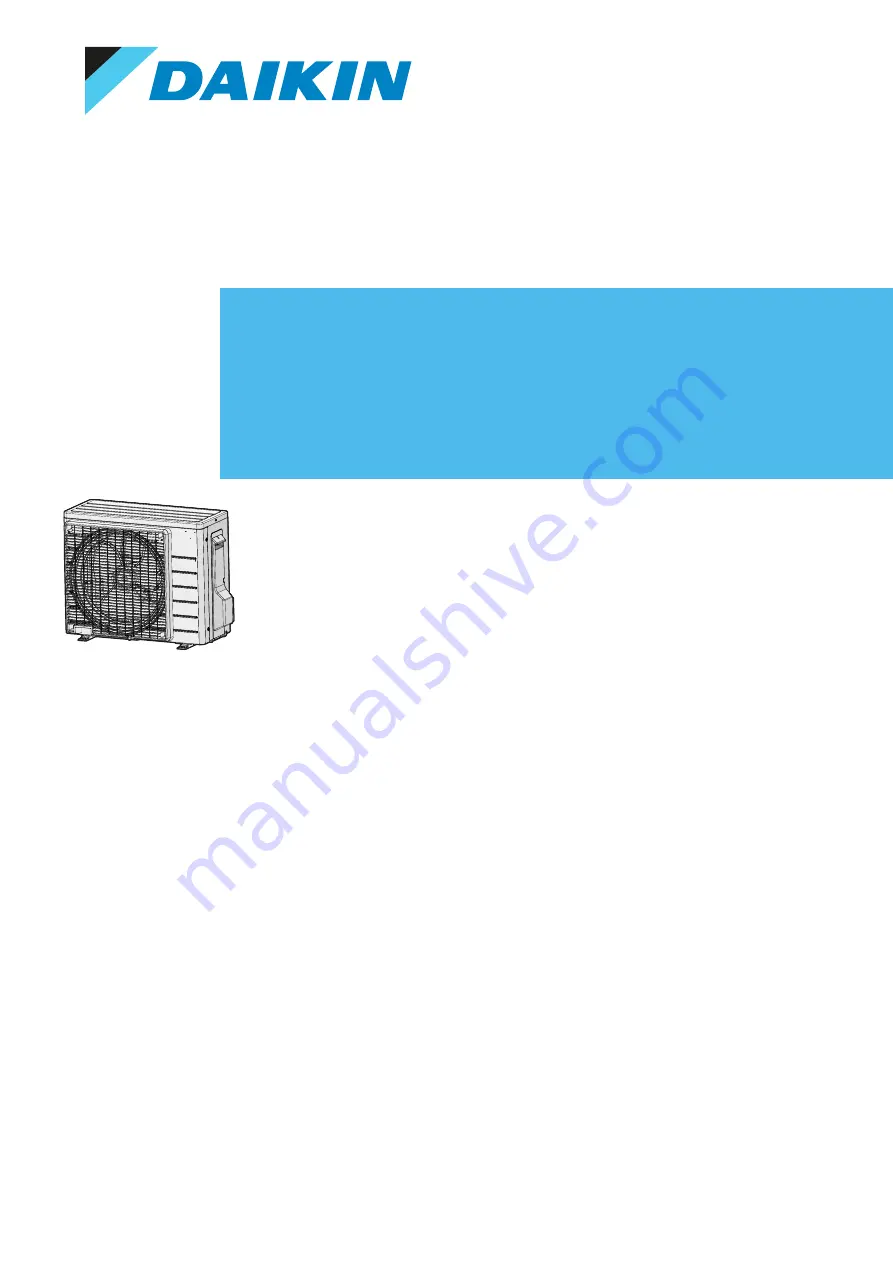
RXF20E5V1BRXF25E5V1BRXF35E5V1BRXF42E5V1B
ARXF20E5V1BARXF25E5V1BARXF35E5V1BARXF42E5V1B
Page 1: ...Installer reference guide R32 split series RXF20E5V1B RXF25E5V1B RXF35E5V1B RXF42E5V1B ARXF20E5V1B ARXF25E5V1B ARXF35E5V1B ARXF42E5V1B...
Page 2: ...3 1 About mounting the outdoor unit 29 6 3 2 Precautions when mounting the outdoor unit 30 6 3 3 To provide the installation structure 30 6 3 4 To install the outdoor unit 30 6 3 5 To provide drainag...
Page 3: ...klist during commissioning 52 10 5 To perform a test run 52 10 6 Starting up the outdoor unit 53 11 Hand over to the user 54 12 Maintenance and service 55 12 1 Overview Maintenance and service 55 12 2...
Page 4: ...efrigerant piping to the indoor unit connecting the electrical wiring to the indoor unit see the installation manual of the indoor unit Documentation set This document is part of a documentation set T...
Page 5: ...e box How to unpack the units and remove their accessories About the unit System layout Operation range Preparation What to do and know before going on site Installation What to do and know to install...
Page 6: ...ing of warnings and symbols DANGER Indicates a situation that results in death or serious injury DANGER RISK OF ELECTROCUTION Indicates a situation that could result in electrocution DANGER RISK OF BU...
Page 7: ...F BURNING SCALDING Do NOT touch the refrigerant piping water piping or internal parts during and immediately after operation It could be too hot or too cold Give it time to return to normal temperatur...
Page 8: ...re department police and hospital Name address and day and night telephone numbers for obtaining service In Europe EN378 provides the necessary guidance for this logbook 2 2 2 Installation site Provid...
Page 9: ...A m no auxiliary devices which may be a potential ignition source are installed in the duct work example hot surfaces with a temperature exceeding 700 C and electric switching device only auxiliary de...
Page 10: ...n garage machinery room NOTICE Protect pipework from physical damage Keep the pipework installation to a minimum To determine the minimum floor area 1 Determine the total refrigerant charge in the sys...
Page 11: ...43 4 45 5 4 27 6 2 0 4 83 5 6 29 7 2 2 5 31 5 8 31 8 2 4 5 79 6 0 34 0 2 6 6 39 6 2 36 4 2 8 7 41 6 4 38 7 3 0 8 51 6 6 41 2 3 2 9 68 6 8 43 7 3 4 10 9 7 0 46 3 3 6 12 3 7 2 49 0 3 8 13 7 7 4 51 8 4 0...
Page 12: ...an the specified amount of refrigerant When the refrigerant system is to be opened refrigerant MUST be treated according to the applicable legislation NOTICE Make sure refrigerant piping installation...
Page 13: ...ical DANGER RISK OF ELECTROCUTION Turn OFF all power supply before removing the switch box cover connecting electrical wiring or touching electrical parts Disconnect the power supply for more than 10...
Page 14: ...AUTION When connecting the power supply connect the earth cable first before making the current carrying connections When disconnecting the power supply disconnect the current carrying cables first be...
Page 15: ...the power supply is three phase and the compressor has an ON OFF starting method If there exists the possibility of reversed phase after a momentary black out and the power goes ON and OFF while the...
Page 16: ...tinuously operating ignition sources example open flames an operating gas appliance or an operating electric heater Connecting the refrigerant piping see 7 2 Connecting the refrigerant piping 434 CAUT...
Page 17: ...ARNING The refrigerant inside the unit is mildly flammable but normally does NOT leak If the refrigerant leaks in the room and comes in contact with fire from a burner a heater or a cooker this may re...
Page 18: ...overheating electrical shock or fire Do NOT install a phase advancing capacitor because this unit is equipped with an inverter A phase advancing capacitor will reduce performance and may cause accide...
Page 19: ...SCALDING CAUTION Do NOT perform the test operation while working on the indoor units When performing the test operation NOT ONLY the outdoor unit but the connected indoor unit will operate as well Wo...
Page 20: ...NG WARNING When carrying out an inspection on the switch box of the unit ALWAYS make sure that the unit is disconnected from the mains Turn off the respective circuit breaker When a safety device was...
Page 21: ...or damage and completeness Any damage or missing parts MUST be reported immediately to the claims agent of the carrier Bring the packed unit as close as possible to its final installation position to...
Page 22: ...stallation servicing maintenance and repair comply with instructions from Daikin and with applicable legislation and are executed ONLY by authorised persons 4 2 2 To remove the accessories from the ou...
Page 23: ...5V1B R32 split series 4P519439 21V 2022 10 b e c d 1 a 1 1 1 1 a General safety precautions b Outdoor unit installation manual c Fluorinated greenhouse gases label d Multilingual fluorinated greenhous...
Page 24: ...units and options 5 1 Overview About the units and options This chapter contains information about Identification of the outdoor unit 5 2 Identification NOTICE When installing or servicing several un...
Page 25: ...vered CAUTION Check if the installation location can support the unit s weight Poor installation is hazardous It can also cause vibrations or unusual operating noise Provide sufficient service space D...
Page 26: ...following spacing guidelines 1200 150 150 50 300 300 mm mm a b b a a Air outlet b Air inlet NOTICE Do NOT stack the units on each other Do NOT hang the unit on a ceiling Strong winds 18 km h blowing a...
Page 27: ...a mineral oil mist spray or vapour may be present in the atmosphere Plastic parts may deteriorate and fall off or cause water leakage It is NOT recommended to install the unit in the following places...
Page 28: ...old climates Protect the outdoor unit against direct snowfall and take care that the outdoor unit is NEVER snowed up a b c c d a Snow cover or shed b Pedestal c Prevailing wind direction d Air outlet...
Page 29: ...removed 6 2 2 To open the outdoor unit DANGER RISK OF ELECTROCUTION DANGER RISK OF BURNING SCALDING 1 2 1 2 6 3 Mounting the outdoor unit 6 3 1 About mounting the outdoor unit When The outdoor and in...
Page 30: ...cautions Preparation 6 3 3 To provide the installation structure Check the strength and level of the installation ground so that the unit will not cause any operating vibration or noise Fix the unit s...
Page 31: ...water from getting into the unit and to avoid drain water dripping see the following figure NOTICE If the unit is installed in a cold climate take adequate measures so that the evacuated condensate C...
Page 32: ...2 RXF20 42E5V1B ARXF20 42E5V1B R32 split series 4P519439 21V 2022 10 3 Insert a rubber sheet between the cables and the outdoor unit to prevent the cables from scratching the paint field supply 4 Atta...
Page 33: ...ng 39 7 3 3 To check for leaks 40 7 3 4 To perform vacuum drying 40 7 4 Charging refrigerant 41 7 4 1 About charging refrigerant 41 7 4 2 About the refrigerant 42 7 4 3 To determine the additional ref...
Page 34: ...p p If the temperature is higher than 30 C and the humidity is higher than RH 80 the thickness of the insulation materials should be at least 20 mm to prevent condensation on the surface of the insula...
Page 35: ...ign materials e g mineral oils and moisture from mixing into the system Install the piping so that the flare is NOT subjected to mechanical stress Do NOT leave pipes unattended at the site If the inst...
Page 36: ...ion d Flare nut Piping size mm Tightening torque N m Flare dimensions A mm Flare shape mm 6 4 15 17 8 7 9 1 R 0 4 0 8 2 45 90 2 A 9 5 33 39 12 8 13 2 7 2 4 Pipe bending guidelines Use a pipe bender fo...
Page 37: ...the stop valve and service port CAUTION Do NOT open the valves before flaring is complete This would cause refrigerant gas leakage To handle the stop valve Take the following guidelines into account T...
Page 38: ...stop valve CANNOT be turned any further stop turning 4 Install the stop valve cover Result The valve is now open closed To handle the stem cap The stem cap is sealed where indicated with the arrow Do...
Page 39: ...piping Before checking the refrigerant piping Make sure the refrigerant piping is connected between the outdoor unit and the indoor unit Typical workflow Checking the refrigerant piping typically cons...
Page 40: ...wholesaler NEVER use soap water Soap water may cause cracking of components such as flare nuts or stop valve caps Soap water may contain salt which absorbs moisture that will freeze when the piping g...
Page 41: ...rying again NOTICE Make sure to open the stop valves after installing the refrigerant piping and performing vacuum drying Running the system with the stop valves closed may break the compressor INFORM...
Page 42: ...or unit s external refrigerant piping is checked leak test vacuum drying 3 Vacuum drying on the outdoor unit s internal refrigerant piping is performed NOTICE Before completely recharging perform vacu...
Page 43: ...Do NOT use cleaning materials or means to accelerate the defrosting process other than those recommended by the manufacturer Be aware that the refrigerant inside the system is odourless NOTICE Applic...
Page 44: ...see 14 2 To pump down 459 for more details 7 4 6 To fix the fluorinated greenhouse gases label 1 Fill in the label as follows b Contains fluorinated greenhouse gases 2 1 1 1 2 2 kg tCO2 eq GWP kg 1000...
Page 45: ...a missing or wrong N phase equipment might break down Establish proper earthing Do NOT earth the unit to a utility pipe surge absorber or telephone earth Incomplete earthing may cause electrical shoc...
Page 46: ...sed electrician and MUST comply with the applicable national wiring regulation Make electrical connections to the fixed wiring All components procured on site and all electrical construction MUST comp...
Page 47: ...the end of the conductor To prepare stranded conductor wire for installation Method 1 Twisting conductor 1 Strip insulation 20 mm from the wires 2 Twist the end of the conductor to create a solid lik...
Page 48: ...8 2 4 Specifications of standard wiring components Component Power supply cable Voltage 220 240 V Phase 1 Frequency 50 Hz Wire sizes MUST comply with applicable legislation Interconnection cable indoo...
Page 49: ...19439 21V 2022 10 4 Connect the interconnection cable and power supply as follows f 50 Hz 220 240 V a b c d e a Interconnection cable b Power supply cable c Circuit breaker d Residual current device e...
Page 50: ...and outdoor unit is installed in a ducting or the refrigerant piping is wrapped with finishing tape 1 Insulate and fix the refrigerant piping and cables as follows g b a f e c d a Gas pipe b Gas pipe...
Page 51: ...unit but the connected indoor unit will operate as well Working on an indoor unit while performing a test operation is dangerous CAUTION Do NOT insert fingers rods or other objects into the air inlet...
Page 52: ...ke sure drainage flows smoothly Possible consequence Condensate water might drip The indoor unit receives the signals of the user interface The specified wires are used for the interconnection cable T...
Page 53: ...9 21V 2022 10 INFORMATION Even if the unit is turned OFF it consumes electricity When the power turns back on after a power break the previously selected mode will be resumed 10 6 Starting up the outd...
Page 54: ...or the user Make sure that the user has the printed documentation and ask him her to keep it for future reference Inform the user that he can find the complete documentation at the URL mentioned earli...
Page 55: ...Maintenance safety precautions The yearly maintenance of the outdoor unit 12 2 Maintenance safety precautions DANGER RISK OF ELECTROCUTION DANGER RISK OF BURNING SCALDING NOTICE Risk of electrostatic...
Page 56: ...plit series 4P519439 21V 2022 10 Heat exchanger The heat exchanger of the outdoor unit can get blocked up due to dust dirt leaves etc It is recommended to clean the heat exchanger yearly A blocked hea...
Page 57: ...hat the unit is disconnected from the mains Turn off the respective circuit breaker When a safety device was activated stop the unit and find out why the safety device was activated before resetting i...
Page 58: ...Corrective action Incomplete thermal insulation gas and liquid piping indoor portions of the drain hose extension Make sure the thermal insulation of the piping and the drain hose is complete Improper...
Page 59: ...ty for reuse recycling and recovery By ensuring this product is disposed of correctly you will help to prevent potential negative consequences for the environment and human health For more information...
Page 60: ...res 10 C close the liquid stop valve with a hexagonal wrench 4 Check on the manifold if the vacuum is reached 5 After 2 3 minutes close the gas stop valve and stop forced cooling c b e d d a a Gas sto...
Page 61: ...2E5V1B R32 split series 4P519439 21V 2022 10 15 Technical data A subset of the latest technical data is available on the regional Daikin website publicly accessible The full set of latest technical da...
Page 62: ...H P LED V L PILOT LAMP LIGHT EMITTING DIODE HAP LIGHT EMITTING DIODE SERVICE MONITOR GREEN HIGH VOLTAGE HIGH VOLTAGE IES INTELLIGENT EYE SENSOR IPM INTELLIGENT POWER MODULE K R KCR KFR KHuR K M MAGNE...
Page 63: ...r application explaining how to install configure and maintain it Operation manual Instruction manual specified for a certain product or application explaining how to operate it Maintenance instructio...
Page 64: ...ANBUL T RK YE Tel 0216 453 27 00 Faks 0216 671 06 00 a r Merkezi 444 999 0 Web www daikin com tr G lsuyu Mahallesi Fevzi akmak Caddesi Bur ak Sokak No 20 34848 Maltepe 4P519439 21V 2022 10 Copyright 2...