REMOVAL
PROCEDURE
S E R V I C E M A N U A L
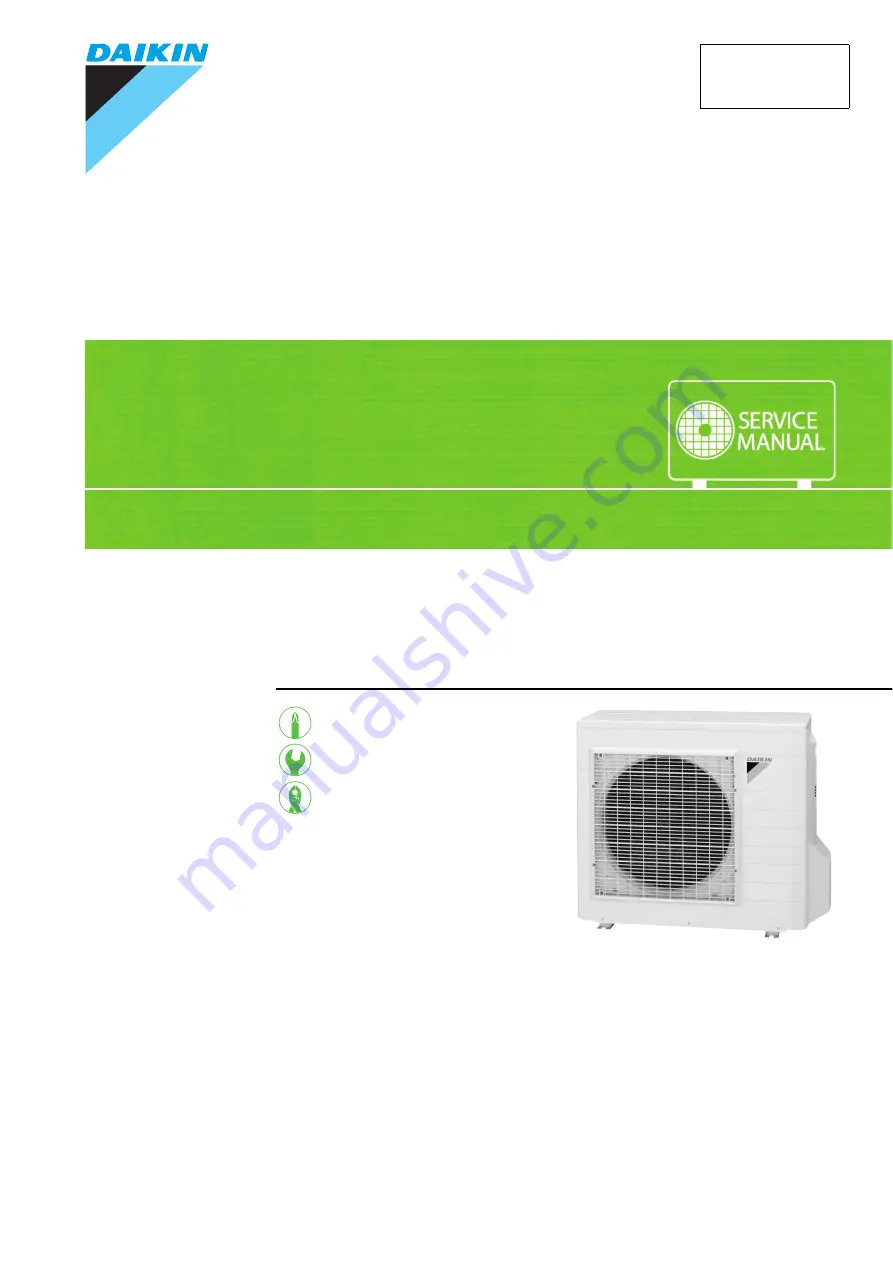
5.0 kW Class
Outdoor Unit
Non-Inverter
Pair Type
Si011084
Page 1: ...REMOVAL PROCEDURE S E R V I C E M A N U A L 5 0 kW Class Outdoor Unit Non Inverter Pair Type Si011084 ...
Page 2: ...Service Manual Removal Procedure Outdoor Unit zCooling Only RN50HV1A RN50JV1 ...
Page 3: ...4 Removal Procedure 1 Table of Contents 1 Removal of Outer Panels 2 2 Removal of Outdoor Fan Fan Motor 5 3 Removal of Sound Blankets 7 4 Removal of Electrical Components ASSY 9 5 Removal of Compressor ASSY 11 ...
Page 4: ...minutes or more after turning off all power supplies before disassembling work Step Procedure Points 1 Remove the 4 screws and remove the top panel Take care not to cut your finger by the fins of the outdoor heat exchanger 2 Remove the 4 screws and remove the discharge grille Top panel R5392 R6733 Discharge grille R5394 ...
Page 5: ...nels Removal Procedure 3 3 Remove the 6 screws of the front panel 4 Unfasten the center hooks in the order of 1 to 2 5 Lift the left side of the front panel and unfasten the 3 hooks Step Procedure Points R5395 R13614 1 Hook R5397 ...
Page 6: ...1084 4 Removal Procedure 6 Unfasten the hook on the right side and remove the front panel 7 Remove the screw and remove the stop valve cover The stop valve cover has 6 hooks Step Procedure Points R5398 Stop valve cover R5399 R5400 ...
Page 7: ...tes or more after turning off all power supplies before disassembling work Step Procedure Points 1 Disconnect the relay connector for the fan motor 2 Remove the 2 screws of the fan motor fixing plate 3 Lift up and remove the fan motor fixing plate Be careful so as not to damage the top part of the outdoor heat exchanger fins R5401 R5402 R5403 ...
Page 8: ... nut and remove the outdoor fan Nut size M6 When reassembling align the mark of the outdoor fan with the D cut section of the motor shaft 6 Remove the 4 screws and remove the fan motor Be sure to remove the lower screws first If the upper screws are removed first the fan motor may tilt or fall because the center of its gravity is toward the front It may cause injuries Step Procedure Points R5404 R...
Page 9: ...wait for 10 minutes or more after turning off all power supplies before disassembling work Step Procedure Points 1 Remove the right side panel 1 Remove the 4 screws 2 Detach the outdoor temperature sensor 3 Unfasten the hook at the rear side R5407 Right side panel R6734 R6735 Outdoor temperature sensor Hook R5411 ...
Page 10: ...Lift up and remove the right side panel When reassembling fit the 2 lower hooks 2 Remove the sound blankets 1 Remove the sound blanket top 2 Remove the sound blanket body Step Procedure Points R5409 Hook R5410 Sound blanket top R5412 Sound blanket body R13316 ...
Page 11: ... wait for 10 minutes or more after turning off all power supplies before disassembling work Step Procedure Points 1 Remove the nut and remove the terminal cover 2 Disconnect the compressor lead wires S yellow C blue R red Terminal cover R5414 Washer fitted nut Rubber washer Terminal cover R5415 Red R Blue C Yellow S R5416 C R S R13618 ...
Page 12: ...sket 4 Remove the screw of the electrical components ASSY 5 Lift up the electrical components ASSY and unfasten the guide for the partition plate Remove the electrical components ASSY Step Procedure Points Gasket R5417 Screw R5418 Electrical components ASSY Guide Partition plate R5419 ...
Page 13: ...storation 1 Restore the piping by non oxidation brazing 2 Avoid excessive heating Keep below 120 C In case of difficulty with gas brazing machine 1 Disconnect the brazed part where is easy to disconnect and restore 2 Cut pipes on the main unit with a tube cutter in order to make it easy to disconnect Before working make sure that the refrigerant gas is empty in the circuit Be sure to apply nitroge...
Page 14: ...Revision History Month Year Version Revised contents 01 2013 Si011084 First edition ...
Page 15: ...ries supplied or specified by Daikin Ask a qualified installer or contractor to install those parts and accessories Use of unauthorised parts and accessories or improper installation of parts and accessories can result in water or refrigerant leakage electrical shock fire or explosion z Read the User s Manual carefully before using this product The User s Manual provides important safety instructi...