background image

INSTALLATION 
MANUAL

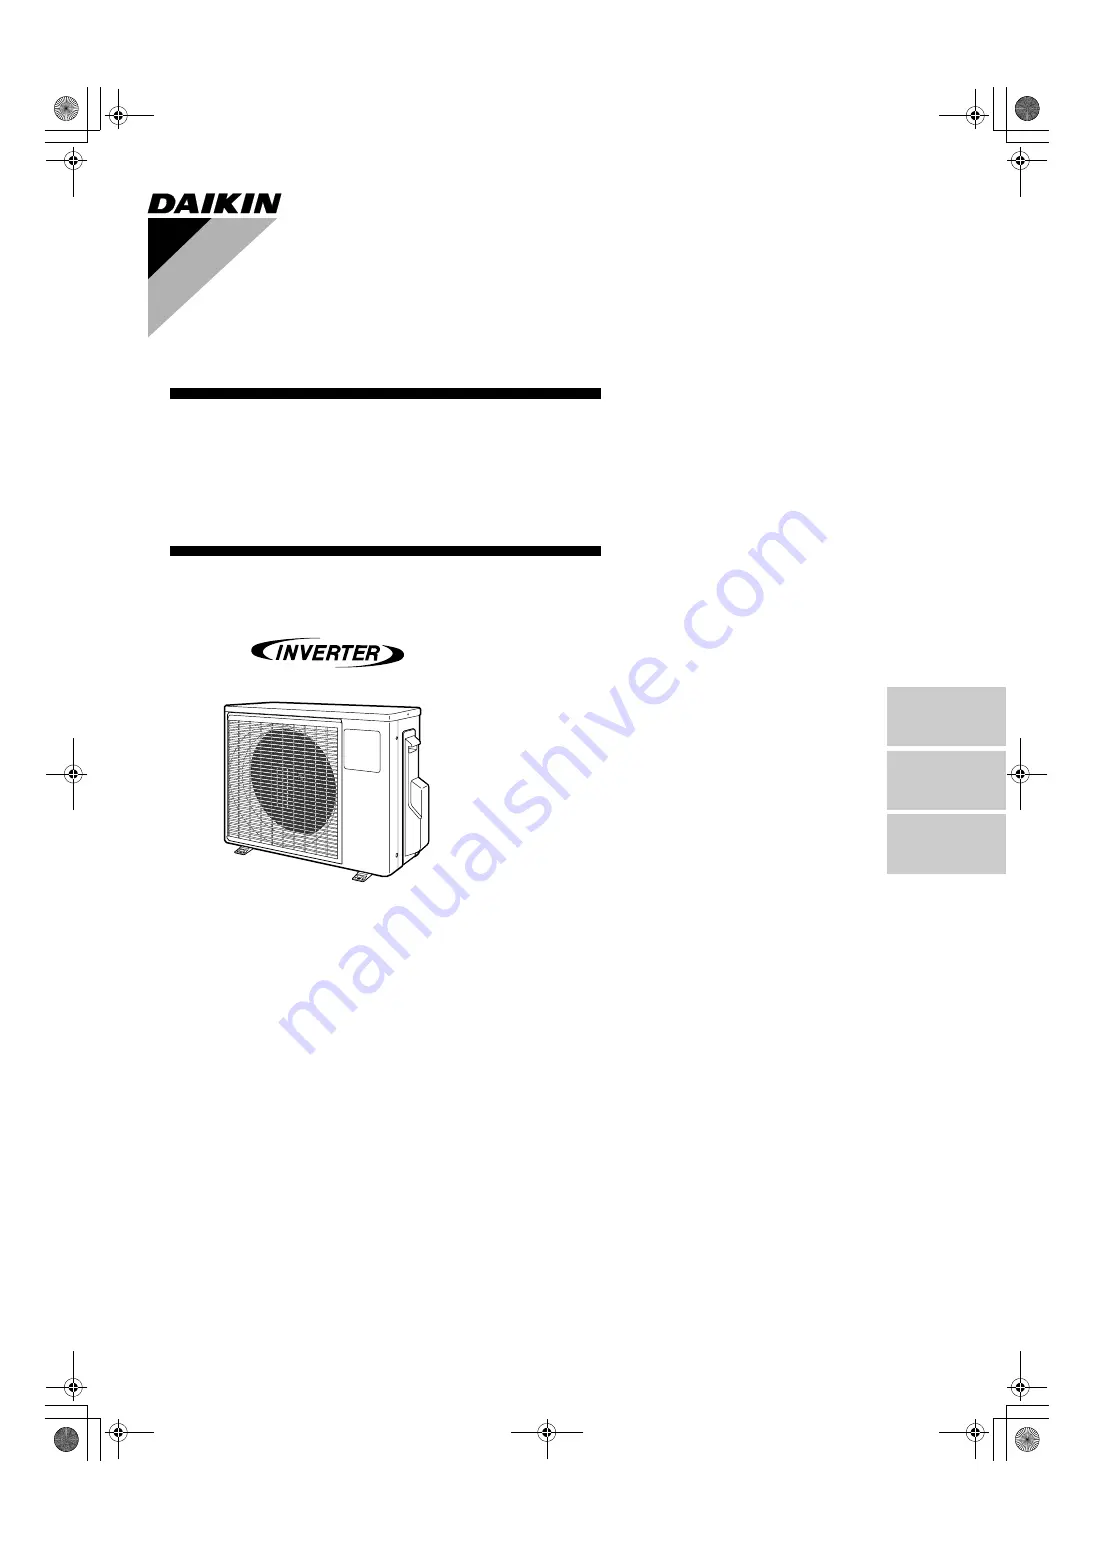
R410A Split Series

Models 
RXN09KEVJU

RKN09KEVJU

RXN12KEVJU

RKN12KEVJU

English

Français

Español

Installation manual

R410A Split series

Manuel d’installation

Série split R410A

Manual de instalación

Serie Split R410A

00_CV_3P272446-6.fm  Page 1  Friday, January 7, 2011  3:32 PM

Summary of Contents for RKN09KEVJU

Page 1: ...s RXN09KEVJU RKN09KEVJU RXN12KEVJU RKN12KEVJU English Français Español Installation manual R410A Split series Manuel d installation Série split R410A Manual de instalación Serie Split R410A 00_CV_3P272446 6 fm Page 1 Friday January 7 2011 3 32 PM ...

Page 2: ...hat children will not play with them Children playing with plastic bags face the danger of death by suffocation Do not install unit in an area where flammable materials are present due to risk of explosion resulting in serious injury or death Do not ground units to telephone wires or lightning rods because lightning strikes could cause a severe shock hazard resulting in severe injury or death and ...

Page 3: ...damage and personal injury Be sure to install a ground fault circuit interrupter breaker Failure to install a ground fault circuit interrupter breaker may result in electrically shocks or fire personal injury CAUTION Do not install the air conditioner where gas leakage would be exposed to open flames If the gas leaks and builds up around the unit it may catch fire Establish drain piping according ...

Page 4: ... wind it is recommended to install a baffle plate on the air discharge side of the outdoor unit In heavy snowfall areas select an installation site where the snow will not affect the unit Outdoor Unit Installation Drawings Construct a large canopy Construct a pedestal Install the unit high enough off the ground to prevent burying in snow CAUTION Set the piping length from 4 92ft 1 5m to 65 6ft 20m...

Page 5: ... When installing the outdoor unit refer to Precautions for Selecting the Location and the Outdoor Unit Installation Drawings 2 If drain work is necessary follow the procedures below 2 Drain work Heat pump models 1 Use drain plug for drainage 2 If the drain port is covered by a mounting base or floor surface place additional foot bases of at least 1 1 4 inch 30mm in height under the outdoor unit s ...

Page 6: ...to the flare nuts and gas leakage Align the centers of both flares and tighten the flare nuts 3 or 4 turns by hand Then tighten them fully with the torque wrenches A Check Flare s inner surface must be flaw free The pipe end must be evenly flared in a perfect circle Make sure that the flare nut is fitted Cut exactly at right angles Remove burrs Flaring Set exactly at the position shown below A 0 0...

Page 7: ...s from gauge manifold to gas stop valve s service port 2 Fully open gauge manifold s low pressure valve Lo and completely close its high pressure valve Hi High pressure valve subsequently requires no operation 3 Do vacuum pumping and make sure that the compound pressure gauge reads 29 9inHg 0 1MPa 1 4 Close gauge manifold s low pressure valve Lo and stop vacuum pump Keep this state for a few minut...

Page 8: ...Btu fth F 0 035 to 0 045kcal mh C Refrigerant gas pipe s surface temperature reaches 230 F 110 C max Choose heat insulation materials that will withstand this temperature 2 Be sure to insulate both the gas and liquid piping and to provide insulation dimensions as below 3 Use separate thermal insulation pipes for gas and liquid refrigerant pipes Gas side Liquid side Gas pipe thermal insulation Liqu...

Page 9: ...e electric shock After closing the liquid stop valve close the gas stop valve within 3 minutes then stop the forced operation Facility Setting cooling at low outdoor temperature This function is limited only for facilities the target of air conditioning is equipment such as computer Never use it in a residence or office the space where there is a human Cutting jumper 3 J3 on the circuit board will...

Page 10: ...rk before wiring A protection plate is fixed for protection from the high voltage section Before staring wiring work dismount the protection plate by removing the 2 screws and dismount the conduit mounting plate cover by removing the 1 screw Method of mounting conduit 1 Pass wires through the conduit and secure them with a lock nut 2 After completing the work reattach the conduit mounting plate co...

Page 11: ...rt operation for 3 minutes after it is turned off 1 3 Carry out the test operation in accordance with the operation manual to ensure that all functions and parts such as fin movement are working properly The air conditioner requires a small amount of power in its standby mode If the system is not to be used for some time after installation shut off the circuit breaker to eliminate unnecessary powe...

Page 12: ... 1102 HT 3P272446 6 M10B111 Two dimensional barcodeisacode for manufacturing 66163058 00_CV_3P272446 6 fm Page 2 Friday January 7 2011 3 32 PM ...

Reviews: