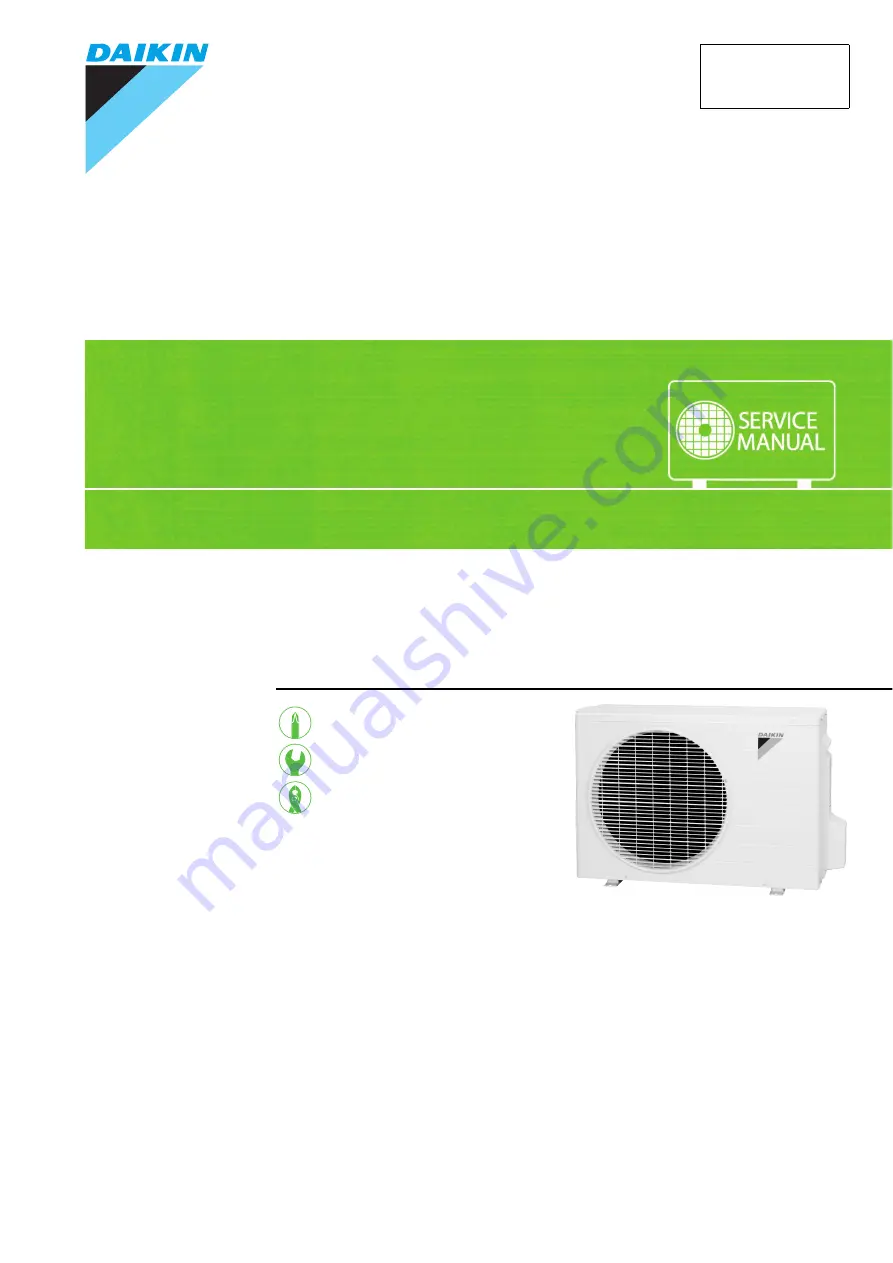
5.0/6.0 kW Class
REMOVAL
PROCEDURE
S E R V I C E M A N U A L
Outdoor Unit
Non-Inverter
Pair Type
Si011281E
Page 1: ...5 0 6 0 kW Class REMOVAL PROCEDURE S E R V I C E M A N U A L Outdoor Unit Non Inverter Pair Type Si011281E...
Page 2: ...Service Manual Removal Procedure Outdoor Unit zCooling Only RE50NRV16 RE60NRV16 REL50NRV16 REL60NRV16...
Page 3: ...val Procedure 1 Table of Contents 1 Outer Panels 2 2 Outdoor Fan Fan Motor 3 3 Electrical Components 5 4 Capillary Tube 8 5 Compressor ASSY 10 Note The illustrations may be slightly different dependin...
Page 4: ...e 4 screws and remove the top panel 2 Remove the 7 screws of the front panel 3 Unfasten the 2 hooks of the right side and remove the front panel 4 Remove the screw on the discharge grille 5 The discha...
Page 5: ...itor C2 2 Pull out the 2 terminals black 3_upper green yellow _upper from the terminal board X1M 3 Release the fan motor lead wire from the hook 4 Remove the nut and remove the outdoor fan Nut size M6...
Page 6: ...ut the fan motor lead wire through the back of the fan motor so as not to be entangled with the outdoor fan When reassembling fit the lower hooks into the bottom frame 6 Unfasten the 2 hooks and relea...
Page 7: ...nts 1 Remove the right side panel The stop valve cover has 3 hooks 1 Remove the screw and remove the stop valve cover 2 Remove the 3 screws and remove the wire fixture 3 Remove the 7 screws on the ter...
Page 8: ...e 5 Remove the 2 screws on the right side lower 6 Remove the 3 screws on the rear side 7 Unfasten the hook 8 Remove the right side panel The right side panel has 2 hooks at the bottom Step Procedure P...
Page 9: ...ll out the terminal white 3_lower from the terminal board X1M 3 Remove the screw and remove the electrical component ASSY Step Procedure Points Compressor motor capacitor Terminal board R18997 white 3...
Page 10: ...gaskets affected by heat Keep below 120 C 248 F For the sake of this wrap the four way valve with wet cloth and provide water so that the cloth does not dry Note Before working make sure that the ref...
Page 11: ...oval Procedure 9 2 Remove the protection net 3 Heat up the 2 brazed parts and remove the capillary tube The design of capillary tube varies depending on the model Step Procedure Points Protection net...
Page 12: ...ration of the gaskets affected by heat Keep below 120 C 248 F For the sake of this wrap the four way valve with wet cloth and provide water so that the cloth does not dry Note Before working make sure...
Page 13: ...Pattern 2 S red C white R blue Pattern 3 S red C white R blue When reassembling fit the lower hook into the bottom frame 4 Remove the gasket 5 Remove the 3 screws and remove the partition plate Step P...
Page 14: ...e compressor 7 Heat up the brazed part of the discharge side and disconnect 8 Heat up the brazed part of the suction side and disconnect 9 Lift the compressor ASSY up and remove it Step Procedure Poin...
Page 15: ...Revision History Month Year Version Revised contents 06 2013 Si011281E First edition...
Page 16: ...ries supplied or specified by Daikin Ask a qualified installer or contractor to install those parts and accessories Use of unauthorised parts and accessories or improper installation of parts and acce...