REMOVAL
PROCEDURE
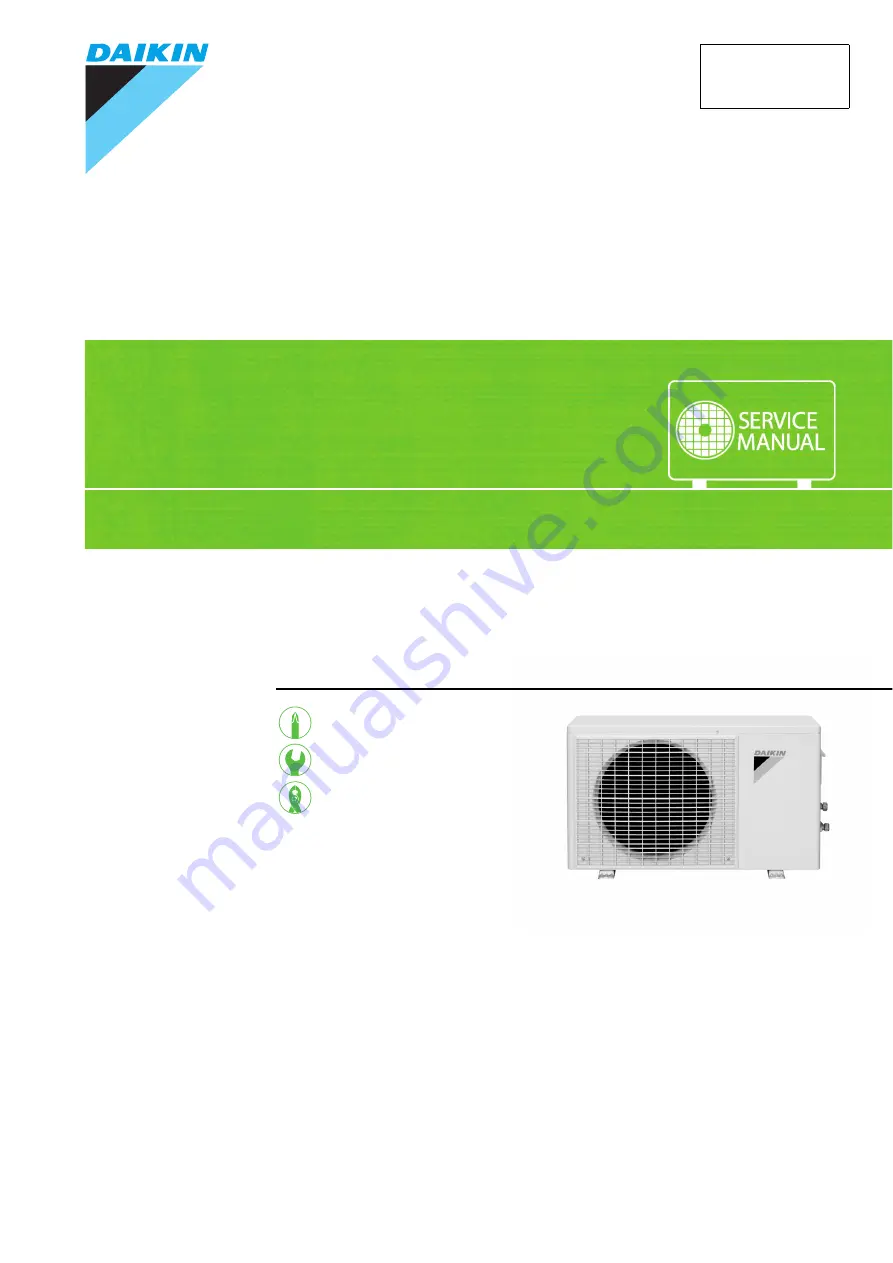
S E R V I C E M A N U A L
Outdoor Unit
Non-Inverter
Pair Type
1.5/2.0/2.5 kW Class
Si011282EB
Page 1: ...REMOVAL PROCEDURE S E R V I C E M A N U A L Outdoor Unit Non Inverter Pair Type 1 5 2 0 2 5 kW Class Si011282EB...
Page 2: ...Manual Removal Procedure Outdoor Unit zCooling Only R15LV14 R20LV14 R25LV14 RE15LV1 RE20LV1 RE25LV1 RE20MV1V RE25MV1V RNE25LV1 RNE15MV1 RNE20MV1 RNE25MV1 RNE15MV14 RNE20MV14 RNE25MV14 RNE20MV1V9 RNE2...
Page 3: ...val Procedure 1 Table of Contents 1 Outer Panels 2 2 Outdoor Fan Fan Motor 3 3 Electrical Components 5 4 Capillary Tube 9 5 Compressor ASSY 10 Note The illustrations may be slightly different dependin...
Page 4: ...s 1 Remove the 4 screws and remove the top panel Some models have only 1 screw on the left side of the top panel 2 3 Remove the 2 screws of the discharge grille Unfasten the 6 hooks and remove the dis...
Page 5: ...section of the motor shaft 2 3 Disconnect the relay connector for the fan motor Release the fan motor lead wire from the hook When reassembling put the fan motor lead wire through the back of the fan...
Page 6: ...utdoor Fan Fan Motor Si011282EB 4 Removal Procedure 5 Remove the 3 screws 6 Release the fan motor lead wire from the 2 hooks 7 Remove the fan motor Step Procedure Points R10461 Fan motor R15207 R15208...
Page 7: ...disassembling work Step Procedure Points 1 Pull out the 5 terminals from the capacitor 2 Loosen the 2 screws of the capacitor fixing band and remove the capacitor Capacitor R18568 to compressor S yel...
Page 8: ...and remove the service cover sliding downward 4 Remove the 3 screws on the terminal board and disconnect the connecting wire 5 Remove the screw and remove the wire fixture Step Procedure Points Servic...
Page 9: ...no earth ground wire When reassembling confirm the terminal location 7 Pull out the remaining terminals from the terminal board 8 Remove the screw and remove the terminal board Step Procedure Points R...
Page 10: ...ve a fuse 10 Remove the 4 screws and remove the right side panel 11 Remove the 2 screws and remove the partition plate When reassembling fit the lower hook of the bottom frame into the hole of the par...
Page 11: ...nt gas is empty in the circuit Be sure to apply nitrogen replacement when heating up the brazed part Do not use a metal saw for cutting pipes by all means because the sawdust comes into the circuit Wh...
Page 12: ...gerant gas Restore the piping by non oxidation brazing Note Before working make sure that the refrigerant gas is empty in the circuit Be sure to apply nitrogen replacement when heating up the brazed p...
Page 13: ...Procedure 11 3 4 Disconnect the compressor lead wires and remove the overload protector Remove the gasket 5 Remove the 3 nuts of the compressor Step Procedure Points R18582 Overload protector Gasket Y...
Page 14: ...12 Removal Procedure 6 Heat up the 2 brazed parts and disconnect them Before heating up make sure to remove the sheets of putty so as not to burn them 7 Lift up the compressor and remove it Step Proc...
Page 15: ...Month Year Version Revised contents 06 2013 Si011282E First edition 12 2013 Si011282EA Model addition RE15 20 25LV1 RE20 25MV1V 03 2015 Si011282EB Model addition RNE25LV1 RNE15 20 25MV1 RNE15 20 25MV...
Page 16: ...ries supplied or specified by Daikin Ask a qualified installer or contractor to install those parts and accessories Use of unauthorised parts and accessories or improper installation of parts and acce...