


19
|
Configuration
Installer and user reference guide
124
LREN8~12A7 + LRNUN5A7
CO₂ ZEAS outdoor unit and capacity up unit
4P704142-1 – 2022.08
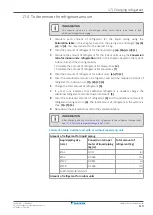
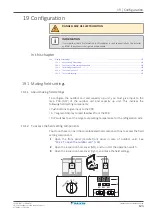
a
Outdoor unit
b
Capacity up unit
c1
Inspection hole
c2
Inspection hole cover
d
Operation switch (S1S)
e
Field setting components
e1
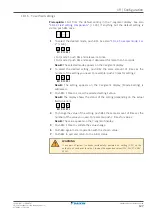
7‑segment displays: ON ( ) OFF ( ) Flashing (
)
e2
Push buttons:
BS1: MODE: For changing the set mode
BS2: SET: For field setting
BS3: RETURN: For field setting
e3
DIP switches
4
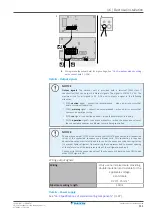
After making the field settings, reattach the inspection hole covers and the
front plate.
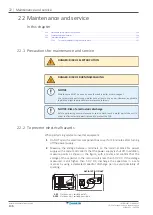
NOTICE
Close the cover of the electrical component box before turning ON the power.
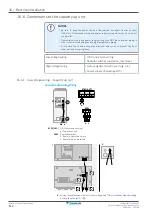
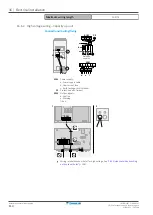
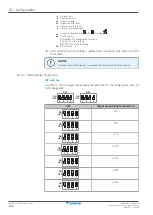
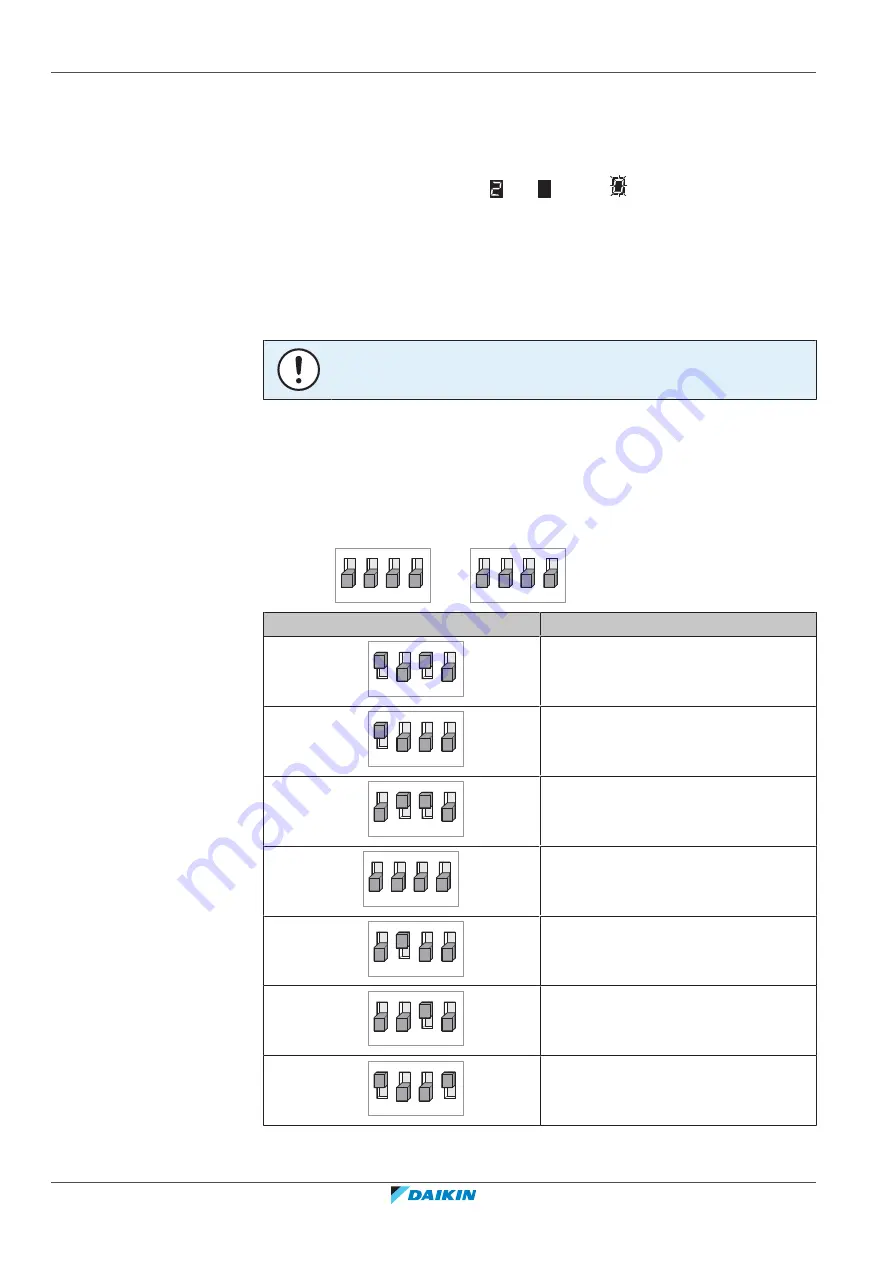
19.1.3 Field setting components
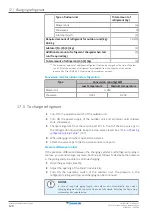
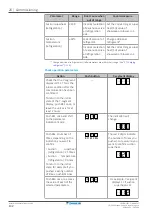
DIP switches
Use DS1 to set the target evaporating temperature for the refrigeration side. Do
NOT change DS2.
OFF
ON
1 2 3 4
DS1
OFF
ON
1 2 3 4
DS2
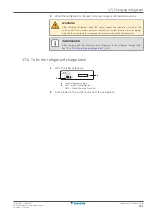
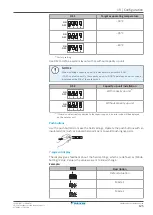
DS1
Target evaporating temperature
OFF
ON
1 2 3 4
5°C
OFF
ON
1 2 3 4
0°C
OFF
ON
1 2 3 4
–5°C
OFF
ON
1 2 3 4
(a)
–10°C
OFF
ON
1 2 3 4
–15°C
OFF
ON
1 2 3 4
–20°C
OFF
ON
1 2 3 4
–25°C


