Photocatalytic Air Purifiers
Engineering Data
Air Purifiers
EDBE81 - 327
Page 1: ...Photocatalytic Air Purifiers Engineering Data Air Purifiers EDBE81 327...
Page 2: ...eneral Description 11 4 2 Safety Precautions 12 4 3 Names and Operation of each Part 13 4 4 Preparation Before Operation 15 4 5 How to Operate 17 4 6 Care and Cleaning 18 4 7 Trouble Shooting 22 5 Opt...
Page 3: ...gn of the casing approx 82 of MC401VE Fully flat type advanced appearance of front panel 3 Improved Dust collecting Performance Four directional Suction Improved Deodorizing Capacity Quiet Operation F...
Page 4: ...negative ions Typical amounts of negative ions in the natural world Negative ions are carried throughout the room with large air flow Negative Ion Negative Ion Negative Ion Negative Ion approx 10 000...
Page 5: ...h labs Tunnel illumination Photocatalytic technology is also used in lots of other places 2 2 2 2 2 2 2 2 Annual filter replacement keeps deodorizing performance higher and assures hygiene Long Long L...
Page 6: ...l catch pollen quick Make a whirl catch pollen quick Make a whirl catch pollen quick Through spring to autumn many kinds of pollen besides cider or cypress are scattered Pollen mode Pollen Mode Pollen...
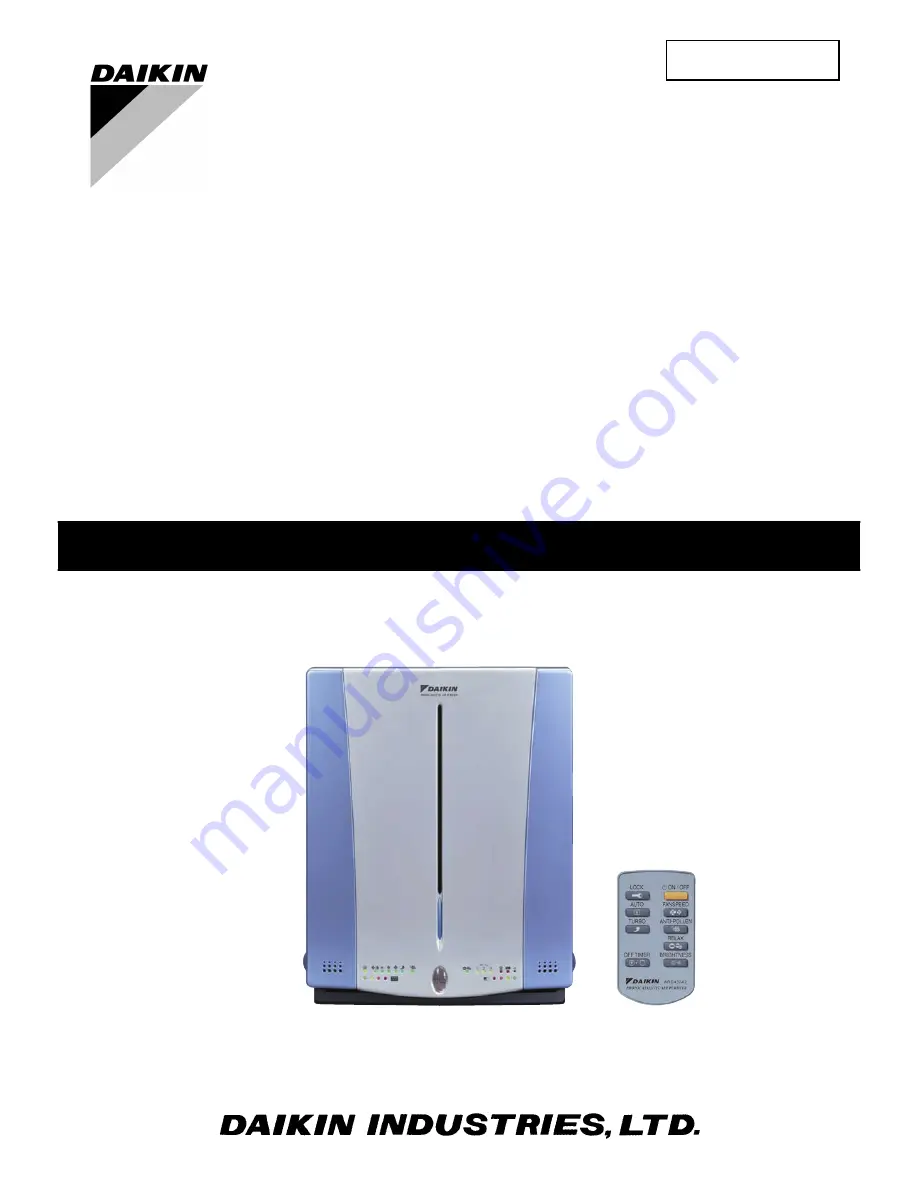
Page 7: ...splay Remote controller holder Have you ever wondered where the remote controller has gone In the new design look for it in the storage space at the top of the unit Easy to carry With one hand free it...
Page 8: ...e under other conditions may cause malfunction Miscellaneous This product is for home use Do not use for special purpose This product is for indoor use only Do not use in bathroom or outdoors as it is...
Page 9: ...ning current A 0 46 Rated power consumption W 52 Fan Type Multi blade fan Air flow rate HH m3 h 420 H m3 h 270 M m3 h 210 L m3 h 120 LL m3 h 60 Drive method Direct drive Operating sound HH dB 47 H dB...
Page 10: ...N YELLOW FILTER RESET SWITCH LED LL GREEN MAIN SWITCH LED L GREEN LED 6 A1P S9 S8 S10 M1F LED 3 RED 7 LED 7 BLU LED 4 4 S2 3 3 3 1 1 1 LED 8 BRN M 3 ORG LED 9 2 Fu1 WHT 1 LED10 IONIZATION PART GENERAT...
Page 11: ...Specifications EDBE81 327 10 Photocatalytic Air Purifiers 3 4 Packaging Drawing OPERATION MANUAL Photocatalyst filter roll Product cover Wireless remote controller attached to the back side 3P098535F...
Page 12: ...able filter 5 Designed for Quiet Operation Security when sleeping Accessory Confirm that accessory parts are in order Tips for Appropriate Use When you want to remove house dust setting up the air pur...
Page 13: ...Illumination can weaken remote controller signal reception sensitiv ity and discolor the casing When placed on top of a table be sure to separate the rear of the unit from the wall by at least 10 cm W...
Page 14: ...n action thereby controlling infectiousness Offensive odors such as cigarettes garbage and exhaust gases NOx are also decomposed Toxic substances such as cigarettes carbon monoxide cannot be removed W...
Page 15: ...as the remaining time after the setting 12Clean indicator Page 9 Flashes during cleaning period of plasma ionizer to notify that clean ing is necessary 13Filter roll Replace indicator Reset button Whe...
Page 16: ...med within 1 year from the manufacturing date of the air purifier A replacement target is approximately 1 year but if the reception becomes difficult replace the batteries with new coin type battery C...
Page 17: ...stall the plasma ionizer in its original configuration 5 Mount the front panel to the main unit 1 Hang the hooks two at the top of the front panel on the grooves of the top of the main unit 2 Hold the...
Page 18: ...er is operating 8 When you want to change the brightness of the photo operation lamp and clean monitors Press the BRIGHTNESS button Each time it is pressed the display will switch as shown below Only...
Page 19: ...e filter While holding down the plasma ionizer pull the upper portion toward you and lift it upward 3 Clean the pre filter After using a vacuum cleaner to remove any dust clean with water If it is ver...
Page 20: ...er roll List up the dark colors of the surface and then correctly insert into the hooks four of the plasma ionizer CAUTION If the front surface and rear surface of the filer are mis taken the performa...
Page 21: ...the ionizing line CAUTION When cleaning be careful not to cut your hands on the ionizing line Wearing rubber gloves is safer Be careful not to snag or cut the ionizing line If the ionizing line is cut...
Page 22: ...ivity of the dust sensor following the next method 1 Press the Operation switch Stop button of the main unit for 10 seconds 2 While pressing the Operation switch Stop button of the main unit point the...
Page 23: ...se to this unit Separate the television radio and indoor antenna from this unit by 2m or more Is the power cord or antenna of the television or radio close to this unit Separate the power cord and ant...
Page 24: ...Roll CORE BAC14D 90 PERFORATION 2400 OVERALL FILTER LENGTH DETAIL OF FILTER ROLL 330 7 2310 PERFORATION 330 SPECIFICATIONS TARGET OF REPLACEMENT ABOUT 7 YEARS 1SHEET YEAR 7SHEETS FILTER ELEMENT NONWO...
Page 25: ...Basic Inspection Troubleshooting with Airflow Rate Indicator 1 Is the connector for the PCB plugged in Or is there any poor connection 2 Is the wire harness broken The airflow rate indicators flicker...
Page 26: ...ction Deci sion conditions 4 Supposed Causes The safety device is activated due to poor assembly of the panel Door switch is defective The unit is not turned on Unspecified voltage is used The battery...
Page 27: ...can operate with ON OFF switch on the unit but not with remote controller 4 Supposed Causes Remote controller battery is exhausted Remote controller is defective Display PCB is defective Malfunction...
Page 28: ...nstallation location Reset the power Replace display PCB Sensor is defective It is not malfunc tion The sensor may be operating as room is over sized or open 2 Method of Mal function Detection 3 Malfu...
Page 29: ...y PCB Plug in connectors Replace power supply PCB includ ing damaged varis ter or fuse Or replace door switch 2 Method of Mal function Detection 3 Malfunction Deci sion conditions 4 Supposed Causes Co...
Page 30: ...ormal Motor was defective 2 Method of Mal function Detection Abnormality of the fan motor is detected by revolutions with the hole IC while the fan motor is run ning 3 Malfunction Deci sion conditions...
Page 31: ...demo mode Keep holding down reset switch and turn on power Demo mode is exited The unit is in demo mode as reset switch is blocked Check it 2 Method of Mal function Detection 3 Malfunction Deci sion c...
Page 32: ...d needles Check for connec tor connection Check for operation Normal 2 Method of Mal function Detection 3 Malfunction Deci sion conditions 4 Supposed Causes The negative ion generator is dirty Malfunc...
Page 33: ...al of External Accessories Procedure Points 1 Appearance 2 Removing the front panel 1 Hold the bottom sides of the front panel with fingers and pull up to remove it WARNING Make sure the unit is disco...
Page 34: ...ed with the plasma ionizer attached 1 Hold the handle of the plasma ionizer and pull it towards you to remove 4 Removing the filters 1 Release the six claws and remove the pre filter by pulling toward...
Page 35: ...removed 1 Removing the opposing plates 1 Release the outer claws and lift the opposing plates to remove 2 Removing the ionizing wire 1 Pinch and remove the ionizing wire with pincers WARNING Make sur...
Page 36: ...oving the rear cover 1 Remove the screws 2 pieces each in front and on the rear and detach the back cover 2 Removing the connector The tielap is supplied with the unit Replace it after disassembly The...
Page 37: ...emoval Procedure EDBE81 327 Procedure Points 2 Remove the connector CN2 from the inverter PCB A3P 3 Removing the photocatalyst filter 1 Remove the two screws 2 Detach the photocatalyst filter holder I...
Page 38: ...urifiers 37 EDBE81 327 Removal Procedure Procedure Points 3 Remove the photocatalyst filter Handle with great care the photocatalyst filter is made of paper 4 Removing the special lamp 1 Detach the sp...
Page 39: ...ints The back cover has been removed 1 Removing the inverter PCB 1 Detach the connector CN1 and remove the inverter PCB 2 Removing the power PCB 1 Detach the connectors S2 S6 S8 S9 and S10 on the powe...
Page 40: ...Photocatalytic Air Purifiers 39 EDBE81 327 Removal Procedure Procedure Points 2 Remove the connector CN1 from the power PCB A4P 3 Remove the two screws and detach the power PCB...
Page 41: ...ytic Air Purifiers Removal Procedure EDBE81 327 Procedure Points 4 Detach the two terminals and pull out the power PCB to remove 3 Removing the display cover 1 Release the three claws and remove the d...
Page 42: ...Purifiers 41 EDBE81 327 Removal Procedure Procedure Points 4 Removing the dust sensor 1 Detach the connector on the back of the dust sensor 5 Removing the display PCB 1 Release the five claws and remo...
Page 43: ...removed 1 Removing the fan When assembling align the T mark on the fan with the D cut on the motor shaft 1 Remove the nut and pull out the fan 2 Removing the fan motor 1 Disconnect the connector 2 Re...
Page 44: ...EDBE81 327 02 2003 B NK...