REMOVAL
PROCEDURE
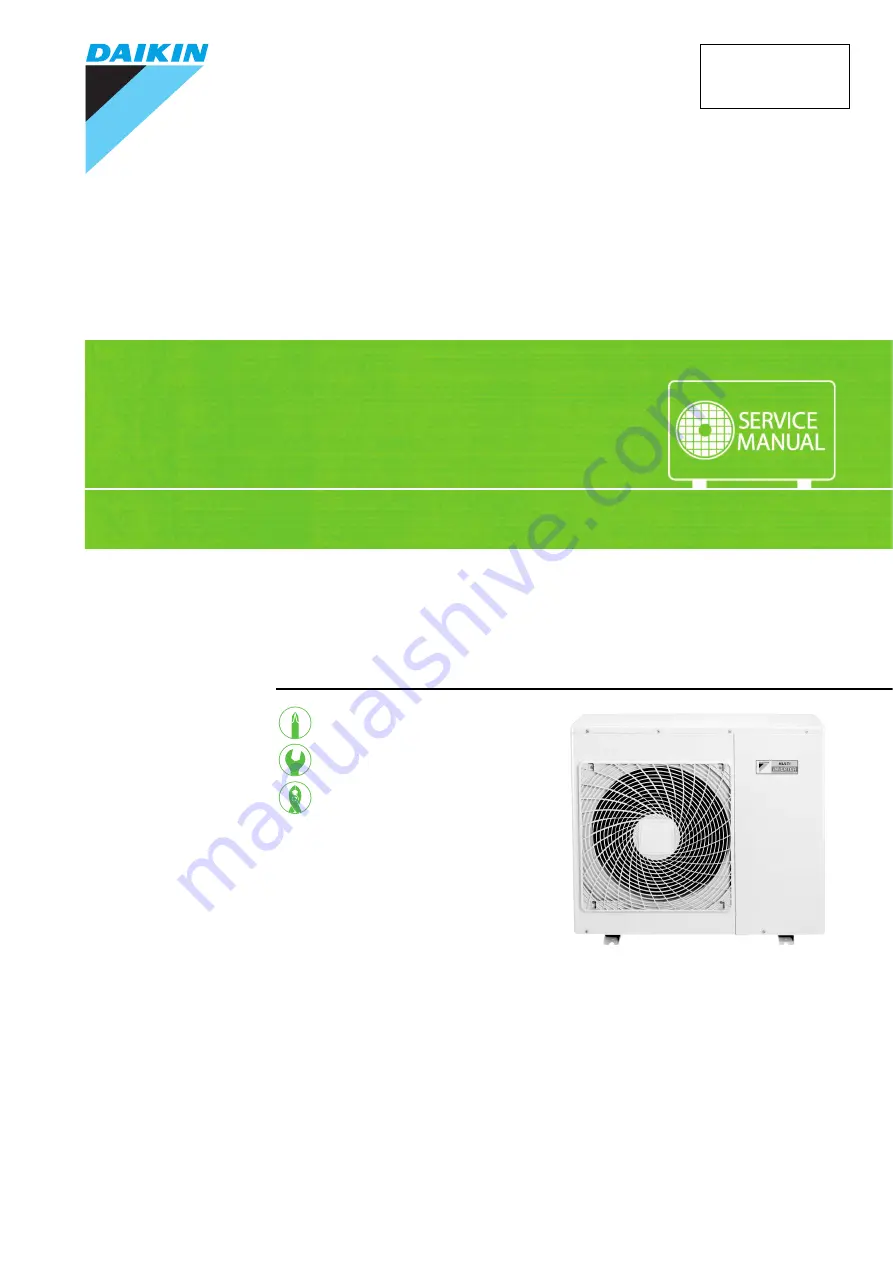
S E R V I C E M A N U A L
Outdoor Unit
Inverter
Multi Type
8.0/9.0/10.0 kW Class
Si121292EC
Page 1: ...REMOVAL PROCEDURE S E R V I C E M A N U A L Outdoor Unit Inverter Multi Type 8 0 9 0 10 0 kW Class Si121292EC ...
Page 2: ...Service Manual Removal Procedure Outdoor Unit zCooling Only zHeat Pump 4MKS80ESG 4MXS80KVM 4MXS100KVM 4MKS80FSG 4MXS80LVMA 4MKS80KVM 4MXS80LVMA9 4MKS100KVM 4MXS80E3V3B 4MKS80LVMA 5MXS90E3V3B 4MKS80LVMA9 ...
Page 3: ... Outer Panels 2 2 Electrical Box 6 3 PCBs 11 4 Fan Motor 14 5 Coils Thermistors 15 6 Sound Blankets 18 7 Compressor 19 Note The illustrations may be slightly different depending on the model The illustrations are for heat pump models as representative ...
Page 4: ...pplies before disassembling work Step Procedure Points 1 Remove the suction grille 1 2 Unfasten the 5 hooks Remove the suction grille 2 Remove the top panel 1 2 Remove the 8 screws Lift the top panel and remove it 3 Remove the right side panel 1 Remove the 5 screws R17585 Hook Hook Suction grille R18781 Top panel R17071 Right side panel ...
Page 5: ...nt panel 2 downward to unfasten the hook 1 Remove the 2 screws and remove the front panel 2 5 Remove the front panel 1 Remove the discharge grille and the outdoor fan before removing the front panel 1 1 2 Remove the 4 screws on the discharge grille Unfasten the 2 hooks at the top and remove the discharge grille Step Procedure Points R18911 Hook Front Panel 2 Hook R18782 R18784 Discharge grille Fro...
Page 6: ...screws 5 Release the hook and remove the front panel 1 6 Remove the rear panel Disconnect the connecting wires and power supply wires 1 Remove the screw on the partition plate 2 2 Slide the partition plate 2 to the left and remove it Step Procedure Points Outdoor fan R16736 13 mm 0 51 inch R18965 R18785 R17716 R17801 Rear panel Partition plate 2 L N Room A Room B Power supply Room C Room D 4 4 4 4...
Page 7: ...3 screws on the wire fixture lower 6 Remove the wire fixture lower 7 Release the holder and harness of the outdoor temperature thermistor 8 Remove the 5 screws 9 Unfasten the 2 hooks and remove the rear panel Step Procedure Points R17902 Wire fixture upper R17936 Wire fixture lower Holder R17717 Outdoor temperature thermistor Hook R17718 ...
Page 8: ...ff all power supplies before disassembling work Step Procedure Points 1 Remove the 2 screws to detach the earth ground wires 2 Disconnect the connector S70 S70 fan motor 3 Release the fan motor lead wire from the 5 hooks When reassembling do not use these 2 hooks R20764 Earth ground wire S70 R10397 R17268 Fan motor lead wire ...
Page 9: ...xpansion valve coil and pull out the clamp S20 white room A S21 red room B S22 blue room C S23 yellow room D 5 room models also have S24 green for room E When reassembling insert each clamp into the hole 6 Disconnect the connector S93 and pull out the clamp S93 liquid pipe thermistor Step Procedure Points S80 Clamp R11187 S20 S21 S22 S23 Clamp R20765 For the electronic expansion valve coil For S93...
Page 10: ...hermistor ASSY When reassembling insert the clamp into the hole 9 10 Release the thermistor harness from the hook at the bottom of electrical box Pull out the clamp of the thermistor harness from the hole of the electrical box Step Procedure Points S92 R10537 Clamp For S92 R17905 S90 Clamp R10538 For thermistor ASSY R17906 Clamp Hook R6420 Fixing position for the thermistor harness When reassembli...
Page 11: ...the connector S40 S40 overload protector 12 13 Release the clamp Disconnect the relay connector for the compressor 14 Remove the screw on the stop valve mounting plate Step Procedure Points S40 R10539 R20766 Clamp R10395 Electrical box Stop valve mounting plate ...
Page 12: ...Electrical Box Si121292EC 10 Removal Procedure 15 Remove the screw on the partition plate 1 16 17 Unfasten the hook Remove the electrical box Step Procedure Points R6411 Partition plate 1 Hook R17579 ...
Page 13: ...isassembling work Step Procedure Points 1 Remove the main PCB 1 Remove the cover of the electrical box Release the 4 hooks The hooks are marked with W 2 Remove the 3 screws 3 Unfasten the 4 hooks 4 Lift up the main PCB 5 Disconnect the connectors from the main PCB 6 Remove the main PCB Hook Hook R18783 Main PCB Cover R6427 R10405 R17907 ...
Page 14: ...3 screws and remove the reactor 3 Remove the service monitor PCB 1 Disconnect the connectors S52 S102 from the service monitor PCB 2 Unfasten the top and bottom hooks and remove the service monitor PCB Step Procedure Points R10409 Reactor R6434 R10410 S102 S52 Service monitor PCB R17803 Hook ...
Page 15: ...Si121292EC PCBs Removal Procedure 13 4 Remove the terminal board 1 Remove the screw 2 Unfasten the hook 3 Remove the terminal board Step Procedure Points R17804 Terminal board Hook R10413 ...
Page 16: ... 1 2 Remove the 2 lower screws first Then remove the 2 upper screws Be sure to remove the lower screws 1 first If the top screws 2 are removed first the fan motor may tilt down or fall and cause injury because its center of gravity is shifted to the front 3 Remove the fan motor When reassembling make sure that the wire harness is facing downward 2 1 R6442 Fan motor R6443 Harness R6444 ...
Page 17: ...1 Remove the electronic expansion valve coils 1 Pull out the electronic expansion valve coils 2 Remove the thermistors When reassembling place the thermistor so that its edge comes up to the edge of the fixture Be careful not to lose the fixtures for the thermistors 1 Pull out the gas pipe thermistors Electronic expansion valve coil R10415 Gas pipe thermistor R17412 R18786 Fixture Gas pipe thermis...
Page 18: ...to lose the clips for the thermistors 3 Pull out the outdoor heat exchanger thermistor Be careful not to lose the clip 4 Slightly open the sound blanket outer Step Procedure Points Liquid pipe thermistor R17413 R6450 Liquid pipe thermistor Clip R17805 Outdoor heat exchanger thermistor Clip Clip R5619 R10418 Sound blanket outer ...
Page 19: ...o the end of the fixture Be careful not to lose the fixture for the discharge pipe thermistor 3 Remove the four way valve coil The cooling only models have no four way valve coil 1 Remove the screw 2 Remove the four way valve coil Step Procedure Points R10419 Sound blanket top upper R10420 Discharge pipe thermistor Fixture R10536 Pipe Thermistor Four way valve coil R18787 ...
Page 20: ...op upper 3 Remove the screw from the partition plate 1 and push the plate to the left slightly for easy work 4 Remove the sound blanket outer 5 Remove the sound blanket top lower 6 Remove the sound blanket inner The sound blanket is fragile Be careful of the notches of the compressor mount 3 locations R18788 Sound blanket top upper Sound blanket outer R17807 Sound blanket outer Partition plate 1 R...
Page 21: ...e refrigerant gas Restore the piping by non oxidation brazing Note Before working make sure that the refrigerant gas is empty in the circuit Be sure to apply nitrogen replacement when heating up the brazed part Do not use a metal saw for cutting pipes by all means because the sawdust comes into the circuit When withdrawing the pipes be careful not to pinch them firmly with pliers The pipes may get...
Page 22: ...or 4 Heat up the brazed part of the discharge side pipe a and withdraw the piping Some models have 3 nuts 5 Heat up the brazed part of the suction side pipe b and withdraw the piping 6 Remove the 2 nuts 7 Remove the compressor Step Procedure Points R9471 W blue U red Overload protector V yellow R13197 a b R10440 ...
Page 23: ... Month Year Version Revised contents 09 2012 Si121292 First edition 04 2013 Si121292_A Model addition 4MXS80E3V3B 5MXS90E3V3B 08 2014 Si121292EB Model addition 4MK X S80LVMA9 04 2015 Si121292EC Model addition 4MKS80FSG ...
Page 24: ...ories supplied or specified by Daikin Ask a qualified installer or contractor to install those parts and accessories Use of unauthorised parts and accessories or improper installation of parts and accessories can result in water or refrigerant leakage electrical shock fire or explosion z Read the user s manual carefully before using this product The user s manual provides important safety instruct...