REMOVAL
PROCEDURE
S E R V I C E M A N U A L
5.8/6.8/7.1/7.5 kW Class
Outdoor Unit
Inverter
Multi Type
Si12-793
Page 1: ...REMOVAL PROCEDURE S E R V I C E M A N U A L 5 8 6 8 7 1 7 5 kW Class Outdoor Unit Inverter Multi Type Si12 793 ...
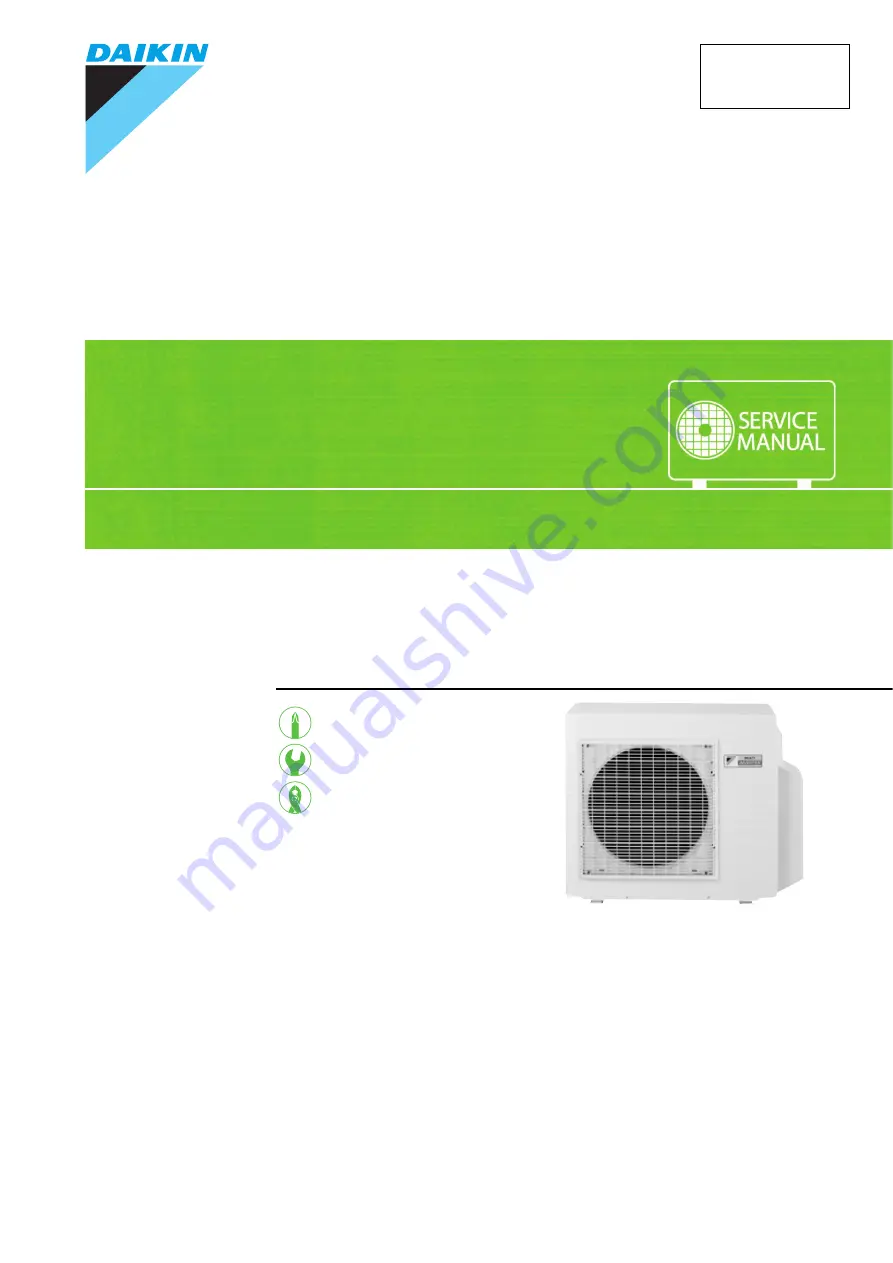
Page 2: ...Service Manual Removal Procedure Outdoor Unit zCooling Only zHeat Pump 3MKD75BVMA8 3MXD68BVMA8 2MKD58DVM 3MXS68EVMA 3MKD58DVM 3MKD75DVM 4MKD75DVM 4MKS71DVM 3MKS71ESG 3MKS75EVMA ...
Page 3: ...emoval of Fan Motor 10 5 Removal of Sound Blankets 11 6 Removal of Coils Thermistors 13 7 Removal of Four Way Valve Defrost Solenoid Valve 15 8 Removal of Distributor 17 9 Removal of Compressor 18 Note The illustrations may be slightly different depending on the model The illustrations are for heat pump models as representative ...
Page 4: ...ter turning off all power supplies before disassembling work Step Procedure Points 1 External appearance 2 Remove the 4 screws of the top panel and the 6 screws of the front panel 3 Remove the 4 screws of the discharge grille 4 Remove the 2 screws of the piping cover R2159 Top panel Discharge grille Front panel R10351 R10352 Piping cover ...
Page 5: ... the terminal board fixing screw Match the colors of the connection wires to A B and C ports as follows 1 Black Power supply 2 White Power supply 3 Red Transmission The wires are fixed to the terminal board with screws Electrical box Electronic expansion valve coils Service monitor PCB A port B port C port Service port R3063 Outdoor temperature thermistor Liquid pipe Gas pipe R2163 Terminal board ...
Page 6: ...S22 2 Remove the connector for the four way valve coil S80 The cooling only models do not have the harness for S80 3 Disconnect the connectors for the thermistors S90 S92 S93 and the connector for the overload protector S40 S40 Overload protector S90 Thermistor outdoor temperature outdoor heat exchanger discharge pipe S92 Gas pipe thermistor S93 Liquid pipe thermistor Step Procedure Points R2165 V...
Page 7: ...connector of the compressor 5 Remove the reactor lead wires 3 Remove the wire fixing plate 1 Remove the 2 screws of the wire fixing plate 4 Remove the electrical box 1 Remove the screw of the electrical box Step Procedure Points R2169 Reactor R2170 R11309 Wire fixing plate R2172 ...
Page 8: ...ove the screw of the electrical box 3 Remove the drip proof cover 4 Disconnect the connector for the fan motor S70 from the inverter PCB 5 Lift up the electrical box and dismount it Step Procedure Points R2173 Drip proof cover R2174 Inverter PCB S70 R2175 R2176 ...
Page 9: ... the main PCB When reassembling insert the base bar into the hole of the main PCB 1 Remove the screw of the main PCB and unfasten the 2 hooks 2 Unfasten the hook of the terminal board and open the terminal board 3 Disconnect each connector S11 HE HL HN on the back of the terminal board 4 Disconnect the connectors S52 S102 from the service monitor PCB Main PCB R2177 Base bar R2178 Hook S11 HL HN R1...
Page 10: ...5 Lift up the main PCB 6 Disconnect the connectors S31 S32 S33 S71 H1 H2 7 The figure shows the main PCB Step Procedure Points R2181 S31 S71 S33 R10362 H1 yellow S32 H2 blue R10363 S80 S21 S20 S40 S31 S71 S33 S32 H2 H1 FU2 3 15A S90 S92 S93 R10356 ...
Page 11: ...CB MID2 1 Remove the 7 screws and remove the inverter PCB MID2 Step Procedure Points Priority room setting switch SW4 Wiring error check switch SW3 Forced operation ON OFF switch SW1 NIGHT QUIET mode setting switch SW5 Operation mode switch SW2 Hook Hook R17348 LED A LED 1 LED 2 LED 3 LED 4 FU201 3 15A Inverter PCB MID2 R10355 ...
Page 12: ... the connector for the fan motor Nut size M6 When reassembling align the mark of the outdoor fan with the D cut section of the motor shaft When reassembling fix the fan motor lead wire to the clamps to avoid contact with the outdoor fan 2 Remove the 2 screws of the fan motor mount 3 Disconnect the for motor lead wire by releasing the 2 clamps fixing the wire Remove the 4 screws to remove the fan m...
Page 13: ...nutes or more after turning off all power supplies before disassembling work Step Procedure Points 1 Remove the 5 screws of the right side panel 2 Release the clamp with pliers Some models do not have the clamp 3 Remove the 2 screws of the partition plate and remove the plate Right side panel R2191 R16508 Partition plate R11311 ...
Page 14: ...edure 4 Remove the sound blanket top upper top inner outer inner Step Procedure Points Sound blanket top Sound blanket top inner Sound blanket inner Sound blanket outer Carefully remove the sound blanket which is easily torn in the piping section R4765 ...
Page 15: ... way valve coil 2 Remove the screw and remove the defrost solenoid valve coil 3 Remove the electronic expansion valve coil for each room 4 Release the fixture and remove the discharge pipe thermistor Place the thermistor so that its end comes up to the end of the fixture Be careful not to lose the fixture for the discharge pipe thermistor Four way valve coil R2194 Defrost solenoid valve coil R2195...
Page 16: ... lose the clip or fixtures for the liquid and gas pipe thermistor 6 Remove the wire harness S90 Outdoor temperature thermistor Blue Heat exchanger thermistor Gray Discharge pipe thermistor Black S92 Gas pipe thermistor Room A Black Room B Gray Room C Brown S93 Liquid pipe thermistor Room A Black Room B Gray Room C Yellow Step Procedure Points R2198 Gas pipe thermistor Liquid pipe thermistor R2199 ...
Page 17: ...ect all the refrigerant gas Cautions for restoration 1 Restore the piping by non oxidation brazing 2 It is required to prevent the carbonization of the oil inside the four way valve and the deterioration of the gaskets affected by heat Keep below 120 C For the sake of this wrap the four way valve with wet cloth and provide water so that the cloth does not dry In case of difficulty with gas brazing...
Page 18: ... solenoid valve Note Do not use a metal saw for cutting pipes by all means because the sawdust comes into the circuit When withdrawing the pipes be careful not to pinch them firmly with pliers The pipes may get deformed Provide a protective sheet or a steel plate so that the brazing flame cannot influence peripheries Step Procedure Points f e R12395 ...
Page 19: ...gas Cautions for restoration 1 Restore the piping by non oxidation brazing 2 It is required to prevent the carbonization of the oil inside the four way valve and the deterioration of the gaskets affected by heat Keep below 120 C For the sake of this wrap the four way valve with wet cloth and provide water so that the cloth does not dry In case of difficulty with gas brazing machine 1 Disconnect th...
Page 20: ...es or more after turning off all power supplies before disassembling work Step Procedure Points 1 2 Remove the terminal cover Disconnect the compressor lead wires 3 Remove the 2 sheets of putty 4 Remove the 3 nuts Terminal cover Compressor lead wire V yellow W blue U red N brown Terminal nameplate R16026 R2205 Putty R10373 ...
Page 21: ...ation brazing 2 It is required to prevent the carbonization of the oil inside the four way valve and the deterioration of the gaskets affected by heat Keep below 120 C For the sake of this wrap the four way valve with wet cloth and provide water so that the cloth does not dry In case of difficulty with gas brazing machine 1 Disconnect the brazed part where is easy to disconnect and restore 2 Cut p...
Page 22: ...Revision History Month Year Version Revised contents 07 2013 Si12 793 First edition ...
Page 23: ...sories supplied or specified by Daikin Ask a qualified installer or contractor to install those parts and accessories Use of unauthorised parts and accessories or improper installation of parts and accessories can result in water or refrigerant leakage electrical shock fire or explosion z Read the User s Manual carefully before using this product The User s Manual provides important safety instruc...