60
Latch
Click
Setting
under
Alarm Out
to set the latch.
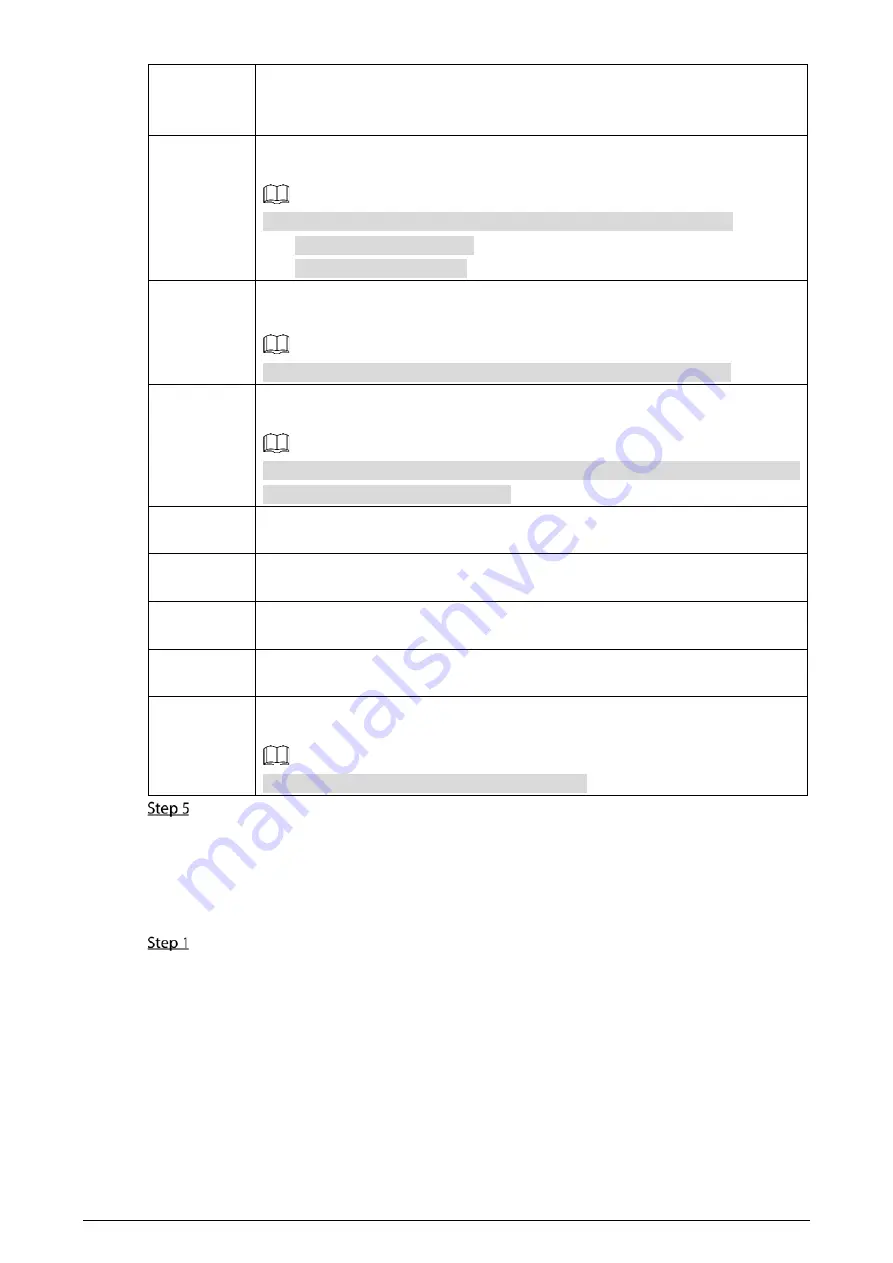
Set a length of time during which the device continues alarm output after the
alarm ends.
Record
channel
Select the corresponding check box and set a record channel. When an alarm
event occurs, the corresponding channel starts recording automatically.
Two more conditions must be satisfied before recording function works:
Alarm recording is enabled.
Auto recording is enabled.
Snapshot
Select the corresponding check box and set the channel. When an alarm event
occurs, the corresponding channel starts capturing automatically.
You can also configure the frequency, size, and quality of the snapshots.
Tour
Select the corresponding check box and the channel. When an alarm event
occurs, a tour of the selected channels is displayed on the device local interface.
When the alarm linkage tour is finished, the Live interface returns to the window
split mode as before the alarm occurs.
Anti-dither
Click
More
to set the anti-dither time.
The system records only one alarm input event during this period.
Show
message
Click
More
, and select the corresponding check box to trigger a pop-up message
in your local host PC when an alarm event occurs.
Buzzer
Click
More
, and select the corresponding check box to trigger a buzzer noise on
the device when an alarm event occurs.
Log
Click
More
, and select the corresponding check box to enable the device to create
a local alarm log when an alarm event occurs.
Send email
Click
More
, and select the corresponding check box. When an alarm event occurs,
the system sends email to the specified mailbox.
Set your e-mail first before enabling this function.
Click
OK
.
5.1.3
Configuring Exception
You can configure the ways to handle the device when errors occur.
On the main web interface, select
ALARM > Exception > Disk
.
The
Disk
interface is displayed. See Figure 5-5


