


45
10. Click
Yes
, and then click
OK
on the pop-up window.
●
If you select
install signed certificate
, follow the steps below.
1. Select
Setting Safety
>
System
>
Safety
>
HTTPS
.
2. Select
Enable HTTPS
, and
Compatible with TLSv1.1, and earlier versions
.
3. Click
Browse
to upload the signed certificate and certificate key, and then click
Upload
.
4. To install the root certificate, see operation steps from 4 to 10 in
Create Certificate
.
Step 2
Select
Enable HTTPS
, and click
Confirm
.
The configuration takes effect until the Camera restarts.
Step 3
Use HTTPS to log in to the Camera.
1. Enter https://
xx.xx.xx.xx
in the browser.
xx.xx.xx.xx
is the device IP address or domain name.
2. Enter the username and the password to log in to the Camera.
5.4.6.3.3 Firewall
Set the security rules to protect the safety of your camera system.
Step 1
Select
Setting
>
System
>
Safety
>
Firewall
.
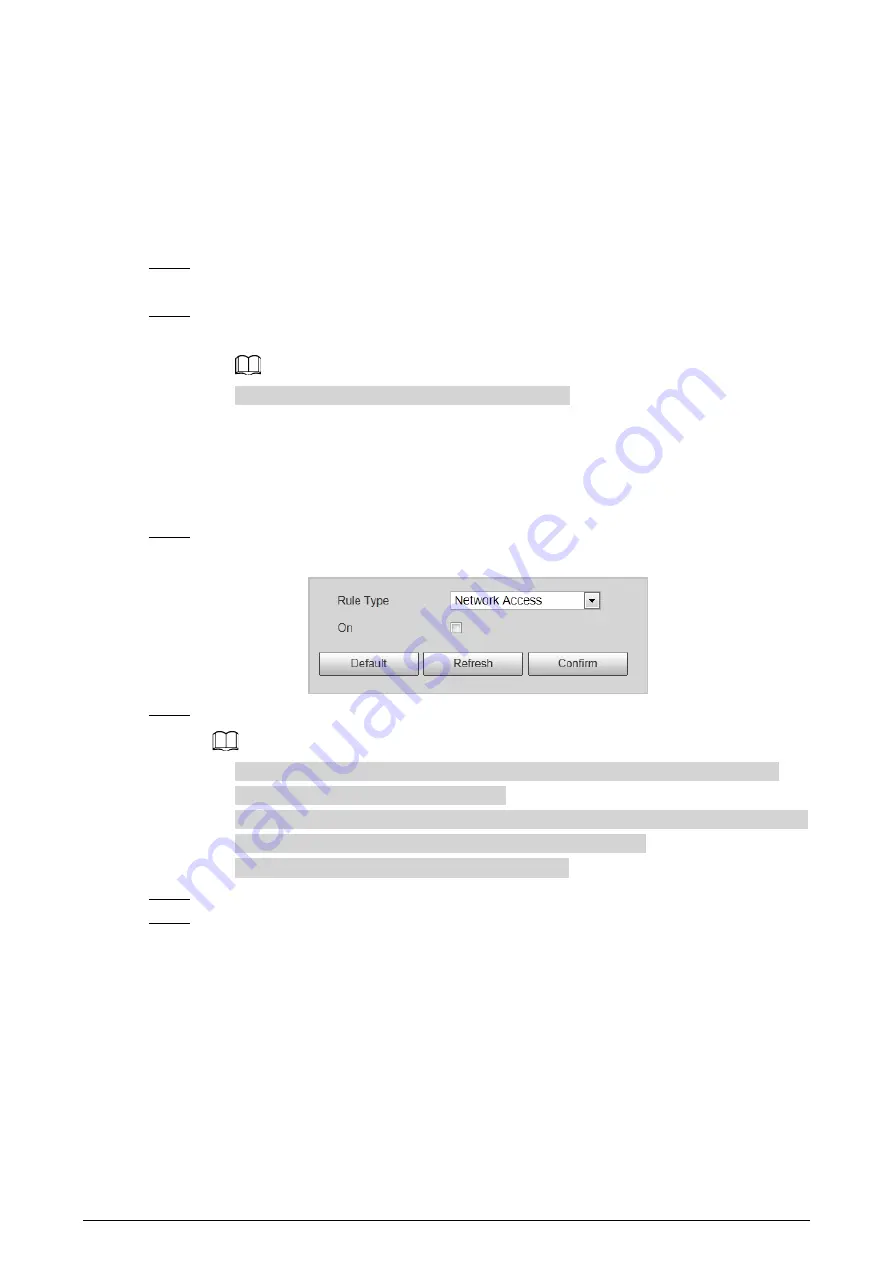
Figure 5-47 Firewall
Step 2
Select
Rule Type
.
●
Network Access
: Add the IP address to allowlist or blocklist to allow or restrict it to
access corresponding ports of the device.
●
PING Prohibited
: IP address of your camera is prohibited from ping. This helps prevent
attempt of accessing your network system without permission.
●
Prevent Semijoin
: Prevents half-open SYN attacks.
Step 3
Select
On
to enable the selected rule type.
Step 4
Click
Confirm
.
5.4.6.4 Default Settings
You can restore the device to default settings or factory defaults.
Select
Setting
>
System
>
Default
, and then select
Default
or
Factory Default
as needed.
●
Default
: Restore your settings to default value. In this case, network IP address information of the
Camera will not restore to default settings.
●
Factory Default
: Restore the system to factory default settings. In this case, the Camera will
restart, and you need to initialize the Camera before any further operation.