


267
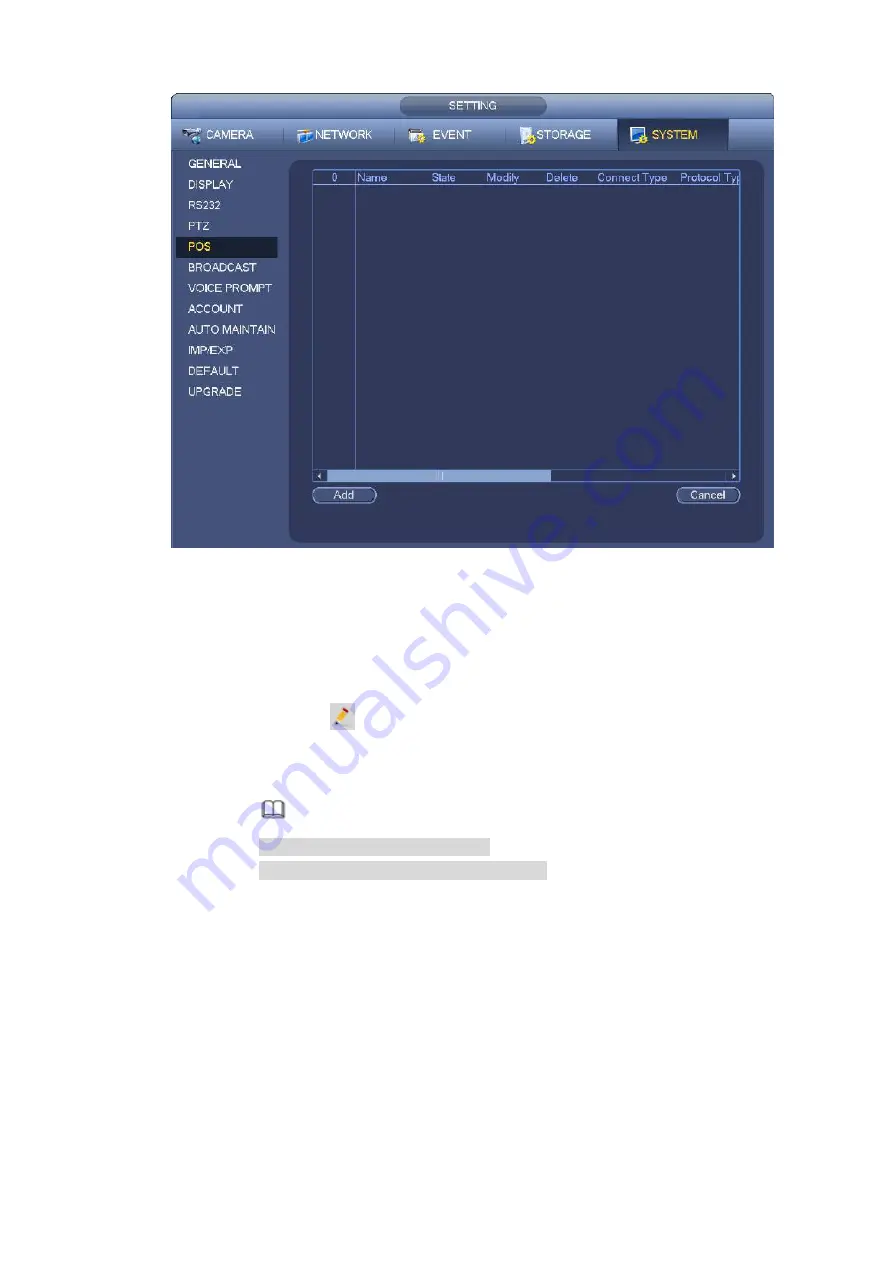
Figure 4-158
Step 2 Click Add button, the interface is shown as below. See Figure 4-159.
Set parameters.
Enable: Check the box to enable POS function.
Name: Set POS name.
1. Click
2. Input POS name on the pop-up dialogue box.
3. Click OK button.
Note
The POS name shall be unique.
System max supports 64 English letters.
Event: Set POS arm/disarm period, record channel and etc. Click Setup to go to the
interface. For detailed information, please refer to chapter 4.7.1.1 motion detect.
Privacy
:
After enable this function, once the overlay information contain the privacy
character, it displays as *. For example, the privacy character is 12,56,89, the local preview and
WEB surveillance information is shown as **34**7** if the overlay information is 123456789. For
detailed information, please refer to chapter 4.7.12.1 privacy setup.
Protocol type: The default setup is POS.
Connection type: It is to set and NVR connection mode. It includes UDP,TCP,RS232,RS485.
After set the connection type, please click the Setup button to set the corresponding parameters.
For detailed information, please refer to chapter 4.7.12.2 connection type.
Convert: It is to set font type.
Overlay: It is to set overlay mode. It includes turn and roll.
Summary of Contents for DHI-NVR5224-24P-4KS2
Page 1: ...Network Video Recorder User s Manual V4 3 2...
Page 136: ...124 Figure 3 5 3 6 6 NVR42N Series Please refer to Figure 3 6 for connection sample Figure 3 6...
Page 140: ...128 Figure 3 11 3 6 12 NVR42V 8P Series Please refer to Figure 3 12 for connection sample...
Page 141: ...129 Figure 3 12...
Page 155: ...143 Figure 4 15 Step 2 Click device display edit interface See Figure 4 16...
Page 218: ...206 Figure 4 93 Figure 4 94...
Page 238: ...226 Figure 4 110 Figure 4 111 Figure 4 112...
Page 249: ...237 Figure 4 123 Figure 4 124...
Page 251: ...239 Figure 4 126 Click draw button to draw the zone See Figure 4 127...
Page 255: ...243 Figure 4 130 Click Draw button to draw a zone See Figure 4 131 Figure 4 131...
Page 260: ...248 Figure 4 136 Click draw button to draw the zone See Figure 4 137...
Page 273: ...261 Figure 4 148 Figure 4 149...
Page 274: ...262 Figure 4 150 Figure 4 151...
Page 384: ...372 Figure 5 60 Figure 5 61...
Page 385: ...373 Figure 5 62 Figure 5 63...
Page 409: ...397 Figure 5 96 Figure 5 97...