background image

Application Quick Start Guide 

1 Operating with DMSS 

Make sure that there are no obstacles and electromagnetic interference between the device and the 
router for best possible wireless performance. 
Step 1 

Add the device. 
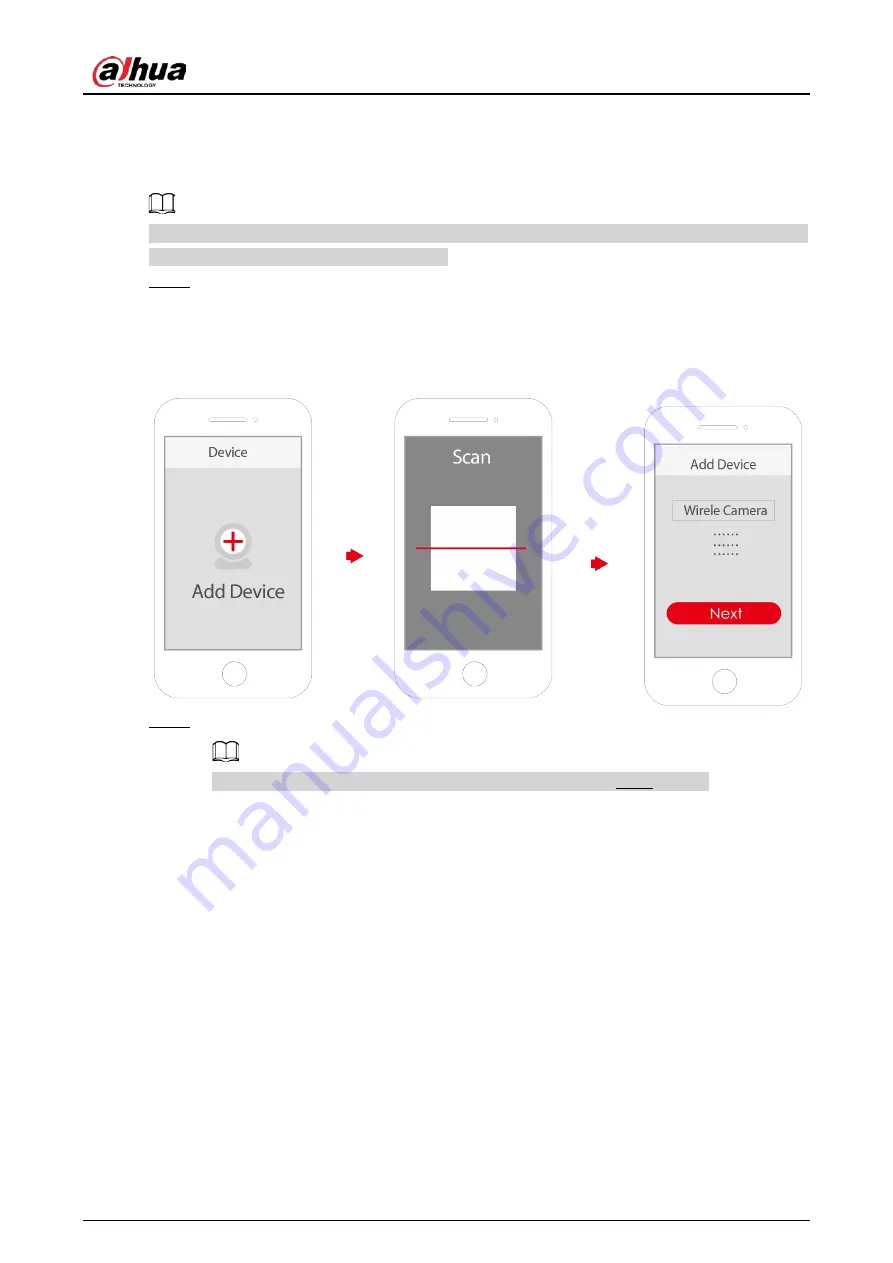
1)  Tap + button on the upper-right corner of the DMSS home page to scan the QR code

on the camera. If your DMSS fails to scan the QR code, tap Manually enter SN.

2)  Select Wireless Camera.

Figure 1-1 Add the device 

Step 2 

Configure the device hotspot. 

If you connect the device with Ethernet cable, please jump to Step4 directly. 

1)

 Make sure that the device is connected to power and enables device hotspot, and 
then


click Next.

2)

 Go to Wi-Fi settings of your mobile phone, 

and then 

connect hotspot named DAP-

xxxxxxxx.

3)

 Create the username and password for the device and then tap Next. 

Summary of Contents for D-IPC-HDBW1230DEP-SW-0280B

Page 1: ...Dome Network Camera Application Quick Start Guide ZHEJIANG DAHUA VISION TECHNOLOGY CO LTD V1 0 1...

Page 2: ...erating with DMSS 1 2 Installation 3 2 1 Packing List 3 2 2 Dimensions 3 2 3 Installing Camera 4 2 3 1 Installation Method 4 2 3 2 Installing SD Card 4 2 3 3 Attaching Camera 4 2 3 4 Optional Installi...

Page 3: ...code on the camera If your DMSS fails to scan the QR code tap Manually enter SN 2 Select Wireless Camera Figure 1 1 Add the device Step 2 Configure the device hotspot If you connect the device with Et...

Page 4: ...otspot Step 3 Configure the Wi Fi Select your Wi Fi network from SSID list and then enter the password Step 4 Configure the device information 1 Create the device name and password 2 Set the time zone...

Page 5: ...List The tool required for the installation such as electric drill is not provided in the package The operation manual and related tool information are contained in the disk or the QR code Figure 2 1...

Page 6: ...power before installing or removing the SD card Do not open the cover for a long time to avoid spray in cameras Press the reset button for 10 seconds to reset the device Figure 2 4 Install SD card 2 3...

Page 7: ...able going through the side cable tray Figure 2 6 Cable going through the mounting surface 2 3 4 Optional Installing Waterproof Connector This part is needed only when a waterproof connector comes wit...

Page 8: ...Application Quick Start Guide 6 Figure 2 7 Install waterproof connector 2 3 5 Adjusting Lens Angle Figure 2 8 Adjust lens angle...

Page 9: ...Application Quick Start Guide...

Reviews: