User’s Manual
Be sure ice maker is standing upright 24 hours prior to plug-in.
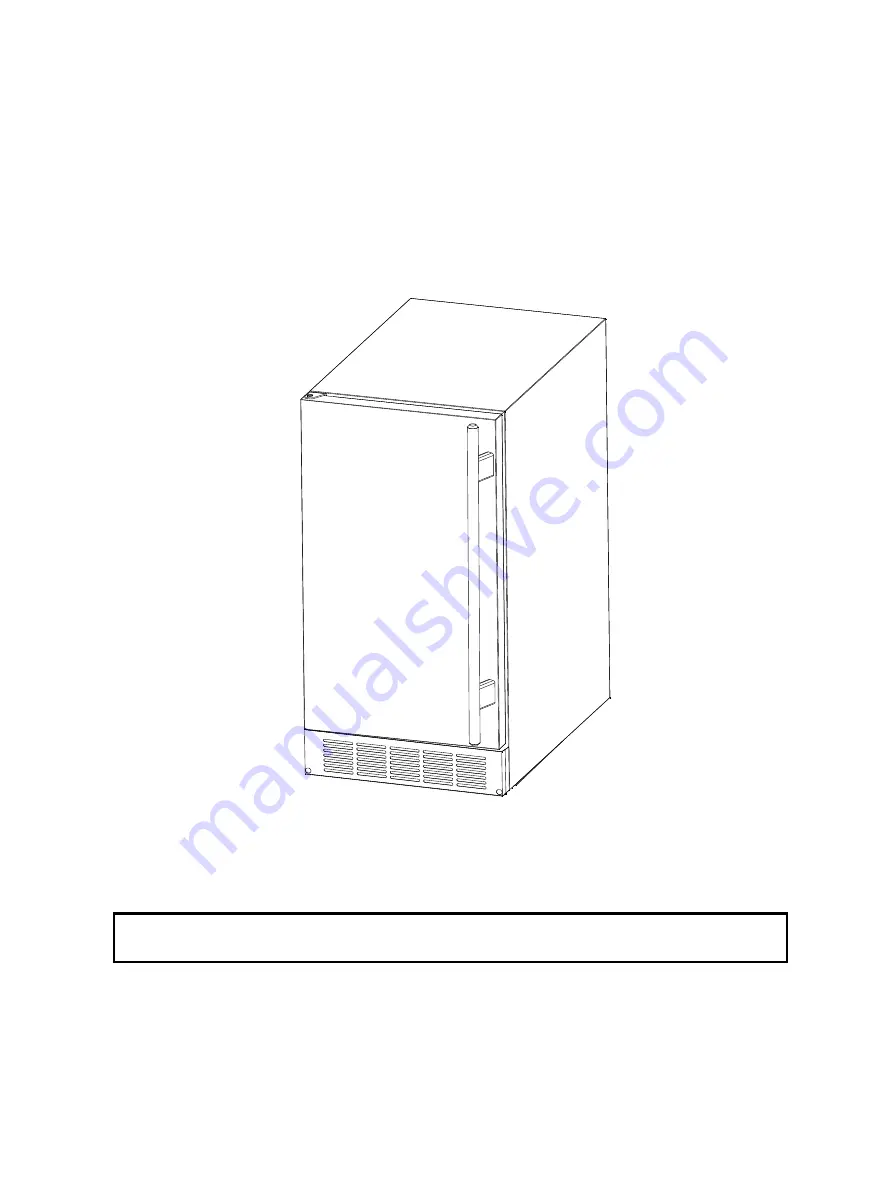
Model:
HI50IB20SS
Automatic Undercounter Ice Maker
Page 1: ...User s Manual Be sure ice maker is standing upright 24 hours prior to plug in Model HI50IB20SS Automatic Undercounter Ice Maker...
Page 2: ...15 18 Final check list before operation 15 Operating method 15 16 How the machine makes ice 16 How the machine uses the water 16 17 Normal sounds 17 Preparing the ice maker for long storage 17 18 CLE...
Page 3: ...roduct damage serious personal injury or death CAUTION means that failure to heed this safety statement may result in minor or moderate personal injury or property or equipment damage All safety messa...
Page 4: ...ine of the unit is disconnected and the water line is shut off Before operating pull all panels back into place Never allow children to operate play with or crawl inside the ice maker Do not touch the...
Page 5: ...discolor the interior The ice machine cleaner contains acids Do not use or mix with any other solvent based cleaning products Use rubber gloves to protect hands Carefully read the safety instructions...
Page 6: ...Ice making harvest rated current 3 0A 3 6A Refrigerant R134a 3 88 oz High Low side pressure 350 psig 130 psig Width x depth x height 14 x 23 x 33 Unit weight 84 lbs Maximum ice storage 25 lbs Ice mak...
Page 7: ...T LOCATIONS Water distribution tube Evaporator ice mold Water trough Float Ice storage bin Control panel Front louver panel Door Caster Ice scoop Power cord Water inlet Drain outlet Water supply hose...
Page 8: ...th warm water and dry Do not use sharp instruments rubbing alcohol flammable fluids or abrasive cleaners to remove tape or glue These products can damage the surface of your ice maker Cleaning before...
Page 9: ...perature of the water feeding into the ice maker should be between 41 F 5 C and 90 F 32 C for proper operation It is strongly recommended that a water filter be used A filter if it is of the proper ty...
Page 10: ...use or circuit breaker size should be 15 amperes Recommended grounding method For your personal safety this appliance must be grounded This appliance is equipped with a power supply cord having a 3 pr...
Page 11: ...move the machine This is useful for cleaning and sanitizing the surface on which the ice maker is installed because it allows you to move the unit and have easy access to the surface to be cleaned IM...
Page 12: ...tom hinge and place the hinge on the opposite side at the top of the door tightening the bolt 5 Position the door on the bottom hinge 6 Using a flathead screwdriver fix the bolt on the top hinge 7 Pus...
Page 13: ...ssion union to the tubing and remove the nut 4 Connect the nut of the water supply hose to the tap and connect the other end with the water inlet Tighten firmly by hand then one half turn with wrench...
Page 14: ...aste receptacle A standpipe with a trap below it would be acceptable for the drain waste receptacle A floor drain is also acceptable If this is not possible the use of a condensate pump is recommended...
Page 15: ...he same requirements as a mobile installation Built in installation If this method of installation is chosen it will still be necessary to allow adequate ventilation space around the unit The followin...
Page 16: ...there a clearance of at least 4 102 mm at the rear and 1 25 mm at top and sides for proper air circulation 8 Has the power supply voltage been checked or tested against the nameplate rating And has p...
Page 17: ...omplete cycle takes about 20 minutes but it depends on temperature and operating conditions Freeze During the freeze cycle the compressor is pumping refrigerant the fan motor is blowing air and the wa...
Page 18: ...You may hear air being forced over the condenser by the condenser fan During the harvest cycle you may hear the sound of ice cubes falling into the ice storage bin Preparing the ice maker for long sto...
Page 19: ...ial considerations What shouldn t be done Never keep anything in the ice storage bin that is not ice objects like wine and beer bottles are not only unsanitary but the labels may slip off and plug up...
Page 20: ...e It is usually convenient to sanitize the trough after the ice making system has been cleaned and the ice storage bin is empty 1 Disconnect the power to the unit 2 Open the door and take out the remo...
Page 21: ...ly 2 Disconnect the water hose from the distribution tube 3 Gently take out the distribution tube 4 With a brush clean the tube with a dilute solution of warm water and a mild detergent such as dishwa...
Page 22: ...tside covering the entire surface of the walls 7 Fill a spray bottle with the sanitizing solution and spray all corners and edges making sure to cover all surfaces with the solution 8 Allow the soluti...
Page 23: ...de controlled by a fixed timer 3 Ice Harvest Yellow LED Ice harvest indicator light When this is lit the unit is working in the ice harvest mode controlled by the ice full probe 4 Mode button Mainly f...
Page 24: ...econds without any operation the unit will return to the previous mode NOTE During the ice size adjustment when the BIN FULL ICE and HARVEST LEDS blinking all at once indicate that the unit is in the...
Page 25: ...e some ice cubes Be sure the ice full probe is free of ice The water doesn t feed in after the machine starts The water supply tap is turned off Turn on the water supply tap The water supply pipe is n...
Page 26: ...d leave the ice maker disconnected until the temperature returns to within the stated range The ice storage bin is full of ice Remove some ice cubes make sure the ice full probe is free of ice The bod...