background image

INSTALLERS

Please review this manual carefully before contacting Technical Support.

PRODUCT OWNERS:

  Please contact your authorised Meridian/Faroudja dealer for product or 

installation questions.
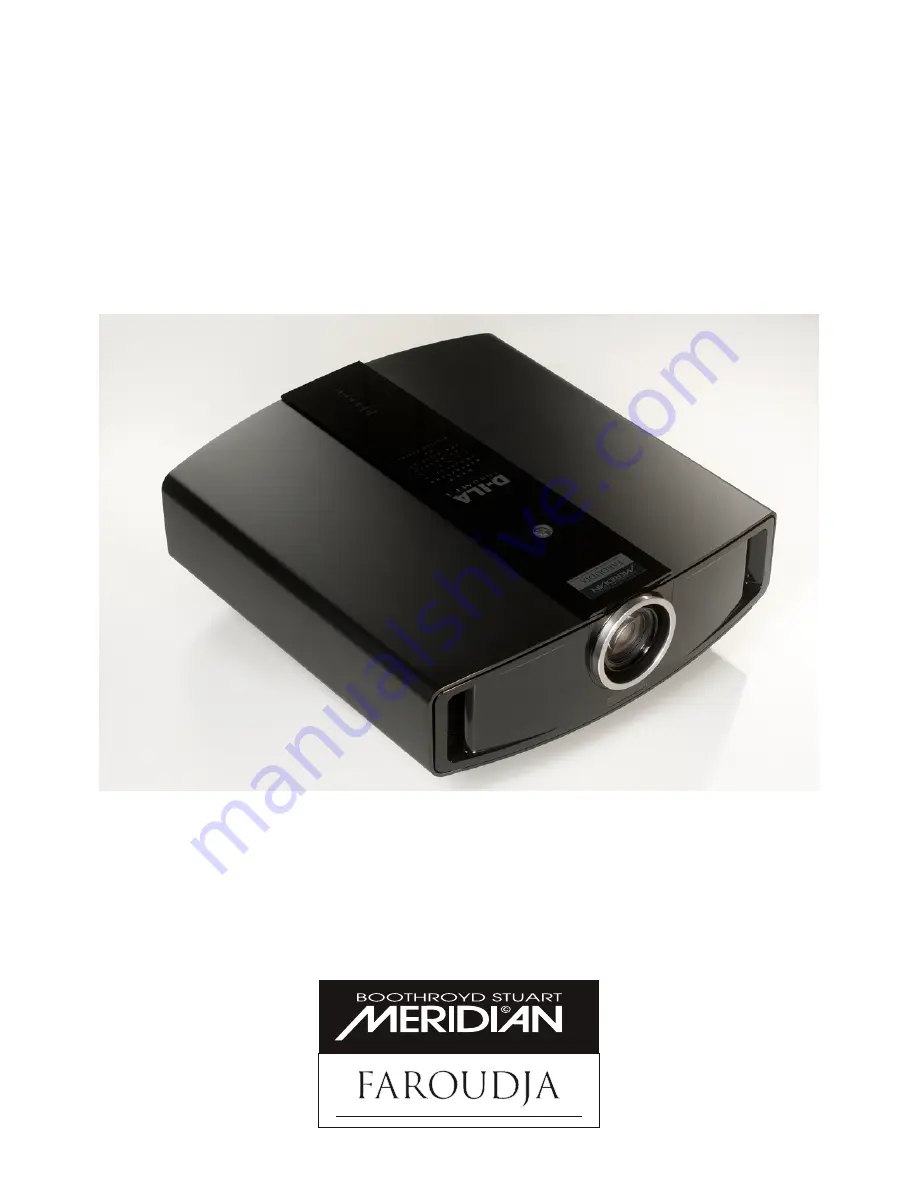
D-ILA 1080MF1

HD

 D-ILA Digital Video Projector

PRELIMINARY

Installation and Operation Manual

Summary of Contents for D-ILA 1080MF1

Page 1: ...ully before contacting Technical Support PRODUCT OWNERS Please contact your authorised Meridian Faroudja dealer for product or installation questions D ILA 1080MF1 HD D ILA Digital Video Projector PRE...

Page 2: ...For Customer use Enter the serial number of your unit located on the side panel of the cabinet below Retain this information for future reference...

Page 3: ...hich can be determined by turning the equipment off and on the user is encourage to try to correct the interference by one or more of the following measures Reorient or relocate the receiving antenna...

Page 4: ...s receptacles and the point where they exit from the product For added protection of this product during a lightning storm or when it is left unattended and unused for long periods of time unplug it f...

Page 5: ...NOT allow any unqualified person to install the unit Be sure to ask your dealer to install the unit e g attaching it to the ceiling since special technical knowledge and skills are re quired for inst...

Page 6: ...national legislation or other rules in your country for the treatment of old electrical and electronic equipment Caution Avoid Burning in of the D ILA Device Do not allow the same still picture to be...

Page 7: ...tack the enclosure Do not spray volatile chemicals such as insecti cide on the unit Do not allow prolonged contact with rubber or plastic products Dirt on the lens should be removed using commercial...

Page 8: ...ngs Using Menus 23 Menu structure 23 Menu operation buttons 24 Accessing the menus 30 Menu configuration 25 Replacing the Lamp 27 The lamp and lamp usage time 27 Lamp replacement procedure 28 Resettin...

Page 9: ...When operating with the remote control aim it towards the sensor Also see page 14 A remote sensor is also located on the rear of the unit E Lens Cap Fit the cap on the lens when this unit is not in us...

Page 10: ...to this socket D Remote Sensor Rear When operating with the remote control aim it towards the sensor Page 14 A remote sensor is also located at the front of the unit E Screen Trigger socket This socke...

Page 11: ...ptions G ENTER Button Press this button to show the next hierarchical menu for example to enter a submenu from the main menu It is also used when ENTER is displayed against a selection item on the men...

Page 12: ...ction D TEMP Indicator Light on The internal temperature of the unit is abnormally high Blinking The lamp needs to be replaced soon or immediately or a failure has occurred in the unit E FAN Indicator...

Page 13: ...Indicator Display Table The projector employs different patterns of indicator illumination to indicate its various operational states as shown by the tables below Top panel indicators Indicator Descri...

Page 14: ...reen reflection remem ber that IR rays travel in straight lines and that rays reaching the screen from the remote will be reflected at the same angle the reflected rays need to arrive at the projector...

Page 15: ...rn to the original image L FOCUS Buttons main labels 2 5 Use these buttons to adjust focus of the pro jected image M HIDE Button main label 7 Press this button to temporarily clear the video image Pre...

Page 16: ...d using this unit at an angle of more than 5 degrees horizontally and 25 degrees vertically Doing so may cause unevenness in the colour and or shorten the lamp life Projection in a location that block...

Page 17: ...come with a function to correct trapezoidal distortion or adjust horizontal gradient View from the side 90 90 90 Screen Install the projector such that the centre of the projection screen is on the sa...

Page 18: ...Use a projection image of 16 9 aspect ratio for setup adjustment Projection Screen Size Aspect Ratio 16 9 Short throw 1 4x Zoom Lens Normal throw 1 9x Zoom Lens Approximate Projecting Distance Approx...

Page 19: ...shift cover from the pro jector Unscrew the knurled aluminium cover on the top of the projector Note Some units may have a smaller cover accessed via a hole in the top cover see illustration Remove th...

Page 20: ...I adaptor cables you can connect a Meridian HDMAX 121 HDMI Extender near the projector end of the run which is especially useful in the case of long cable runs In any event when using a DVI D cable lo...

Page 21: ...outlet Precautions Against Fire and Electric Shock Since the power consumption of this unit is high insert the power plug directly into a wall outlet and not into a multiway adaptor When not using de...

Page 22: ...will need to go to the Options menu to unlock them To enlarge the screen size press the ZOOM T button button 8 on the remote To reduce the screen size press the ZOOM W button button 0 on the remote A...

Page 23: ...nit have the following structure Characters on the screen are displayed in Eng lish only NOTE Press the ENTER button to switch to the test pattern image There are 10 types of test pat terns Press the...

Page 24: ...tly selected becomes solid and icon of the selected menu item is highlighted Details of the currently selected menu item are displayed 2 Press the Up Down buttons to select a main menu item and press...

Page 25: ...the horizon tal vertical directions This is not required under normal circumstances H Pixel Adjust Red Green Blue Setting Values 1 to 7 Default Value 4 V Pixel Adjust Red Green Blue Setting Values 1...

Page 26: ...e will not be as bright Adjustment of settings will be disabled for about 1 minute after the setting is changed Wait a minute before trying to make further adjustments Altering the Power Save setting...

Page 27: ...lights up and the FAN indicator starts blinking upon turning on the power standby mode When the lamp usage time exceeds 2000 hours during projection a Lamp replacement message will be displayed on th...

Page 28: ...moving the control panel cover 2 Loosen the screw and remove the lamp cover Undo the retaining screw with a screwdriver 3 Loosen the screws on the lamp unit and lift up the handle Loosen the 2 screws...

Page 29: ...the left end with 2 claws of the lamp cover into the unit followed by ensuring that the pro truding part on the reverse side of the lamp cover fits snugly into the recess As this protru sion acts as...

Page 30: ...amp Time option on the Information menu WARNING Reset the lamp time only when you have replaced the lamp Never reset it when the lamp is still in use Otherwise the approximate standard for gauging rep...

Page 31: ...ocus setting in the Options menu is set to Lock Go to the Options menu and set Zoom Focus to Unlock Lamp replacement As soon as the accumulated lamp time reaches 1900 hours a Lamp replacement message...

Page 32: ...ions to be taken following display of warning indications Please follow the procedures below For Nos 1 4 No 1 Perform procedures to turn off on the power again No 2 After checking if an impact shock h...

Page 33: ...ly Is the lens cap removed Remove the lens cap Are correct signals 1080 50p or 1080 60p being output from the connected devices Set connected devices correctly Is the video image temporarily turned of...

Page 34: ...1 d l e i h s 4 2 a t a d S D M T 3 n o i t c e t e d g u l p t o H 6 1 C N 4 0 a t a d S D M T 7 1 C N 5 0 a t a d S D M T 8 1 k c o l c C D D 6 d l e i h s 5 0 a t a d S D M T 9 1 a t a d C D D 7 C...

Page 35: ...signates the head of data and the data type 21hex Assigns command to the projector Command 3Fh Query to the projector Request command ID 1 Identification number of the projector Factory setting is 1 S...

Page 36: ...on mode parameters Character Hex Meaning 0000 30h 30h 30h 30h Standby mode 0001 30h 30h 30h 31h Operate mode 0002 30h 30h 30h 32h Cool down mode 0004 30h 30h 30h 34h Emergency mode Not covered in this...

Page 37: ...Approx 60in to 200in Aspect ratio 16 9 Projection Distance Normal Long Throw Approx 2 5 m to 15 m Short Throw Approx 2 m to 10 m Input Signal 1080 60p or 1080 50p Resolution 1920 dots x 1080 dots Inpu...

Page 38: ...ircle Suite C Austell Atlanta GA 30168 7849 USA Tel 1 404 344 7111 Fax 1 404 346 7111 Email info meridian audio com Projector Dimensions All dimensions in millimetres Design and specifications are sub...

Reviews: