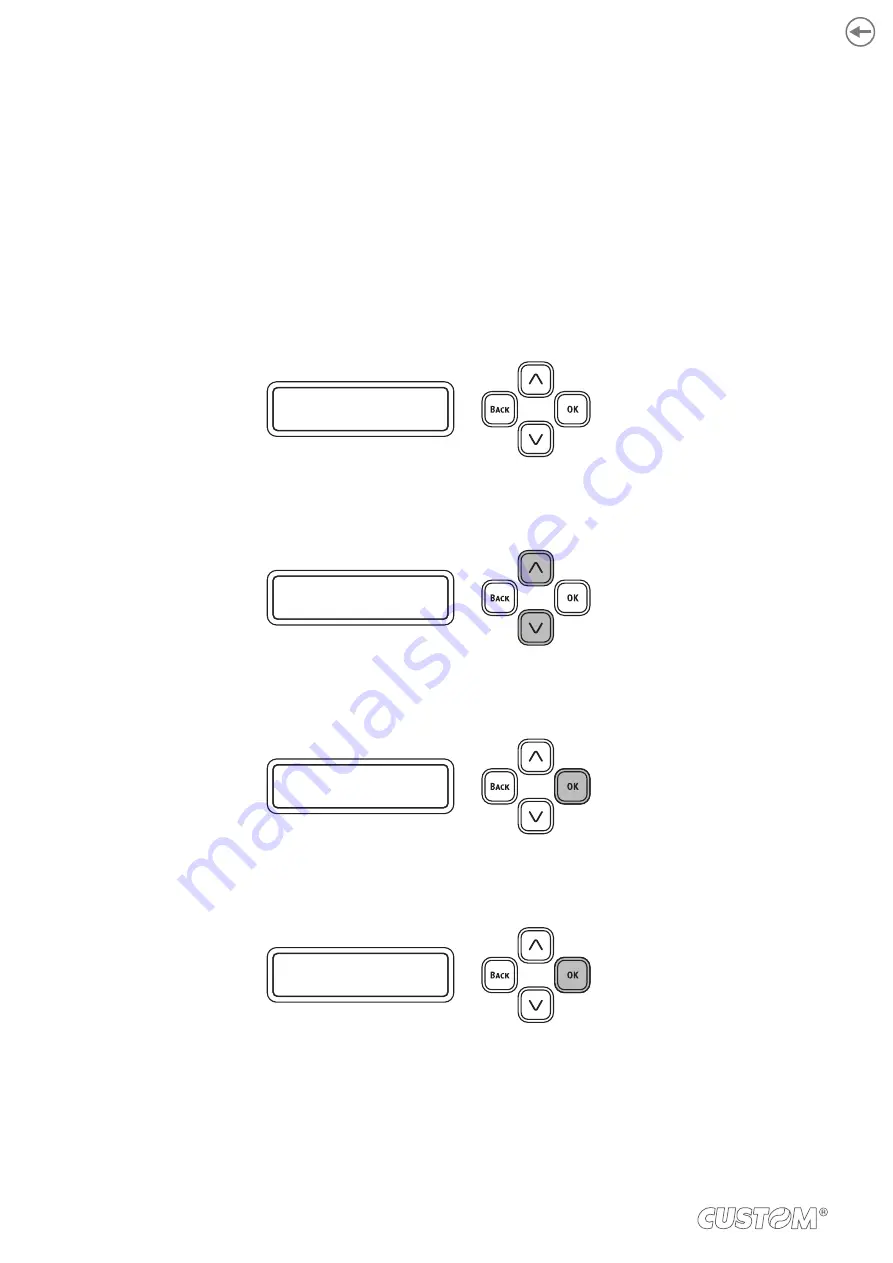
6.5 Printing and checking a report
To print and check the value set in the device, use cut sheet or roll paper without a mark. The operation is not guaranteed
for other paper.
When printing on cut sheet prepare paper that is 74 mm wide and 210 mm long. You can print on A4 or letter paper that
has been cut to a quarter of its long side.
Print after setting Menus > Feeder Conig > Paper Form > Cut Paper (see
).
When printing on roll paper prepare without a mark that is 74 mm to 86 mm wide.
Print after setting Menus > Feeder Conig > Paper Form > Continuous Paper and Menus > Feeder Conig > Cut Type >
Proceed as follows:
•
Conirm that “Ready to print” is displayed on the device.
R E A D Y T O P R I N T
•
Press
∧
or
∨
to display “Print info”.
P R I N T I N F O
•
Press OK.
P R I N T I N F O
•
Press OK when “Configuration / Execute” is displayed.
C O N F I G U R A T I O N
E X E C U T E
•
Load the paper displayed on the screen in the device.
•
Press OK.
64
Summary of Contents for TK306
Page 1: ...USER MANUAL TK306...
Page 2: ......
Page 10: ...10...
Page 12: ...12...
Page 14: ...14...
Page 17: ...3 3 Device components connectors view 1 Ethernet LAN 2 Host devices 3 USB 1 2 3 17...
Page 28: ...28...
Page 33: ...Insert the A end of the USB cable into the USB interface connector of the computer 4 33...
Page 40: ...Remove the cover toner Close the top cover 3 4 40...
Page 42: ...Close the cover for the toner cartridge compartment 8 42...
Page 50: ...Repeat the operation for the bottom sensor Close the feeder cover 6 5 50...
Page 114: ...114...
Page 126: ...126...
Page 147: ...Return the image drum unit to its original position in the machine Close the top cover 5 6 147...
Page 151: ...Return the image drum unit to its original position in the machine Close the top cover 7 8 151...
Page 153: ...Gently pull out the jammed paper Close the feeder cover until it clicks 3 4 153...
Page 162: ...162...
Page 184: ...184...
Page 198: ...198...
Page 210: ...210...
Page 212: ...212...
Page 214: ...214...
Page 215: ......


