PLEASE READ BEFORE OPERATING THIS EQUIPMENT
MODEL NO. iP1005
PORTABLE DOCKING STATION FOR iPOD
OWNER'S MANUAL
SKIP/REV
PLAY/PAUSE
HOUR
MIN
CLK SET
M
H
PM
Page 1: ...PLEASE READ BEFORE OPERATING THIS EQUIPMENT MODEL NO iP1005 PORTABLE DOCKING STATION FOR iPOD OWNER S MANUAL SKIP REV PLAY PAUSE HOUR MIN CLK SET M H SKIP REV PM ...
Page 2: ...r AC connection Lightning and power surges ARE NOT covered under warranty for this product LASER SAFETY This unit employs a laser Only qualified service personnel should attempt to service this device due to possible eye injury CAUTION USE OF CONTROLS ADJUSTMENTS OR PERFORMANCE PROCEDURE HEREIN MAY RESULT IN HAZARDOUS RADIATION EXPOSURE INFORMATION This equipment has been tested and found to compl...
Page 3: ...a radiator or heat source This product should not be placed in a built in installation such as a bookcase or rack unless proper ventilation is provided or the manufacturer s instructions have been adhered to 10 POWER SOURCES This product should be operated only from the type of power source indicated on the marking label If you are not sure of the type of power supply to your home consult your app...
Page 4: ...d by the manufacturer 22 DAMAGE REQUIRING SERVICE Unplug the product from the wall outlet and refer servicing to qualified service personnel under the following conditions a When the power supply cord or plug is damaged b If liquid has been spilled or objects have fallen into the product c If the product has been exposed to rain or water d If the product does not operate normally by following the ...
Page 5: ...AC Plug AC Outlet DC Operation Install eight 8 C size batteries not included into the battery compartment on the bot tom of the unit as the polarity marking inside the battery compartment Note when the AC cord is plug in the unit Battery power will be cut off automatically Protect Your Furniture This model is equipped with non skid rubber feet to prevent the product from moving when you operate th...
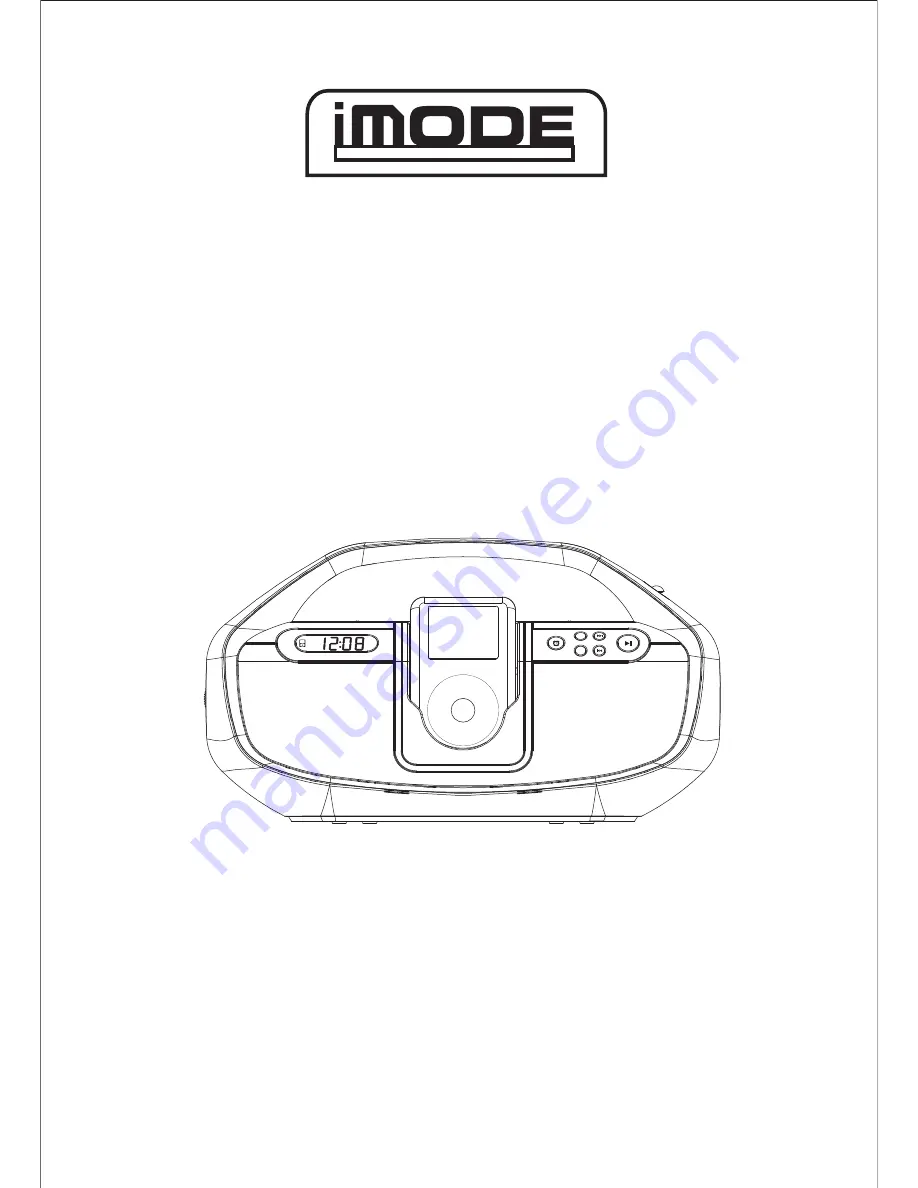
Page 6: ...HOUR BUTTON 5 SKIP FWD BUTTON 6 PLAY PAUSE BUTTON 7 FM ANTENNA 8 SKIP REV BUTTON 9 MIN MINUTE BUTTON 10 TUNING KNOB 11 AC IN JACK REAR OF UNIT 12 AUX IN JACK REAR OF UNIT 13 AUX OUT JACK REAR OF UNIT 14 BATTERY COMPARTMENT BOTTOM OF UNIT 15 LCD DISPLAY 16 VOLUME KNOB LOCATION OF CONTROLS 14 15 16 ...
Page 7: ... 4GB 8GB iPod Mini 4GB 6GB iPod with Video 30GB iPod with Video 60GB 80GB 3rd Gen iPod 10GB 15GB 20GB 4th Gen iPod 20GB U2 iPod 20GB iPod Photo Color U2 iPod 20GB 30GB iPod with Color Display 20GB PLEASE MOVE THE CONNECTOR TO THE LEFT SIDE BEFORE INSERTTING THE BRACKET PERIPHERALS ...
Page 8: ...FF position to power off the unit ANTENNAS AM This unit has a build in ferrite rod antenna which provides adequate reception in most areas If reception is weak turn the unit to improve reception FM The FM Rod Antenna is for FM reception only If reception is weak adjust the length and the direction of the antenna Listening and Charging The iPod iPod not included Chose the correct adaptor as the lis...
Page 9: ...Line out AUX out jack on the external device such like MP3 Players CD Discman MP4 Players etc Slide the FUNCTION Selector to iPod AUX position Turn the VOLUME Knob to adjust the volume as desire When finished listening slide the FUNCTION Selector to POWER OFF position to power off the unit AUX OUT JACK To connect an external amplifier connect a 3 5mm mini jack connection cable not included to the ...
Page 10: ...wrong iPod insert Make sure the dock insert is the proper fit for your iPod iPod didn t install properly Remove your iPod from the dock and check for obstruction on the connectors in the dock and on your iPod Then reseat it in the dock iPod does not respond to the unit iPod is not installed properly Remove your iPod from the dock and check for obstruction on the connectors in the dock and on your ...
Page 11: ......