7- 7
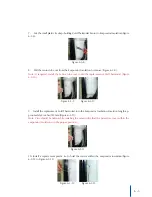
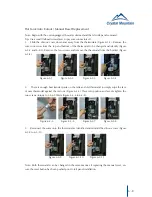
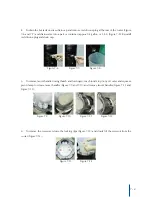
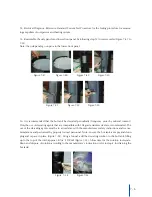
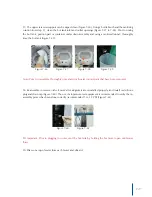
17. The upper reservoir support can be wiped clean (Figure 7-56). Using a bottle brush and the sanitizing
solution from step 11, clean the hot tank inlet and outlet openings (Figure 7-57 to 7-58). Prior to rinsing
the hot tank, position pail or container under drain assembly and using a sanitized funnel; thoroughly
rinse the hot tank (Figure 7-59).
Note: Prior to reassembly, thoroughly rinse and dry all water contact parts that have been removed.
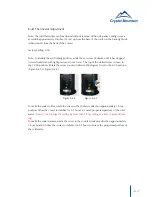
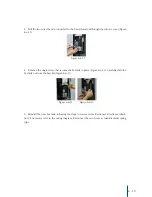
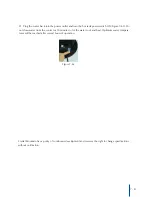
18. Reassemble in reverse order. Ensure all seals/gaskets are reinstalled properly, and install red silicone
plug and drain cap (Figure 7-60). The use of air-pressure test equipment is recommended to verify the re-
assembly process has been done correctly (recommended 1.0~1.2 PSI) (Figure 7-61).
19.
Important: Prior to plugging in cooler, vent the hot tank by holding the hot faucet open until water
flows.
20. Draw one cup of water from each faucet and discard.
Figure 7-56 Figure 7-57 Figure 7-58 Figure 7-59
Figure 7-60 Figure 7-61

