Hot Tank Venting Procedure – Everest POU Water Cooler
The new specially designed Everest hot tank has a self-venting feature. For proper installation please follow the
steps outlined below:
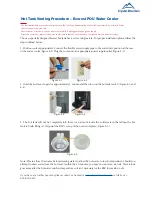
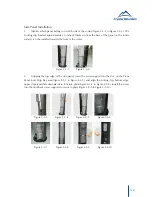
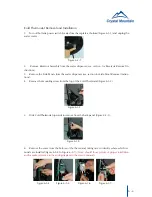
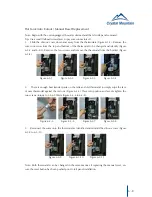
1. Position cooler appropriately. Connect the flexible water supply pipe to the water inlet position at the rear
of the water cooler (Figure 4-1). Plug the cooler into an appropriate power supply/outlet (Figure 4-2).
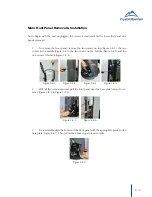
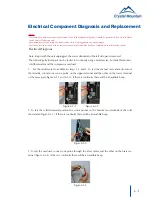
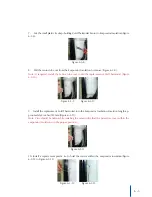
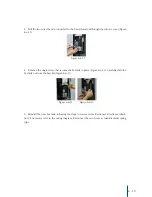
2. Hold the hot faucet open for approximately 1 minute and then turn on the hot tank switch (Figure 4-3 and
4-4).
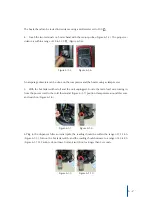
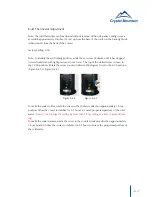
3. The hot tank will not be completely full; there is an air-vent inside the cold reservoir that allows the hot
tank to finish filling - at this point the RSR’s set up of the unit is complete (Figure 4-5).
Note: Please allow 20 minutes before drawing water to allow the hot water to reach temperature. Should you
attempt to draw water from the hot faucet within the 20 minutes, you may encounter an air-lock. This air-lock
goes away after the hot water reaches temperature so it isn’t necessary for the RSR to remain on site.
If you have any further questions please contact us by email at
or toll free at
800-878-6422.
Figure 4-1 Figure 4-2
Figure 4-3 Figure 4-4
Figure 4-5
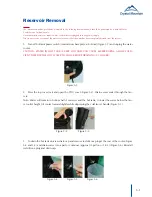
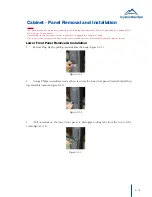
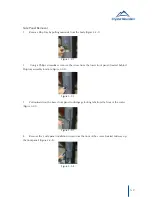
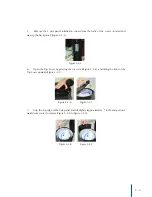
Notice:
The information and/or procedures presented in the following demonstration(s) should be performed by a trained Water
Cooler Service Technician only.
Never attempt to service or repair a water cooler while it is plugged into any power supply.
Prior to any service or repair of the water cooler, ensure that the water has been completely drained from the system.


