1
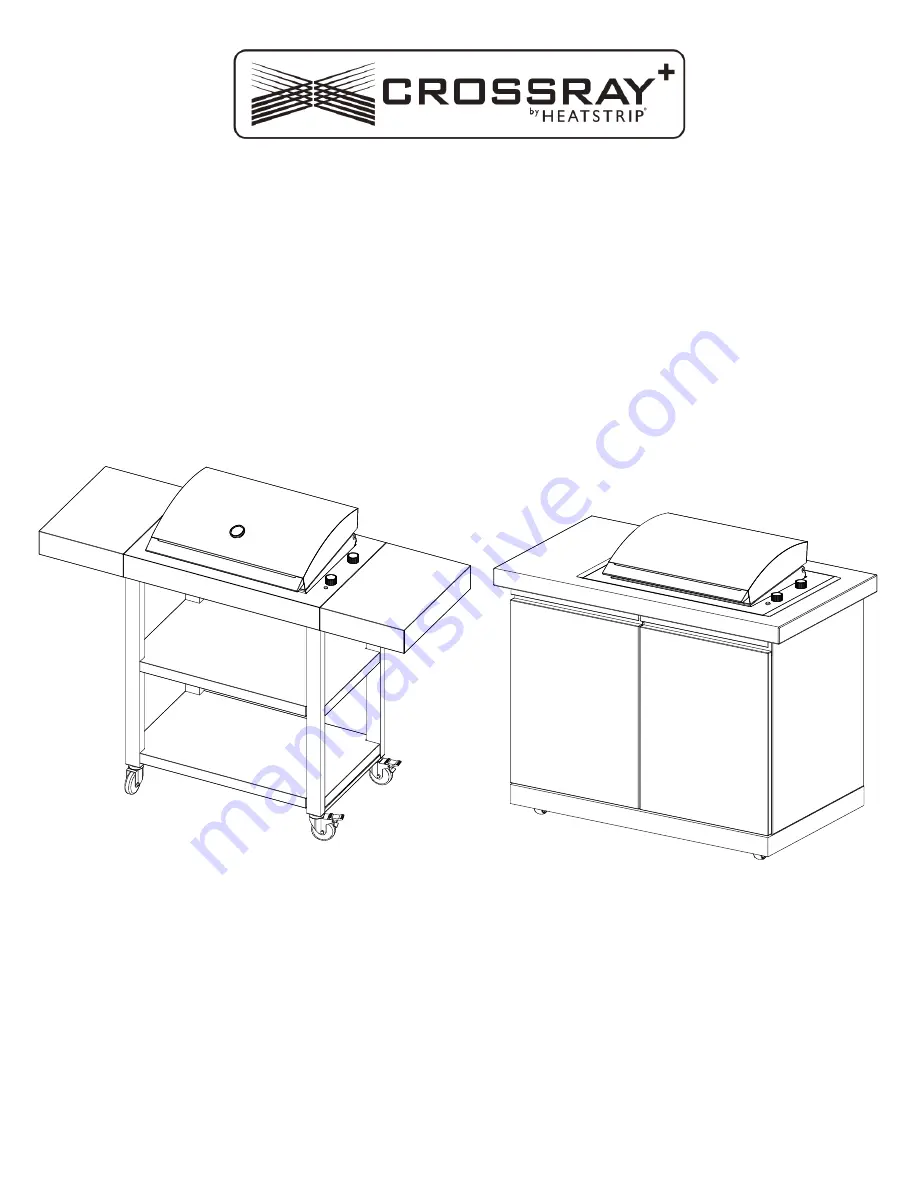
CROSSRAY
E ECTRIC
TR
E
KITC E
PRODUCT INSTALLATION MANUAL
crossray.com.au | 03 9562 3455
| [email protected]
T
TCE15TR
K
TCE15KIT
Page 1: ...1 CROSSRAY E ECTRIC TR E KITC E PRODUCT INSTALLATION MANUAL crossray com au 03 9562 3455 sales crossray com au E T TCE15TR E K TCE15KIT...
Page 2: ...1 Phillips Head Screw 3 16 x3 8 Qty 16 2 Install CROSSRAY Trolley TCE15TRR Assembly Instructions...
Page 3: ...2 Install Casters 3...
Page 4: ...Install Side shelf bracket onto BBQ 4 4 Phillips Head Screw 3 16 x3 8 Qty 8 Insert the BBQ onto the trolley and secure it with screws from underneath Phillips Head Screw 3 16 x3 8 Qty 4 3...
Page 5: ...5 5 Install the side shelves 6 To remove the side shelves lift a shelf let the end rotate down 45 then lift it off the grill...
Page 6: ...1 Install Casters 2 Phillips Head Screw 3 16 x3 8 Qty 16 Install Trolley side panels Phillips Head Screw 3 16 x3 8 Qty 6 6 TCE15KIT Kitchen Cabinet Assembly instructions...
Page 7: ...3 Install Trolley Rear panel Phillips Head Screw 3 16 x3 8 Qty 9 4 Phillips Head Screw 3 16 x3 8 Qty 4 Rear panel Lower Rear panel Upper Install Door Bracket 7...
Page 8: ...5 Double screw 3 16 x3 8 Qty 4 1 2 8 Install middle panel Install the screws Slide in the midde panel...
Page 9: ...Phillips Head Screw M6X20 Qty 4 1 Pre install the screws partially on the Table plate Do not tighten to the end 2 9 Install countertop Position the pre installed Screws on the cabinet Handle with car...
Page 10: ...tall Door 10 Tilt the door and insert to the hole on bottom 1 Tilt the door to an angle 2 2 Press the latch on the door and slide the door into the hole when the latch is flush with the door support p...
Page 11: ...11 8 Install Trim brackets Countersunk Flat Head Screw 3 16 x3 8 Qty 4...
Page 12: ...he height of the caster with leveling glide 12 1 When you want to move the cabinet please lift the leveling glide with wrench as shown on below image please keep the leveling glide off the floor 3 5mm...