Crestron
TPMC-V12/15
V-Panel™ Integrated 12” & 15” Touch Screens
Configuring the V-Panel
NOTE:
The only connection required to configure the touch screen is power. Refer
to “Hardware Hookup” which starts on page 47 for details.
The TPMC-V12/15 is configured from the setup menu.
NOTE:
If no project has been loaded or if an invalid project has been loaded, the
touch screen displays an error message and defaults to the setup menu screen.
If a project is running, the setup menu can be accessed using one of three methods:
1. Touch the screen during boot up when you see the “Preparing to Load
Project” message. Maintain touch until after the countdown, when the
message will change to “Loading Setup Screen”.
2. If the project has a button defined for this purpose, touching the button will
provide entry into the setup menu.
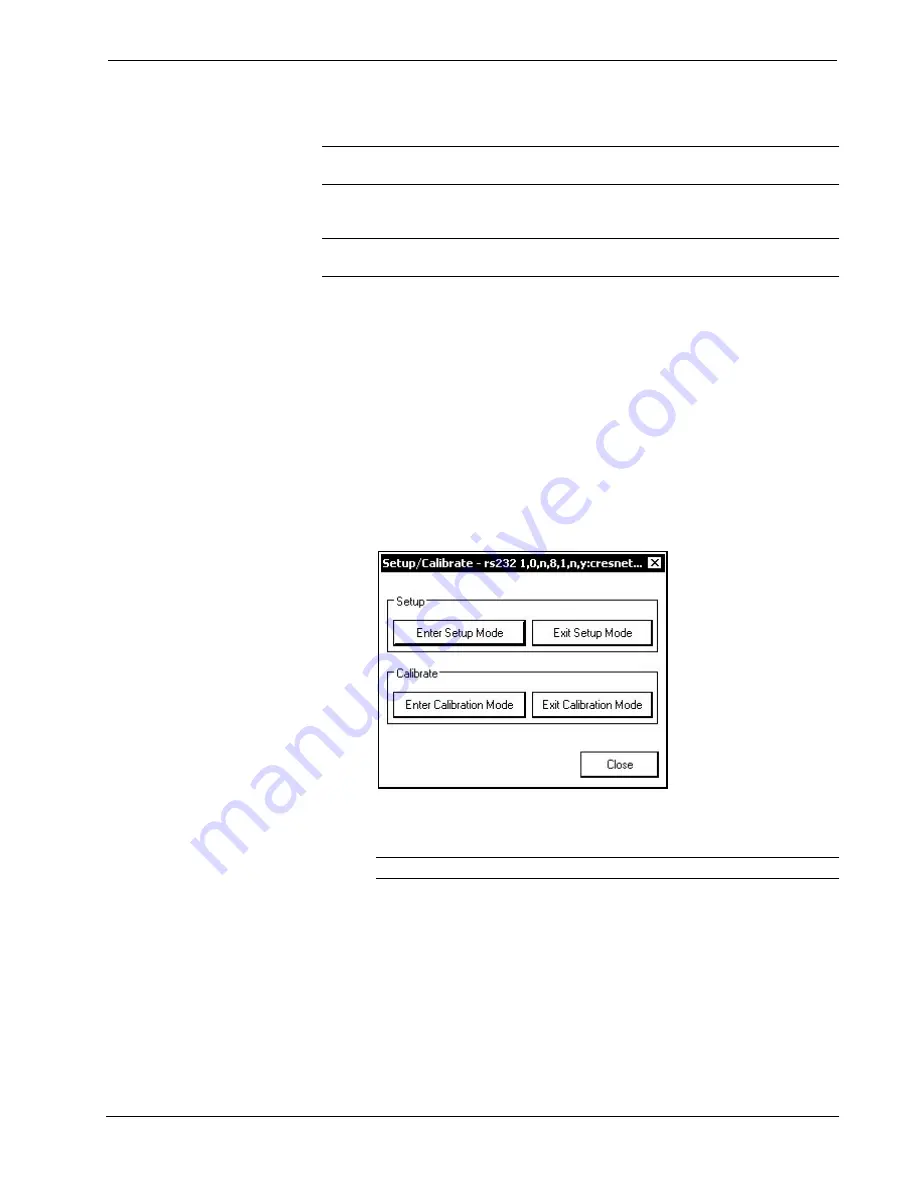
3. Crestron Toolbox can be also used to enter the setup menu:
a. Establish communication with the touch screen (refer to “Establishing
Communication” on page 61 for details).
b. Right-click on the device and select
Functions | Setup Mode…
.
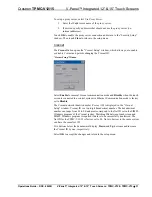
“Setup/Calibrate” Window
c. Select
Enter Setup Mode
. The setup menu will be displayed as shown
in the following diagram.
NOTE:
Select
Exit Setup Mode
to exit the setup menu.
Operations Guide – DOC. 6940B
V-Panel™ Integrated 12” & 15” Touch Screens: TPMC-V12 & TPMC-V15
•
27


