


Isys
®
9” Wall Mount Touch Screen
Crestron
TPMC-9L
IP Table
From the main “Setup” menu, touch
IP Table
to enter the “Control System
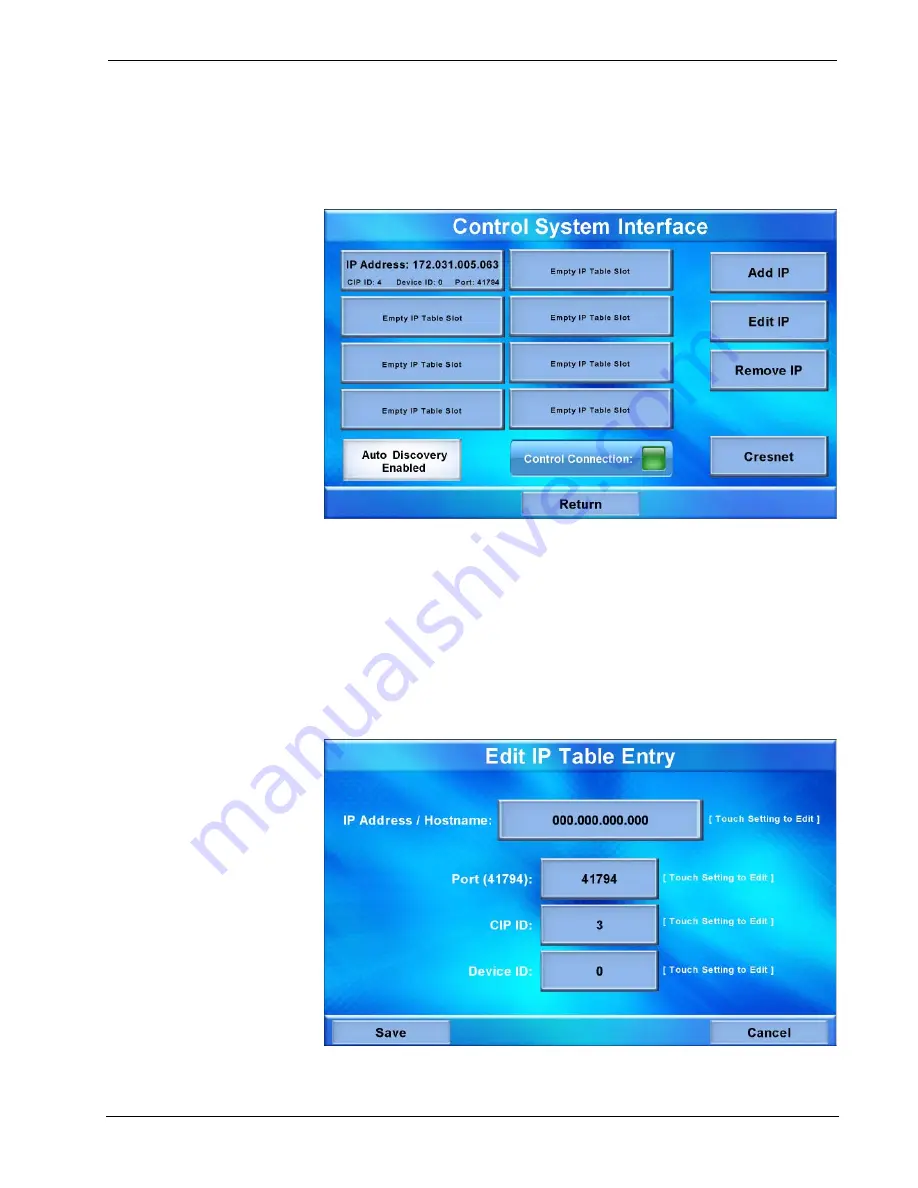
Interface” menu, shown in the illustration below.
“Control System Interface” Menu
The “Control System Interface” menu contains buttons for eight IP Table slots as
well as
Add IP
,
Edit IP
and
Remove IP
buttons to facilitate editing entries. Touch
the
Auto Discovery Enabled
button to toggle to
Auto Discover Disabled
. A
Control Connection
indicator lights in green to show a control system connection.
Touch
Cresnet
to enter a
Cresnet ID
and to enable or disable Cresnet. (Refer to
“Cresnet” on page 20 for details.)
To add an IP entry to a blank slot, first touch one of the
Empty IP Table Slot
buttons, then touch
Add IP
. The “Edit IP Table Entry” screen is displayed, as shown
below.
“Edit IP Table Entry” Screen
16
•
Isys
®
9” Wall Mount Touch Screen: TPMC-9L
Operations & Installation Guide – DOC. 7030B


