Software
Crestron
e-Control
®
protecting the network. To prevent attacks by hackers the port can be moved
to another value. Users on the LAN would then have to specify the port
number in the URL, i.e., http//www.crestron.com:49153 where the value
after the colon indicates the Web port.
In most cases, the port numbers do not need to be changed.
3. The
Enable Web Server
check box turns the Web server on and off.
4. When you are satisfied with the IP settings click
OK
to reboot the control
system.
Once you have set the IP information for the control system, it becomes possible to
communicate with the console via TCP/IP.
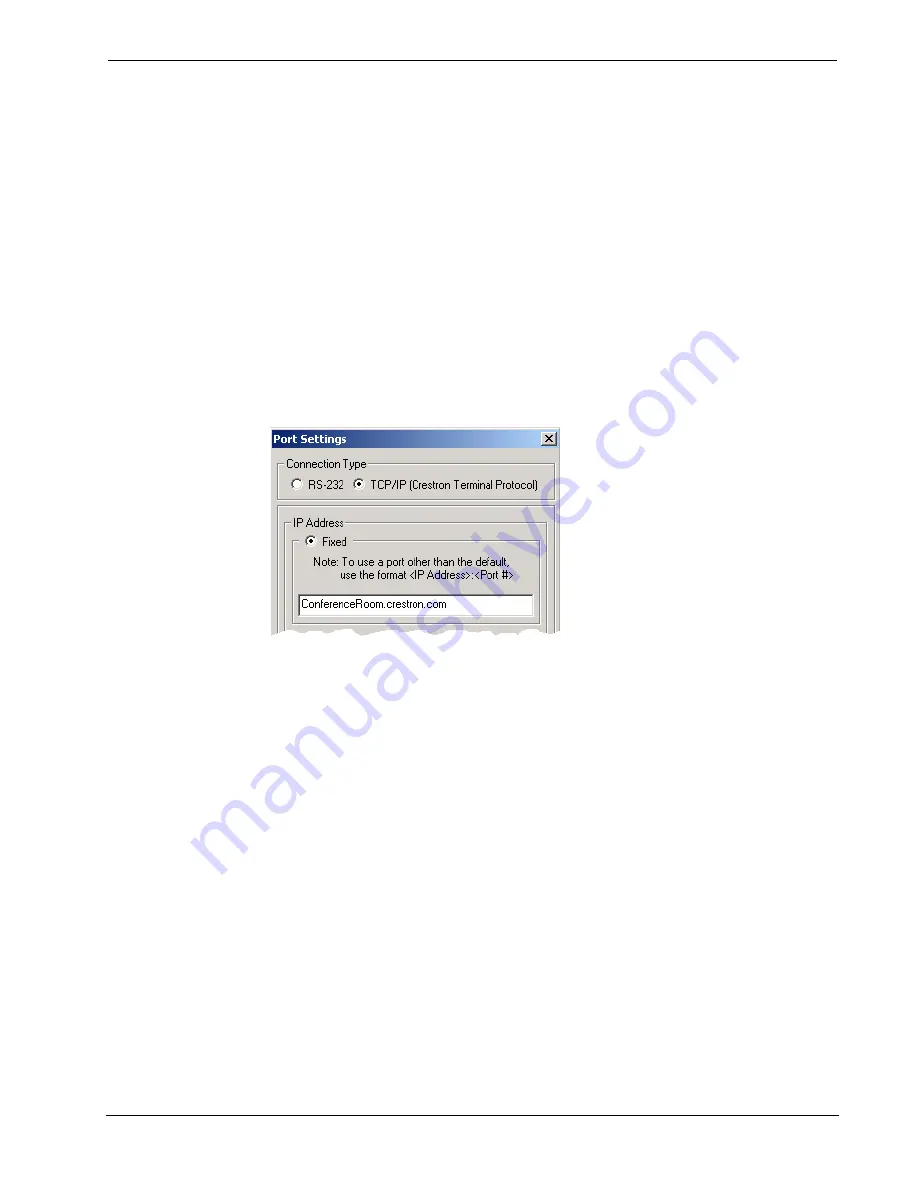
Click
Communication Settings
on the Viewport
Setup
menu and choose
TCP/IP
as
the connection type. Then enter the IP address or fully qualified domain name of the
control system.
Here the Viewport title bar will display the new communication settings, i.e.,
“Connected to ConferenceRoom.crestron.com on Port 41795”.
2-Series SSL Configuration
This section describes the steps involved in enabling the 2-Series Web server for SSL
and obtaining a digital certificate from a Certificate Authority. The steps are
summarized as follows (each step is described in detail later):
•
Establish a serial connection to the 2-Series control system.
•
Enable SSL using a self-signed certificate.
•
Create an encryption public/private key pair and a certificate-signing request
(CSR) based on the public key.
•
Back up the private key.
•
Send the CSR to a Certificate Authority such as Thawte or Verisign, who will
verify the identity of the requestor and issue a signed certificate.
•
Install the CA-signed certificate and optionally, the root certificate, to the 2-
Series processor.
•
Enable SSL using the CA-signed certificate.
20
•
Crestron e-Control®
Reference Guide – DOC. 6052


