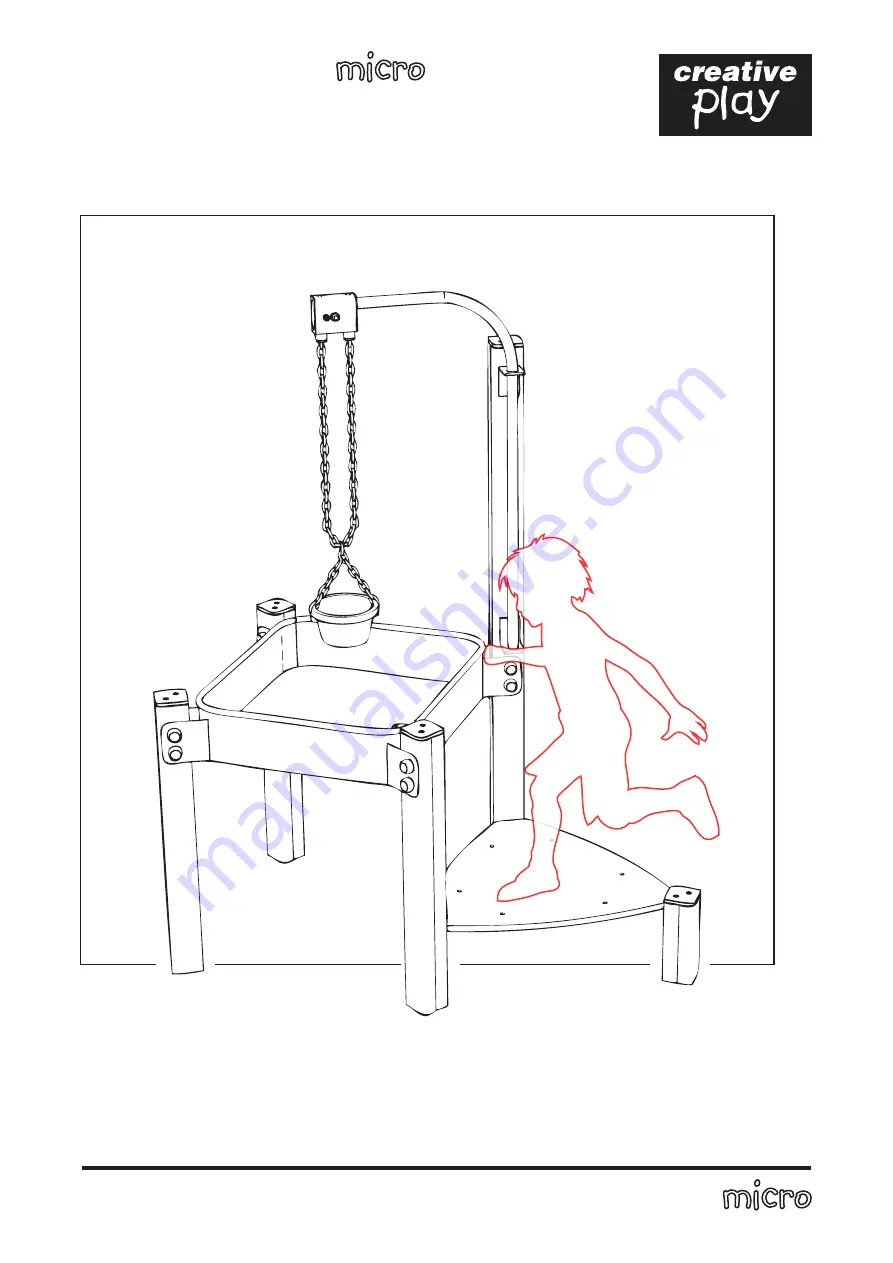
WATERPLAY
Installation Instructions
REF: WSP101 - WATERPLAY
pg 1 of 9
Page 1: ...WATERPLAY Installation Instructions REF WSP101 WATERPLAY pg 1 of 9 ...
Page 2: ... micro PARTS required Square tray QTY x 1 Triangle floor QTY x 1 Rotable Sand Lift QTY x 1 x4 FM80 Brass screws x4 small caps RED x1 QUICKLINK x11 M12 120 square hex bolt x6 N1 TORKTAINER x6 3B TORKTAINER x11 M12 NYLOC x22 End Caps ...
Page 3: ...pg 3 of 9 REF WSP101 WATERPLAY micro PARTS required TIMBERS TOOLS required WSP1a WSP1c WSP1d WSP1a WSP1b ...
Page 4: ...pg 4 of 9 REF WSP101 WATERPLAY micro Foundation Details TIMBER SUPPORT POST CONCRETE SOIL FINISHED GROUND LEVEL 600 450 150 649 5 ...
Page 5: ...pg 5 of 9 REF WSP101 WATERPLAY micro Surfacing Details MINIMUM SPACE SURFACE AREA ...
Page 6: ...pg 6 of 9 REF WSP101 WATERPLAY micro Installation Instructions Installation Instructions 1 2 3 WSP1a WSP1c WSP1d WSP1a WSP1b Steps INDEX ...
Page 7: ...rs WSP1a b c Using SQUARE HEX BOLTS NUTS RED CAPS Standard SQUARE TRAY Ilustration of fixings Standard TRIANGLE BASE Ilustration of fixings 1 2 Installation Instructions Attach the TRIANGLE FLOOR to the timbers WSP1 b c d Using SQUARE HEX BOLTS NUTS RED CAPS WSP1a WSP1a WSP1c WSP1d WSP1b WSP1b WSP1c ...
Page 8: ...pg 8 of 9 REF WSP101 WATERPLAY micro Installation Instructions Attach the ROTABLE SAND LIFT to the timber WSP1c Using SQUARE HEX BOLTS NUTS RED CAPS QUICKLINK 3 a b c d WSP1c ...
Page 9: ...pg 9 of 9 REF WSP101 WATERPLAY micro Additional Dimensions ...