Performance Verification
7-4
Service Manual
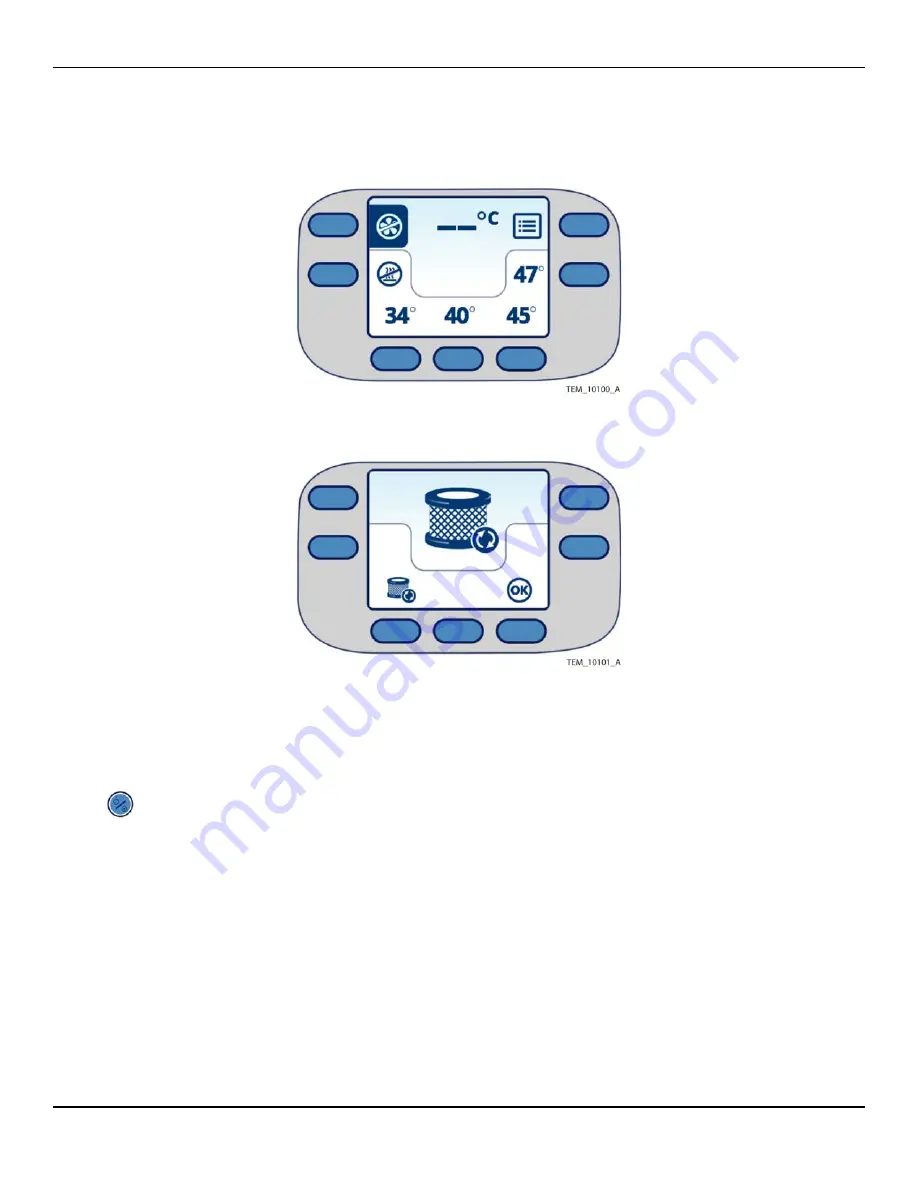
Figure 7-2.
Main Screen at Power-On
Figure 7-3.
Replace Filter Screen at Power-On
3.
Press one of the temperature keys. Verify that the temperature reading on the
screen rises and stabilizes.
4.
When finished with all testing:
a.
Press the
On/Standby
key to power off the unit.
b.
Unplug the unit from the outlet.
Power-On Test Failure
If the test fails, see
Summary of Contents for WarmTouch
Page 1: ...Service Manual WarmTouch Convective Warming Unit...
Page 8: ...Page Left Intentionally Blank vi Service Manual...
Page 32: ...Page Left Intentionally Blank 1 18 Service Manual Introduction...
Page 42: ...Installation 3 4 Service Manual Figure 3 3 Power Cord Wrapped and Secured...
Page 45: ...Installing the Warming Unit Service Manual 3 7 Figure 3 5 Warming Unit Mounted on IV Pole...
Page 49: ...Installing the Warming Unit Service Manual 3 11 Figure 3 9 Warming Unit Mounted on Cart...
Page 50: ...Page Left Intentionally Blank 3 12 Service Manual Installation...
Page 70: ...Page Left Intentionally Blank 5 12 Service Manual Maintenance...
Page 84: ...Page Left Intentionally Blank 6 14 Service Manual Troubleshooting...
Page 105: ...Power Cord Replacement Service Manual 8 7 Figure 8 5 Power Cord Wrapped and Secured...
Page 118: ...Page Left Intentionally Blank 9 8 Service Manual Accessing the Inside of the Warming Unit...
Page 246: ...Enclosure Replacement 12 14 Service Manual Figure 12 10 Power Cord Wrapped and Secured...
Page 266: ...Page Left Intentionally Blank 12 34 Service Manual Enclosure Replacement...
Page 274: ...Page Left Intentionally Blank 13 8 Service Manual Product Specifications...
Page 313: ......


