background image


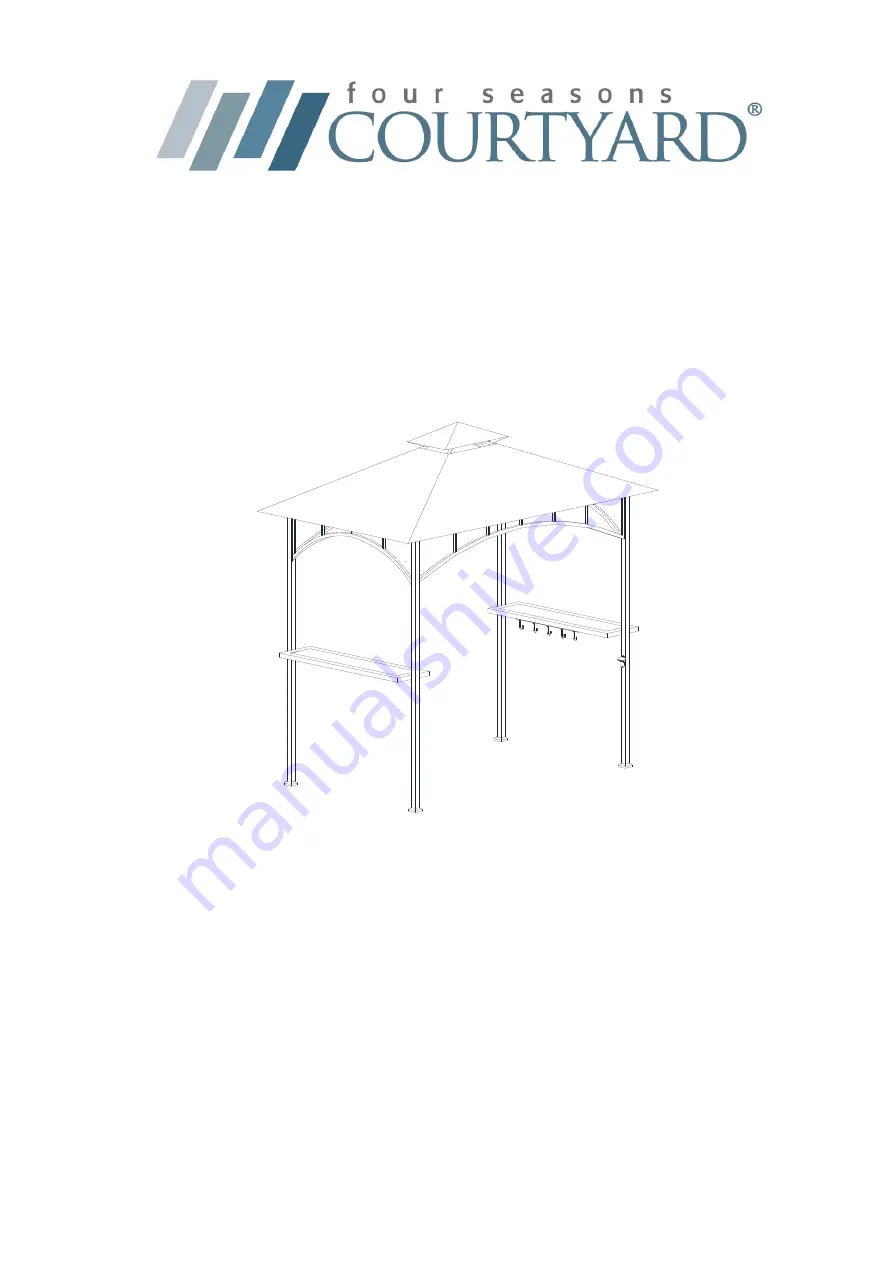
8x5' FS Grill Gazebo/Lights 

Item#: L-GZ238PST-11F-NEW       

TV. #: 230637 

Our clear, easy-to-follow, step-by-step instructions will guide you through the 

project from start to finish. The final product will be a quality piece that will go 

together smoothly and give years of enjoyment. 


Do NOT 

assemble this item alone for safety. Two people are necessary


Summary of Contents for 230637

Page 1: ...ar easy to follow step by step instructions will guide you through the project from start to finish The final product will be a quality piece that will go together smoothly and give years of enjoyment...

Page 2: ...the roof immediately or disassemble the gazebo in order to avoid damages NOTE The gazebo s roof and structure are not guaranteed against extreme weather conditions storms high winds etc Please dismant...

Page 3: ...3 A3 1 Base B 4 Base protector C 4 Slanting bar 1 D 4 Connector 1 F1 1 Connector 2 F2 1 Slanting bar 2 G 4 Long screen H 2 Short screen I 2 Shelving 1 J1 1 Shelving 2 J2 1 Big Canopy N 1 Small Canopy...

Page 4: ...No Description Qty Image AA M6X20 Hex screw 8 PCS BB M6 Flat washer 16 PCS DD M6X35 Hex screw 4 PCS EE M6 Nut 4 PCS FF M6X20 Bolt 1 16 PCS Z M6 Wrench 2 PCS Hardware Pack 1...

Page 5: ...r 2 G into the connector 1 F1 Fig 6 Put the big canopy N on big top do not fully spread Then insert the slanting bar 2 G into the slanting bar 1 D Fig 1 Put base cover C into posts A1 A2 A3 then attac...

Page 6: ...e small canopy L along the small roof aligning the corners and stretching it to fit Fig 8 Extend the big canopy N onto the big top by fixing the canopy at four corners of top Fig 9 Insert the shelving...

Page 7: ...erties ineffective 1 YEAR LIMITED WARRANTY This product is warranted for 1 year against any defects in material and workmanship If defective the product will be repaired or replaced free of charge Sim...

Page 8: ...claras f ciles de seguir y por pasos le guiaran n por el proyecto desde el principio hasta el final El producto terminado ser una pieza de calidad que se ensamblar f cilmente y del que podr gozar por...

Page 9: ...o est estirado para evitar que se acumule el agua en el techo 9 Si se acumula el agua en el techo qu tela inmediatamente o desensamble el Gazebo para evitar da os AVISO El techo del Gazebo y la estruc...

Page 10: ...del poste B 4 Cubierta de la base C 4 Viga Inclinada del 1 D 4 Conexi n 1 F1 1 Conexi n 2 F2 1 Viga Inclinada del 2 G 4 Fachada larga H 2 Fachada corta I 2 Repisa 1 J1 1 Repisa 2 J2 1 Toldo grande N...

Page 11: ...enificaci n Descripci n Cantidad Im gen AA M6X20 Perno 8 PCS BB M6 Arandela plana 16 PCS DD M6X35 Perno 4 PCS EE M6 Nuez 4 PCS FF M6X20 Tornillo 1 16 PCS Z M6 Llave 2 PCS Lista de piezas de ferreter a...

Page 12: ...en la conexi n 1 F1 Fig 6 Coloque el toldo grande N sobre el techo No lo estire todav a Atornille introduzca las viga Inclinada del 2 G en la viga Inclinada del 1 D Fig 1 Acople el cubierta de la base...

Page 13: ...ldo peque o L sobre el techo peque o fijando las cuatro esquinas a las vigas peque as Fig 8 Estire el toldo grande N sobre el techo grande fijando las cuatro esquinas a las vigas grandes D Fig 9 Intro...

Page 14: ...product est garantizado por 1 a o contra cualquier defecto de materiales y de mano de obra Si est defectuoso el product ser reparado o reemplazado de forma gratuita Basta con proporcionar el comproban...

Reviews: