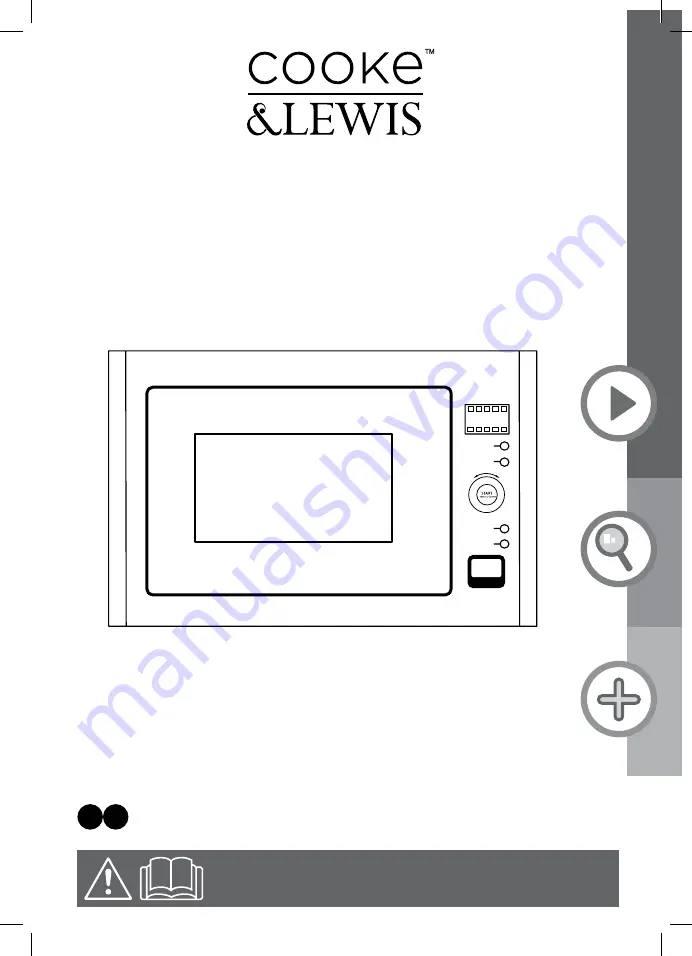
Cooke & Lewis MG25CL Manual Download Page 1

60CM BUILT IN 

MICROWAVE & GRILL 

MG25CL

 - V

ersion: 01

GB IE

Built-in Microwave & Grill - Barcode: 5052931263653

WARNING

: Read the instructions before using the appliance.

Kitchen Timer/ Clock

STOP

/ Clear

Weight/ Time Defrost

Micro/ Grill/ Combi

MG25CL-C&L-A5-GB-IM-06.indd   1

9/30/13   9:25 AM

Summary of Contents for MG25CL

Page 1: ...Version 01 GB IE Built in Microwave Grill Barcode 5052931263653 WARNING Read the instructions before using the appliance Kitchen Timer Clock STOP Clear Weight Time Defrost Micro Grill Combi MG25CL C...

Page 2: ...1 x 1 04 x 1 05 x 1 TEMPLATE 06 x 1 MG25CL Built in Microwave Grill Kitchen Timer Clock STOP Clear Weight Time Defrost Micro Grill Combi 1 1 08 x 2 07 x 1 4 x 32mm 09 x 1 MG25CL C L A5 GB IM 06 indd 2...

Page 3: ...ure reference Getting started Your product 04 Before you start 05 Safety 06 In more detail Operation 11 Care and maintenance 16 Troubleshooting 21 Recycling and disposal 22 Technical and legal informa...

Page 4: ...ass tray upside down The glass tray should never be restricted b Both glass tray and turntable ring assembly must always be used during cooking c All food and containers of food are always placed on t...

Page 5: ...ut contact Customer Services on 0844 800 1128 UK 014475261 Ireland Check the package and make sure you have all of the parts listed Decide on the appropriate location for your product If this product...

Page 6: ...allow the electric cables to touch the hot parts of the appliance Make sure that the power cord is not caught under or in the appliance and avoid damage to the power cable Do not remove the plug in t...

Page 7: ...e older than 8 and supervised Keep the appliance and its cord out of reach of children less than 8 years Regularly check the power plug and power cord for damage If the supply cord is damaged it must...

Page 8: ...other than a trained person to carry out any service or repair operation which involves the removal of any cover which gives protection against exposure to microwave energy Warning Liquids or other fo...

Page 9: ...t explode even after microwave heating has ended Use the appliance exclusively for the preparation of food Do not use the appliance to dry clothing paper or other objects Do not operate the appliance...

Page 10: ...on of adults because the temperature may be high Only use utensils that are suitable for use in microwave ovens The oven should be cleaned regularly and any food deposits removed Do not use harsh abra...

Page 11: ...nd the door or allow dirt or cleaner residue to accumulate on sealing surfaces If the door or door seals are damaged the oven must not be operated until it has been repaired by a qualified person If t...

Page 12: ...During the process of clock setting if you press STOP Clear the oven will go back to the previous status automatically Microwave cooking 1 Press the Micro Grill Combi key once and P100 will display 2...

Page 13: ...play Then press START 30Sec Confirm to confirm and turn to set cooking time from 0 05 to 95 00 Press START 30Sec Confirm again to start cooking Example If you want to use 55 microwave power and 45 gri...

Page 14: ...ering the children lock state and the current time will display if the time has been set otherwise the LCD will display Lock quitting In locked mode press STOP Clear for 3 seconds there will be a long...

Page 15: ...uzzer will ring once after each stage and the next stage will begin Note Auto menu cannot be set as one of the multi stage Example if you want to defrost the food for 5 minutes then to cook with 80 mi...

Page 16: ...press Micro Grill Combi the current power will be displayed for 2 3 2 In cooking mode press Kitchen Timer Clock to check the current time It will be displayed for 2 3 seconds Other notes 1 START 30Se...

Page 17: ...lean the oven door glass since they can scratch the surface which may result in shattering of the glass Cleaning Tip For easier cleaning of the cavity walls that the food cooked can touch Place half a...

Page 18: ...sult in delayed eruptive boiling Therefore care must be taken when handing the container Aluminium foil Cover only Small smooth pieces can be used to cover thin parts of meat or poultry to prevent ove...

Page 19: ...Parchment paper Use as a cover to prevent splattering or a wrap for steaming Plastic Microwave safe only Follow the manufacturer s instructions Should be labelled Microwave Safe Some plastic container...

Page 20: ...ures Wood Wood will dry out when used in the microwave oven and may split or crack Care and maintenance Warning Always switch off the electricity supply before performing maintenance work In the event...

Page 21: ...team accumulating or hot air released out of vents The steam given off from food will mostly be released through the vents although some could accumulate on places such as the oven door This does not...

Page 22: ...d waste Please recycle where facilities exist Check with your Local Authority or retailer for recycling advice The symbol on the product or its packaging indicates that this product cannot be treated...

Page 23: ...50W Rated output power Microwave 900W Rated input power Grill 1000W Oven capacity 25l Turntable diameter 315mm External dimensions WxHxD 595 x 388 x 400mm Net weight 19kg Legal information The Manufac...

Page 24: ...id and any further call outs during this prescribed period will be covered by GAA on the replacement appliance Should any person other than an authorized engineer modify or attempt to repair the appli...

Page 25: ...s found then GAA reserves the right to charge for the call out at the going rate In the course of the service work carried out it may be necessary to remove the built in appliance from its fitted posi...

Page 26: ...ble including their modifications and the corresponding transpositions from the national law EN 60335 2 25 A2 2006 EN 60335 2 6 A2 2008 EN 60335 1 A13 2008 EN 62233 2008 Comply with the European Direc...

Page 27: ...45 Min 500 380 2 8 This oven is intended for built in use only It is not intended for counter top use or for use inside a cupboard Turntable installation Never place the glass tray upside down The gl...

Page 28: ...then put the template on the bottom of the cabinet Using a pencil mark two holes on the cabinet according to markings a on the template 06 x 1 TEMPLATE a a CENTER LINE FRONT EDGE LEFT EDGE T EDGE RIGH...

Page 29: ...abinet Make sure the back of the oven is locked by the bracket Do not trap or kink the power cord Remove the template and fix the bracket 05 using two screws 08 05 x 1 08 x 2 Bracket 08 05 MG25CL C L...

Page 30: ...pen the door and fix the oven to the cabinet using one screw 07 Now cover the screw with the plastic cover 09 09 07 07 x 1 09 x 1 Appliance is now ready for use MG25CL C L A5 GB IM 06 indd 30 9 30 13...

Page 31: ...Notes MG25CL C L A5 GB IM 06 indd 31 9 30 13 9 25 AM...

Page 32: ...GB IE B Q plc Chandlers Ford Hants SO53 3LE United Kingdom www diy com MG25CL C L A5 GB IM 06 indd 32 9 30 13 9 25 AM...

Reviews: