Babel Buster IP/XL Quick Start Guide
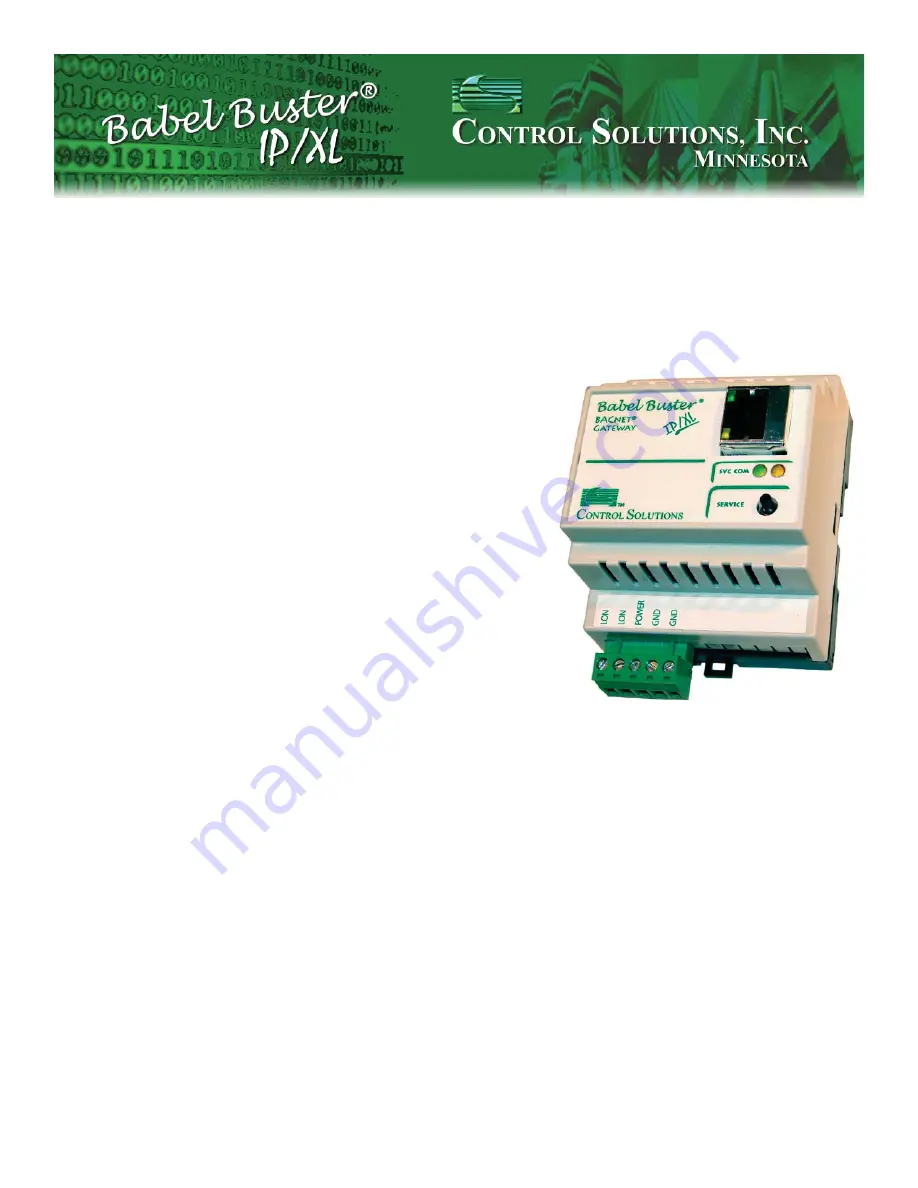
1. Connect power. Apply +12 to +24VDC or 24VAC to the ter-
minal marked “POWER”, and common or ground the the terminal
marked “GND”.
2. Connect a CAT5 cable between the RJ-45 jack on the top and
your network switch or hub. You cannot connect directly to your PC
unless you use a “crossover” cable.
3. The default IP address as shipped is 10.0.0.101. If your PC is not
already on the 10.0.0.0 domain, you will need to add a route on your
PC. Do this by opening a command prompt. First type “ipconfi g”
and note the IP address listed. This is your PC’s IP address. Now
type the command
route add 10.0.0.0 mask 255.255.255.0 1.2.3.4
but substitute your PC’s IP address for 1.2.3.4.
This generally works on Windows XP, but sometimes fails on Win-
dows 2000 or older. If this fails, you will need to temporarily change
your computer’s IP address to a fi xed address that starts with 10.0.0.
and ends with anything but 101.
4. Open your browser, and enter “http://10.0.0.101/” in the address
window. You should see a page with the “Babel Buster IP/XL”
header shown above. From this point, you will fi nd help on each
page in the web site contained within the product. You can change
the IP address on the System -> Setup -> Network page.
5. The default login is user name “system” with password “admin”.
You can also log in as “root” using password “buster”.
6. Be sure to save any confi guration changes you made on the
System -> Setup -> Confi g File page
NOTE: If the yellow Link LED is not
on, check your cable connections. It
should be on any time power is ap-
plied and an Ethernet connection is
present.
The server takes 1-2 minutes to
boot up after power is applied. Your
browser will not connect until fully
booted up.


