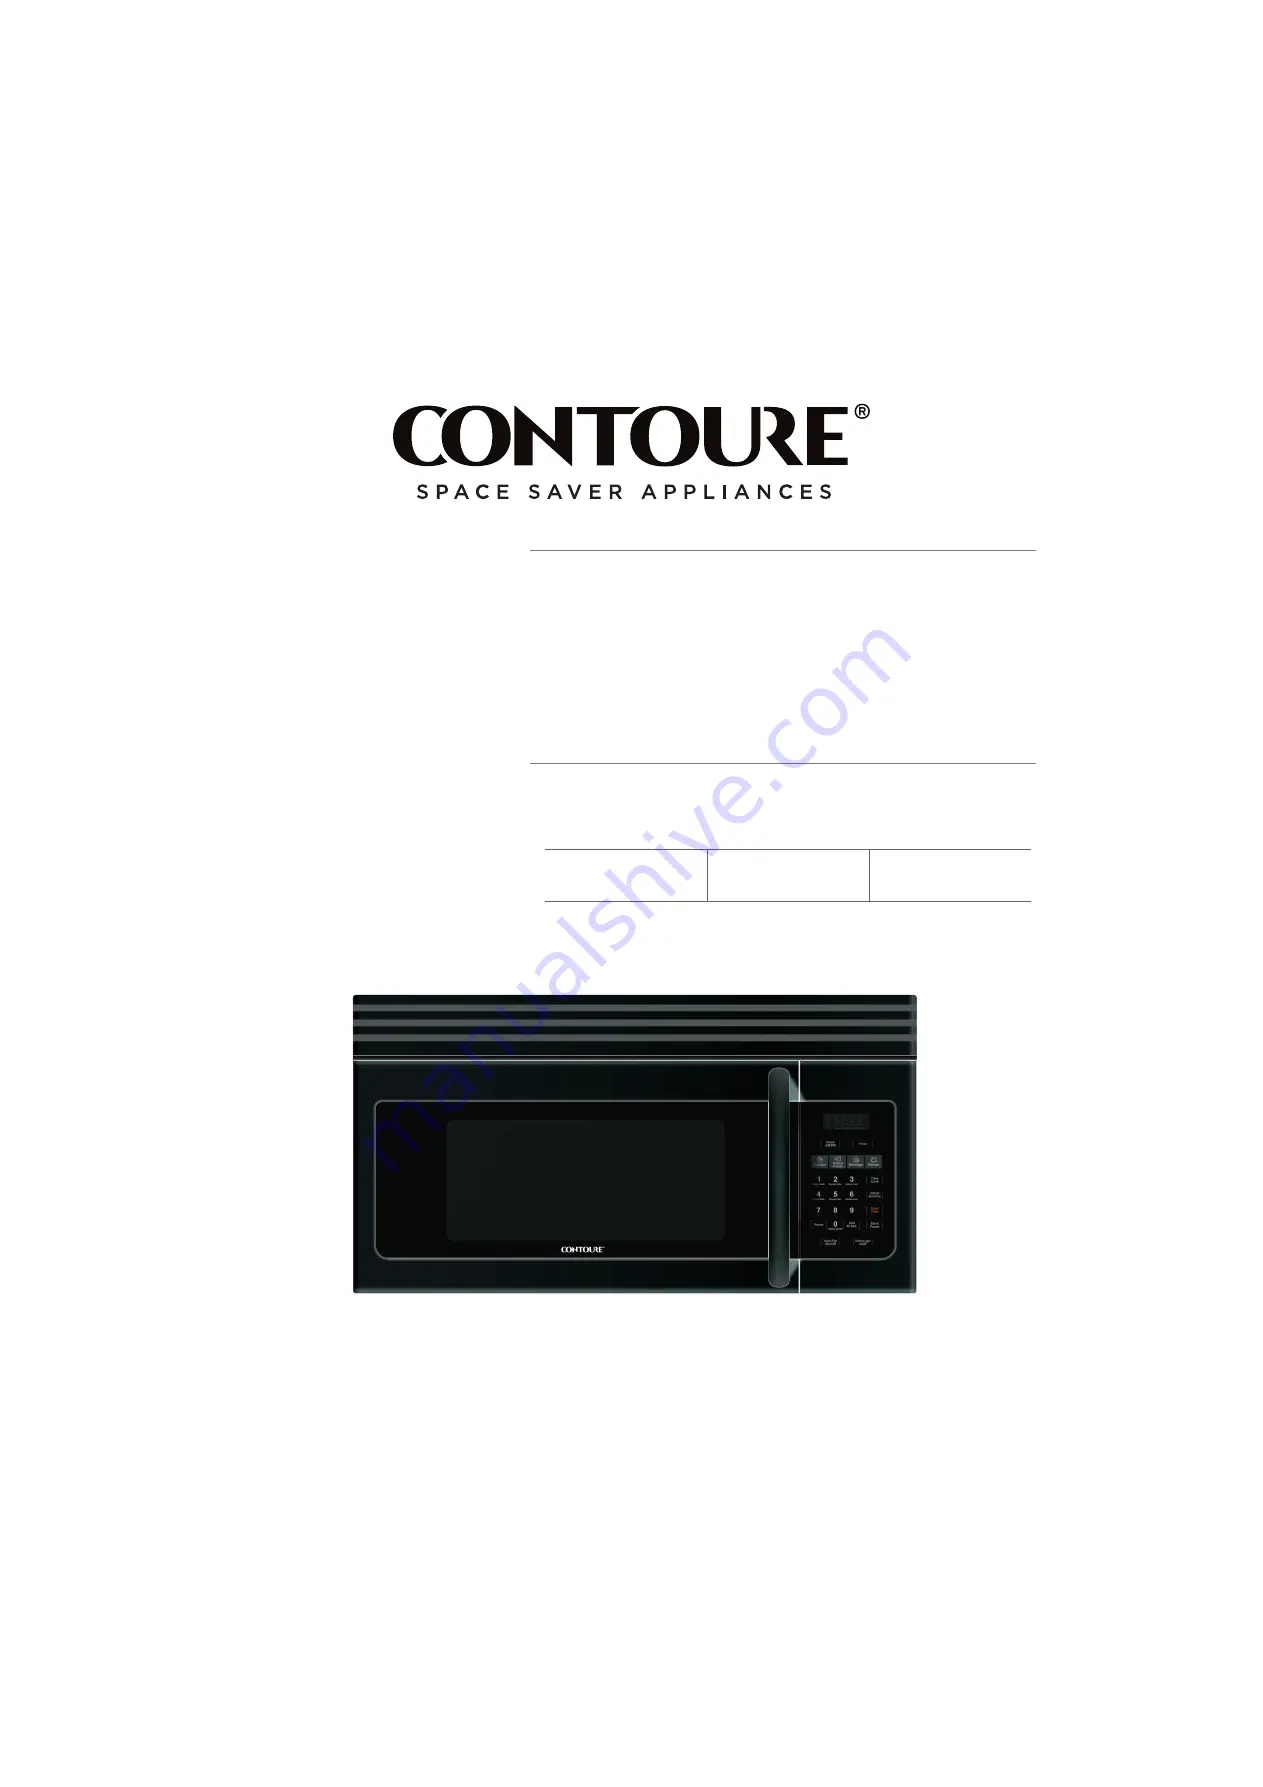
1.6 CU.FT.
OVER-THE-RANGE
MICROWAVE OVEN
INSTRUCTION MANUAL MODEL(S):
RV-400BK-OTR
Before using your appliance, please read this manual carefully and keep it for future reference
.
RV-488S-OTR
RV-490BB-OTR
Page 1: ...1 6 CU FT OVER THE RANGE MICROWAVE OVEN INSTRUCTION MANUAL MODEL S RV 400BK OTR Before using your appliance please read this manual carefully and keep it for future reference RV 488S OTR RV 490BB OTR ...
Page 2: ...M FOR MORE 3 EN TABLE OF CONTENT Table of Content Welcome Congratulations 4 Important Safety Precautions 5 Installation Instructions Operating Your 14 Care Maintenance 180 Trouble Shooting Guide Product Warranty 23 Oven 10 20 ...
Page 3: ...his product always read the instruction book carefully before using Don t forget to register your product at www contoureusa com for updates and other relevant information This manual contains important information on the installation use and care of your appliance Please read this manual carefully before installation and operation of this machine to prevent injury and property damage and to take ...
Page 4: ...licitly After reading this section keep it in a safe place for future reference State of California Proposition 65 Warnings WARNING The California Safe Drinking Water and Toxic Enforcement Act requires the Governor of California to publish a list of substances known to the State of California to cause cancer birth defects or other reproductive harm and requires the business to warn of potential ex...
Page 5: ...pliance close supervision is necessary and required when it is used by children DO NOT operate this appliance if it has a damaged cord or plug if it is not working properly or if it has been damaged or dropped This appliance should be serviced only by qualified service technicians DO NOT cover or block any openings on the appliance DO NOT store or use this appliance outdoors DO NOT use this produc...
Page 6: ...l is inserted into the liquid WARNING To reduce the risk of injury to person s DO NOT use straight sided containers with narrow necks Use wide mouth containers Stir liquid both before and halfway through heating it DO NOT overheat liquid Use extreme care when inserting a spoon or other utensil into the container This may also cause delayed eruptive boiling After heating allow the container to stan...
Page 7: ...ook bacon directly on the turntable Excessive local heating of the turntable may cuase the turntable to break DO NOT heat baby bottles or baby food in the microwave oven Uneven heating hotspots may occur and cause injury DO NOT attempt to deep fry in your microwave oven DO NOT attempt home canning in this microwave oven It is impossible to be sure all contents of the jar have reached boiling tempe...
Page 8: ...ics only in strict compliance with the recommendations provided by the cookware manufacturer DO NOT microwave empty cups or containers DO NOT permit children to use plastic cookware unsupervised Materials you CAN use in a microwave It is not required to buy all new cookware after purchasing your microwave oven Many of the cookware pieces you already own can be used successfully in your new microwa...
Page 9: ...ven into a different outlet so that the microwave and receiver are on different branch circuits WARNING Precautions to avoid possible exposure to excessive microwave energy DO NOT attempt to operate this oven with the door open this can result in harmful exposure to microwave energy It is important not to break or tamper with the safety interlocks DO NOT place any object between the oven front fac...
Page 10: ... It must be plugged into a wall receptacle that is properly installed and grounded DO NOT under any circumstances cut or remove the third ground prong from the power cord supplied DO NOT use an extension cord with this appliance If the power cord is too short have a qualified electrician or service technician install an outlet near the appliance Use of an extension cord can negatively affect the p...
Page 11: ...ing assembly or it cracks or breaks please reach out to customer service see the warranty section for further information Please reference the diagram below to help during installation 1 Place the turntable ring in the round depression in the bottom of the microwave oven so that it turns freely 2 Place the glass turntable flat side up on the turntable ring so that the hub engages the turntable sha...
Page 12: ...s on the control panel 1 Digital Display Panel 2 Clock AM PM 3 Timer 4 Auto Menu 5 Number Keys 6 Power 7 Vent Fan High Low Off 8 Time Cook 9 Defrost Auto Time 10 Stop Clear clears all previous settings selected before cooking begins To use during cooking press once to stop oven twice to stop and clear all entries 11 Start Pause 12 Add 30 Seconds 13 Surface Light On Off ...
Page 13: ...ly While constant stiring is not necessary if you stir foods casseroles vegetables etc from the outside to the center heat will distribute more Operating Your Oven evenly and the foods will cook faster Place delicate areas of food toward the center of the turntable tray Arrange unevenly shaped foods with thicker or fatter parts towards the outside of the turntable tray To help cook food more evenl...
Page 14: ...tage is defrosting one stage is microwave cooking If one stage is defrosting it will automatically be put on the first stage Below is an example to cook food with 100 power for 10 minutes and then cook with 80 power for 15 minutes 1 Press TIME COOK to select cooking 2 Press 1 0 0 0 to input the cooking time 3 Press POWER to choose 100 microwave power 4 Press TIME COOK to choose microwave cooking 5...
Page 15: ...to input the defrost weight For example If the food weight is 1 2 Lbs then 1 2 should be input 3 Press START PAUSE to begin defrosting The maximum cooking weight is 6 0 Lbs Defrost by Time 1 Press DEFROST AUTO TIME twice to begin defrosting by Time The Defrost indicator will light 2 Use the number keys from 0 to 9 to input the defrost time The maximum time is 99 minutes and 99 seconds 3 Press STAR...
Page 16: ... begin 1 For 3 3 Oz Press Once 2 For 3 0 Oz Press Twice 3 For 1 75 Oz Press Three Times Beverage Menu The beverage setting heats one to three cups of a beverage at a time Use the below recommendations to determine the setting to use Press BEVERAGE repeatedly to select the correct number of servings Once the correct serving size is selected press START to begin 1 1 Cup Press Once 2 2 Cups Press Twi...
Page 17: ...ediately Use a damp clean cloth and mild soap DO NOT use harsh detergents or abrasive cleaners To help loosen baked on food particles or liquids heat 2 cups of water add the juice of 1 lemon if you desire to keep the oven fresh smelling in a 4 cup measuring glass at High power for 5 minutes or until boiling Let stand in oven cavity for 1 to 2 minutes Remove the glass turntable tray from the oven w...
Page 18: ...nwards then trun and pull it away from the unit Oven Light Replacement 1 Remove the vent grill per instructions 1 4 above and charcoal filter if used 2 Open light cover located behind filter mounting by carefully pulling up on the front edge 3 Remove old light bulb and replace only with equivalent 30 watt bulb available from parts distributor Bulbs are also available at most hardware stores or lig...
Page 19: ...evel and use the correct time power level Food is not turned or stirred Turn or stir food while cooking for best results Food is overcooked The cooking time or power level was not optimal for the food Use the correct cooking time or power level Undercooked Foods Materials to be avoided in microwave oven were used Use microwave safe cookware only Oven ventilation ports are restricted Check to see t...
Page 20: ...operation again If arcing occurs materials to be avoided in microwave oven were used Use microwave safe cookware only The oven was operated when empty DO NOT operate with oven empty Spilled food remains in the oven cavity Clean the cavity with a wet towel Do not leave spilled food in the oven cavity Overcooked Foods Cooking time or power level is not suitable Adjust the cooking time or power level...
Page 21: ...efective part under this ninety 90 day warranty shall be assumed by NQP CONTOURE except the cost of transporting the product to and from NQP CONTOURE which shall be assumed by the buyer If the product is replaced the replacement will be with a product that is identical or equivalent to the warranted product If the product cannot be repaired or replaced NQP CONTOURE will issue a refund to the buyer...
Page 22: ...nclude your return address daytime phone number description of the product defect product model number located on the product original date of purchase and any additional pertinent information pertaining to the product s return Warranty Exclusions This warranty does not apply to any costs repairs or services for the following Products with original serial numbers that have been removed altered or ...
Page 23: ...esidents have the option of returning a nonconforming product 1 to the store where it was purchased or 2 to another retail store which sells CONTOURE products of the same type The retail store shall then at its discretion either repair the product refer the consumer to an independent repair facility replace the product or refund the purchase price less the amount directly attributable to the consu...
Page 24: ...VISIT WWW CONTOUREUSA COM FOR MORE ...