


Installation and Setup
7
Powering on the ATS-XPE
3.
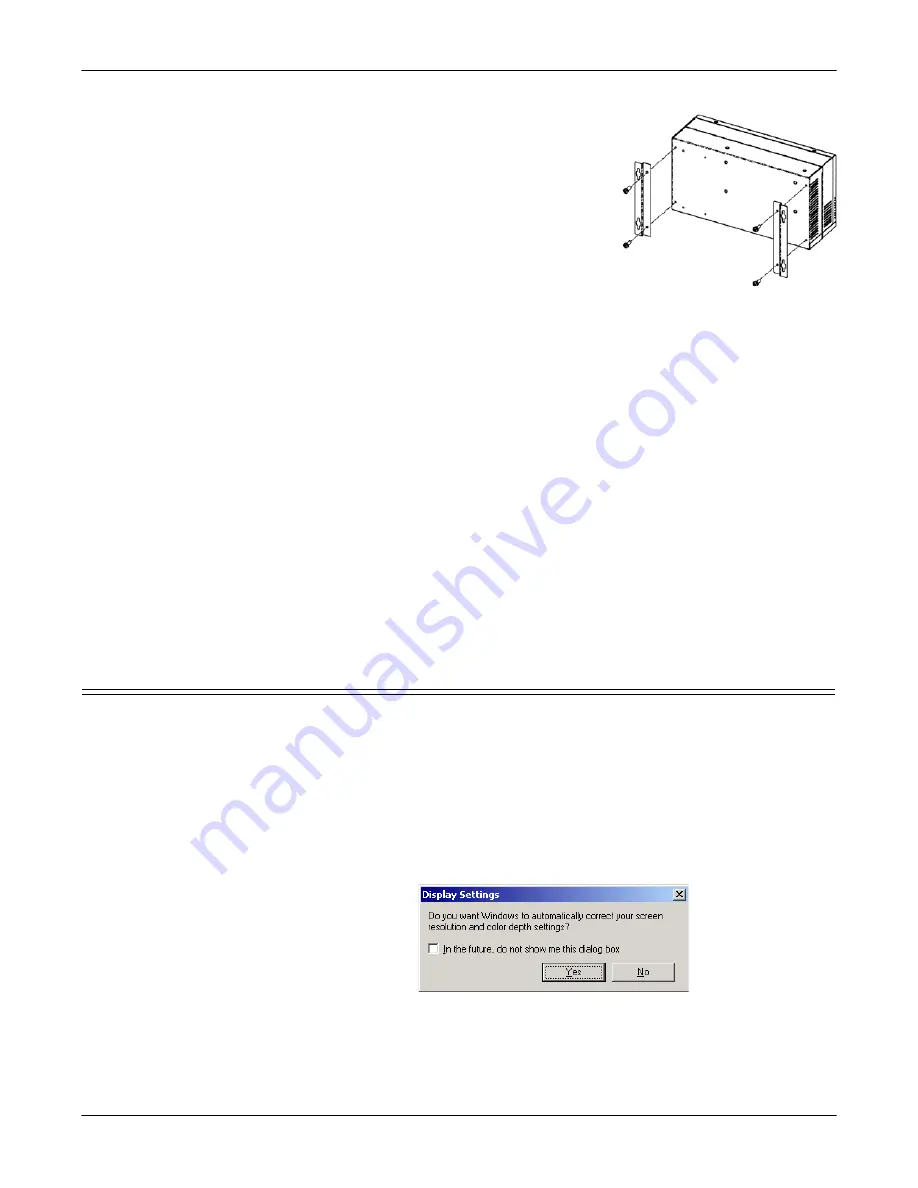
Place the DeviceMaster ATS-XPE on a stable
surface or attach it to a suitable surface
using the mounting brackets shipped with
the device.
Note:
Optionally, mount the ATS-XPE to a
DeviceMaster Rackmount Shelf.
4.
If you ordered the PC104 RocketPort
®
option
,
connect the PC104 RocketPort cable (quad-
or octacable) to the
SERIAL PORTS 1-8
connector.
Note:
If you have the PC104 RocketPort card
option installed, do not connect any RS-422 or RS-485 devices to the
serial ports until you have configured the driver.
5.
Connect a standard PS/2 (6-pin mini DIN) compatible keyboard into the
KEYBOARD
connector or a USB-compatible keyboard into one of the
USB
ports (
1
or
2
).
6.
Connect a PS/2 (6-pin mini DIN) compatible mouse into the
MOUSE
connector
or a USB-compatible mouse into one of the
USB
ports (
1
or
2
).
7.
Connect the 15-pin monitor cable from a standard VGA monitor to the
VGA
connector.
8.
To use the built-in Ethernet ports, connect a standard Ethernet cable to the
Ethernet port (or ports) that you want to configure for the network. The ports
are labeled
1
and
2 (10/100 ETHERNET)
.
9.
.
10. If you want to connect a parallel printer to the system, connect the printer
cable to the
PARALLEL
connector. You may need a driver to install your
printer.
11. Optionally, connect up two USB devices to the
USB
ports. You may need to
install a driver to support your USB device.
Powering on the ATS-XPE
After connecting the cables and devices, you are ready to power on the ATS-XPE.
1.
Connect the power cable into the power supply and connect the power supply
(with the latch and key up) into the
POWER
connector.
2.
Connect the power cable to a power source.
Note:
The system beeps during the power on cycle. If you have the RocketPort
PC104 option installed, solid yellow Tx LEDs also indicate that you
have power to the unit.
3.
You may receive a Display Settings balloon. Select
Yes
to the Display Settings
popup message:
If you installed a PCMCIA compact flash, it will display as drive d: on the system.


