106
6.12.3 WPS
Wi-Fi Protected Setup (WPS) is an industry standard that simplifies wireless security
setup for certified network devices. Every WPS certified device has both a PIN
number and a push button, located on the device or accessed through device
software. The AR-5319 has a WiFi/WPS button on the device.
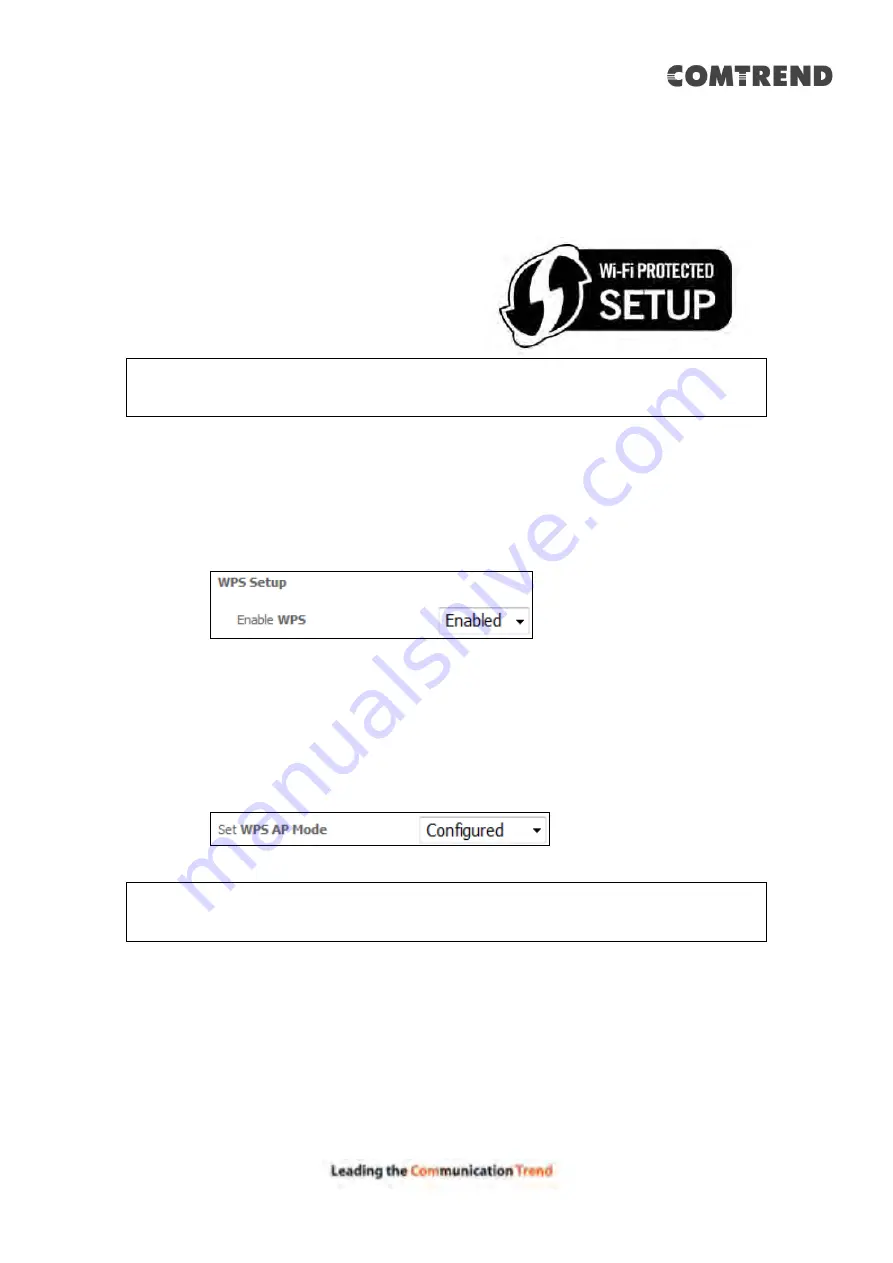
Devices with the WPS logo (shown here)
support WPS. If the WPS logo is not present
on your device it still may support WPS, in
this case, check the device documentation
for the phrase “Wi-Fi Protected Setup”.
NOTE:
WPS is only available in Open, WPA2-PSK and Mixed WPA2/WPA-PSK
network authentication modes. Other authentication modes do not use
WPS so they must be configured manually.
To configure security settings with WPS, follow the procedures below.
I. Setup
Step 1:
Enable WPS by selecting
Enabled
from the drop down list box shown.
Step 2:
Set the WPS AP Mode.
Configured
is used when the AR-5319 will assign
security settings to clients.
Unconfigured
is used when an external
client assigns security settings to the AR-5319. Then click the
Apply/Save
button.
NOTES:
Your
client may or may not have the ability to provide security settings to
the AR-5319. If it does not, then you must set the WPS AP mode to
Configured. Consult the device documentation to check its capabilities.
Summary of Contents for AR-5319
Page 1: ...AR 5319 ADSL2 WLAN Router User Manual 261056 079 Version A1 1 March 6 2017...
Page 40: ...39 4 11 2 Site Survey The graph displays wireless APs found in your neighborhood by channel...
Page 56: ...55 5 3 3 UPnP Select the checkbox provided and click Apply Save to enable UPnP protocol...
Page 67: ...66 Enter the PPP username password given by your service provider for PPP service detection...
Page 111: ...110 Enter the MAC address in the box provided and click Apply Save...
Page 149: ...148 To add a WAN connection go to E2 WAN Connections...
Page 185: ...184 Click Next to continue or click Back to return to the previous step...
Page 203: ...202 STEP 2 Click the Windows start button Then select Control Panel...
Page 204: ...203 STEP 3 Select Devices and Printers STEP 4 Select Add a printer...


