


Chapter:
Maintaining the System
5–5
Replacing an iPatch Panel, Fiber Faceplate, or
Fiber Module
If you have a panel, faceplate, or module that is malfunctioning and need to replace
it, perform the steps below.
1
Disconnect the panel bus jumper for the panel, faceplate, or module from the
rack’s panel bus.
2
Mark each patch cord connector connected to the panel, faceplate, or module
to indicate the port where it should be reconnected. Then disconnect each
patch cord from the unit.
3
Disconnect the cables from the back of the panel, faceplate, or module.
4
If removing a panel with RJ-45 ports
, remove the mounting screws and remove
the panel from the rack.
If removing a faceplate or module from a fiber shelf
, refer to the instructions
provided with the faceplate or module and remove the faceplate or module
from the shelf.
5
At the iPatch Manager, press Menu. With Run Diagnostics highlighted, press
Select.
Note:
This action lets the system immediately detect that the panel, shelf, or
module has been removed.
6
Install the new panel, faceplate, or module. Refer to the instructions provided
with the unit.
7
Connect the patch cords to the corresponding ports on the new panel,
faceplate, or module.
8
Restore the cabling connections to the back of the new panel, faceplate, or
module.
9
Connect the panel bus jumper to the panel bus.
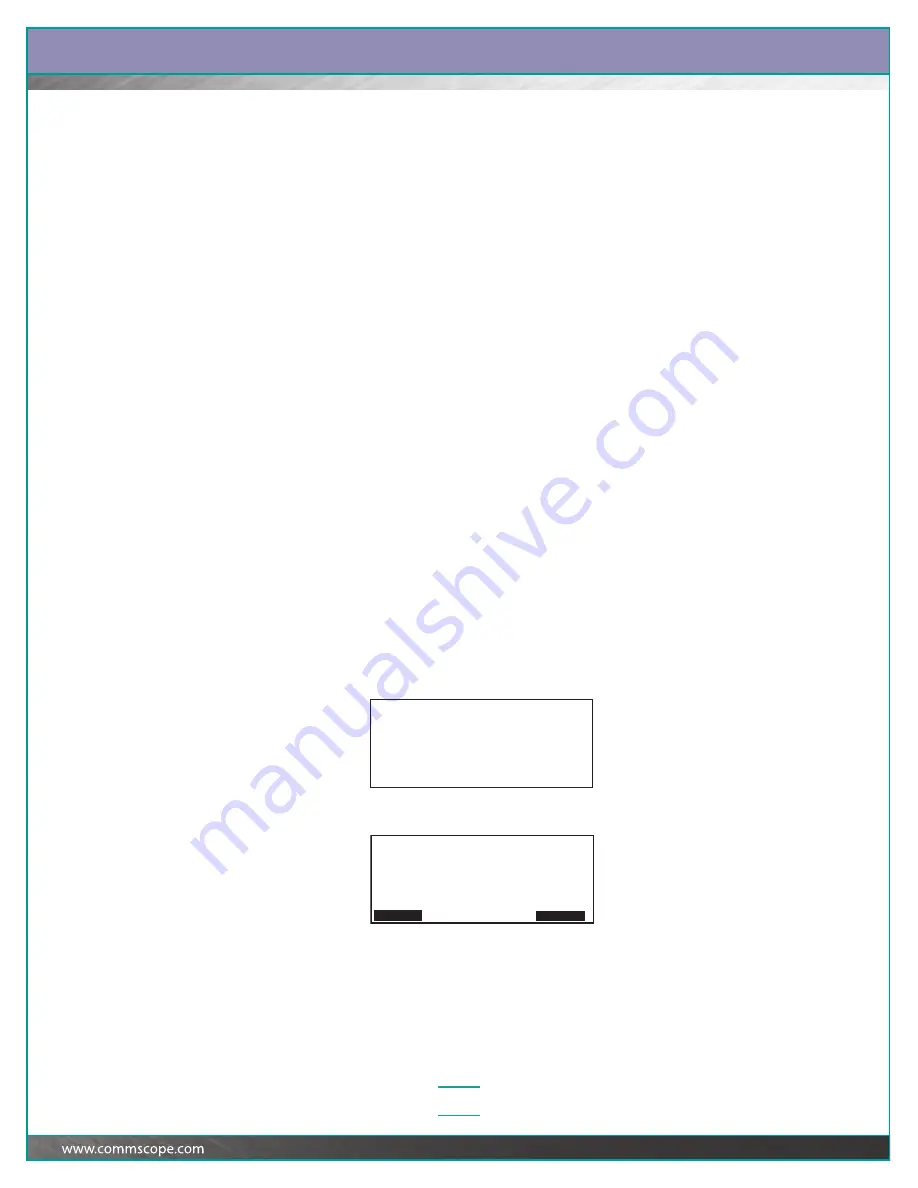
The iPatch Manager display shows:
Then:
Note:
If the display does not show this message, press Menu, then
highlight Reset Panels and press Select.
Initializing
Please Wait
Rack 1
Program Order of
iPatch Equipment in Rack
Press Continue to order panels and
modules.
Continue Cancel


