242343-3
Gas Cooktops
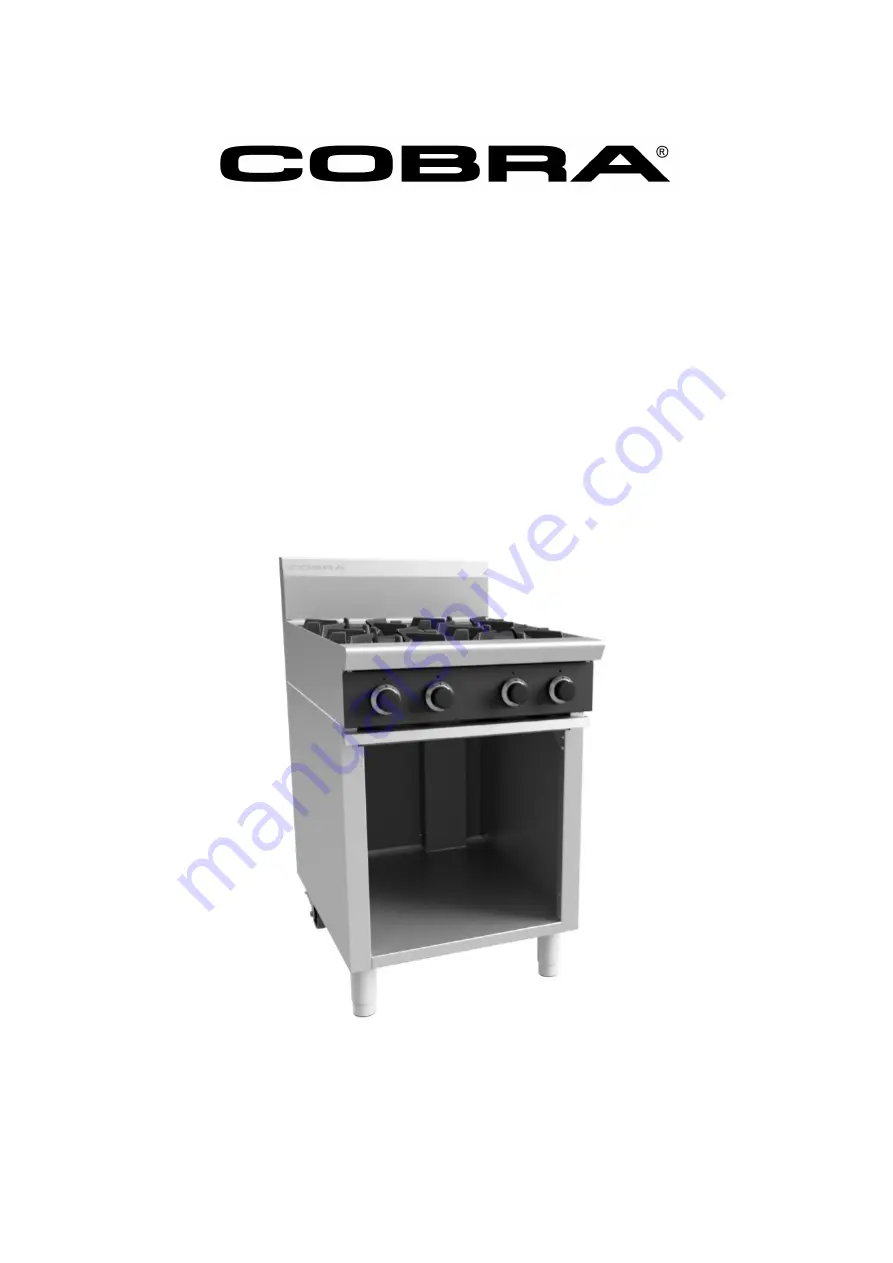
Models:
C6 (600mm) C9 (900mm)
I N S T A L L A T I O N A N D O P E R A T I O N M A N U A L
Page 1: ...242343 3 Gas Cooktops Models C6 600mm C9 900mm I N S T A L LA T I ON A N D OP E R A T I ON M A N U A L ...
Page 2: ...rvice tel 1800 335 315 fax 1800 350 281 CANADA Serve Canada Web www servecanada com E Mail info servecanada com Sales tel 800 551 8795 Toll Free Service tel 800 263 1455 Toll Free NEW ZEALAND Moffat Limited Web www moffat co nz E Mail sales moffat co nz Main Office tel 0800 663328 UNITED KINGDOM Blue Seal Web www blue seal co uk E Mail sales blue seal co uk Sales tel 44 121 327 5575 fax 44 121 327...
Page 3: ...tion Requirements Unpacking Assembly Location Clearances Gas Connection Commissioning Operation Guide Description of Controls Open Burners Lighting the Open Burners Griddle Lighting the Griddle General After Each Use Daily Cleaning Weekly Cleaning Periodic Maintenance Gas Conversion Procedure Gas Specifications ...
Page 4: ...s for adapting the appliance to the conditions for use in that country IMPROPER INSTALLATION ADJUSTMENT ALTERATION SERVICE OR MAINTENANCE CAN CAUSE PROPERTY DAMAGE INJURY OR DEATH READ THE INSTALLATION OPERATING AND MAINTENANCE INSTRUCTIONS THOROUGHLY BEFORE INSTALLING OR SERVICING THIS APPLIANCE INSTRUCTIONS TO BE FOLLOWED IN THE EVENT THAT THE USER SMELLS GAS ARE TO BE POSTED IN A PROMINENT LOCA...
Page 5: ...s with 2 models of base unit are available either cabinet or benchtop Open Burners can have either Standard Flame Failure Pilot or Pilot with Flame Failure Protection as an option Griddles are available in 300mm 600mm and for the C9 Gas Cooktop a 900mm option is available All griddle options are fitted with pilot flame failure and piezo ignition as standard Australia New Zealand Open Burner each G...
Page 6: ...m from floor It is reached from beneath the appliance Refer to Dimensions drawings Benchtop Models Gas supply connection point is located at rear of appliance approximately 130mm from right hand side and 60mm from floor It is reached from beneath the appliance Refer to Dimensions drawings Connection is BSP male thread for all models Open Burner each Griddle each 300mm section Open Burner each Grid...
Page 7: ...5 ...
Page 8: ...6 ...
Page 9: ...exterior stainless steel panels Check equipment and parts for damage Report any damage immediately to the carrier and distributor Report any deficiencies to the distributor who supplied the appliance Check that the available gas supply is correct to that shown on rating plate located on the front upper right hand corner of the cooktop cabinet If the Legs and Rear Rollers are not fitted carry out t...
Page 10: ...uld be made before installation a The Gas Type the appliance has been supplied for is shown on coloured stickers located above the gas entry point and next to the rating plate Check that this is correct for the gas supply the appliance is being installed for The gas conversion procedure is detailed in the Gas Conversion Instruction Sheet for this appliance b Supply Pressure required for this appli...
Page 11: ...fitted to the individual appliance supply line 4 Correctly locate the appliance into its final operating position and using a spirit level adjust the legs so that the appliance is level and at the correct height 5 Connect the gas supply to the appliance A suitable joining compound which resists the breakdown action of LPG must be used on every gas line connection unless compression fittings are us...
Page 12: ... Flame Failure Option Lighting the Griddle 1 Cobra appliances have been designed to provide simplicity of operation and 100 safety protection C9 900mm Gas Cooktop with Griddle Option Gas Control Knobs Griddle OFF Position PILOT Burner HIGH Flame LOW Flame Piezo Igniter Griddles Only Open Burner P PF OFF Position PILOT Burner P PF Options Only HIGH Flame LOW Flame Rear Burner Front Burner Indicator...
Page 13: ...ers Lighting the Open Burners Standard Flame Failure Options a Select the burner required depress and turn the corresponding gas control knob anti clockwise to the HIGH position b With the gas control knob depressed manually light the burner c Release the gas control knob after approximately 10 20 seconds after lighting the burner d The burner should stay alight if not repeat Steps a to c above e ...
Page 14: ...e cleaning process DO NOT use harsh abrasive detergents strong solvents or caustic detergents as they will damage the cooktop burners and griddle plate if fitted DO NOT use water on the trivets griddle plates and burners while they are still hot as cracking may occur Allow these items castings to cool and remove for cleaning DO NOT clean the burners in a dishwasher Clean the Cooktop regularly A cl...
Page 15: ...d Dry all components thoroughly with a dry cloth and polish with a soft dry cloth e Remove the grease tray and clean with a mild anti bacterial detergent and hot water solution using a soft bristled brush f Dry the grease tray thoroughly with a dry cloth and polish with a soft dry cloth a Clean the Cooktop cooking area using a soft cloth moistened with a mild detergent and hot water solution b Bak...
Page 16: ...n of shaft for correct re assembly f Using needle nose pliers or similar pull out gas control spindle again noting its orientation g Apply a suitable high temperature gas cock grease or lubricant such as ROCOL A S P Anti scuffing paste Dry Moly Paste to the outside of the spindle h Replace spindle and re assemble the gas control in reverse order i Refit control panel and secure with 2 screws j Ref...
Page 17: ...n control knob released Releasing knob before thermocouple is heated FF PF Burners only Thermocouple incorrectly positioned Thermocouple faulty Gas valve magnet faulty Hold control knob in for longer 10 secs after lighting the burner Call service provider Call service provider Call service provider Low fire rate too high Incorrect supply pressure Low fire adjustment incorrect Call service provider...
Page 18: ...en knob released Releasing knob before the thermocouple is heated Pilot flame too small Thermocouple faulty Gas valve magnet faulty Hold gas control valve In for longer 10s see if pilot remains alight Call service provider Call service provider Call service provider Main burners will not light Wrong size or blocked injectors Obstruction in main burner Incorrect supply pressure Faulty gas control C...
Page 19: ...ector sizes 1 Remove the pot stands as shown earlier 2 Unscrew and remove the pilot injector for each burner from beneath the mounting rails 3 Determine the correct pilot injector sizes for the corresponding gas from the rating plate which is attached to underside of the front right hand side cooktop lower trim 4 Replace with correct size pilot injectors Refer to the Gas Specifications table at re...
Page 20: ...ner to the griddle burner box h Refit gas control heat shield to griddle burner box i Refit griddle plate section to top of cooktop j Check the thermocouple connection to the gas valve is tight k Repeat Items a to i for all griddle main burners l Turn On the gas supply at the mains re light the griddle burners and check the flame size on the LOW flame position Griddle Pilot Burner a Disconnect pil...
Page 21: ...burner operating pressure NOTE Measure operating pressure at manifold test point and with 2 burners operating at High Flame setting NOTE Pin rotated for Natural Gas NOTE Pin rotated for LPG Pressure Adjusting Screw Cap Nut Injector On completion of the gas conversion replace the gas type identification label located at The rear of the appliance above the gas connection Beside the rating plate Befo...
Page 22: ...on section for details Burner Injector Ø 2 10mm Ø 1 25mm Open Burner Low Fire Setting turn open c c w turn open c c w Burner Aeration Setting 16mm open 16mm open Pilot Injector 0 30mm 0 20mm Griddle Burner Injector Ø 2 00mm Ø 1 25mm Low Fire Setting 5 8 turn open c c w 3 8 turn open c c w Burner Aeration Setting Fully open Fully open Pilot Injector 0 35 0 23 Supply Pressure 1 13 3 40 kPa 2 75 4 50...
Page 23: ...jector Ø 0 20mm Ø 0 20mm Griddle Burner Injector Ø 1 25mm Ø 1 20mm Low Fire Setting 3 8 turn open c c w Burner Aeration Setting Fully open Pilot Injector 0 23 Supply Pressure 2 75 4 50 kPa Burner Operating Pressure 2 6 kPa Gas Regulator Cap Screw Open Burner Burner Injector Ø 2 10mm Ø 3 80mm Low Fire Setting turn open c c w 1 turn open c c w Burner Aeration Setting 16mm open 16mm open Pilot Inject...
Page 24: ...ame Failure PF Models Only 019428 Thermocouple 320mm 230671 Thermocouple 500mm 242361 Knob Assy Std F 242362 Knob Assy P PF Griddle 014105 Griddle Burner 230213 Griddle Reflector Assy 227403 Gas Control with Flame Failure 242362 Knob Griddle 032200 Injector Nat Gas Ø 2 00mm 032125 Injector LP Gas Ø 1 25mm 032120 Injector Butane Ø 1 20mm 032340 Injector Town Gas Ø 3 40mm 019215K Pilot Burner Fully ...
Page 25: ...0mm c w Leg Plate Regulators Gas Conversion Kits Australia New Zealand Only Nat Gas LPG Gas Butane 228531 BSP F F Convertible Town Gas 230185 BSP F F Adjustable C6 242686 242687 C9 242688 242689 C6 242686 242687 242696 242697 C9 242688 242689 242698 242699 C6 P PF 242717 242718 C9 P PF 242715 242716 ...
Page 26: ......