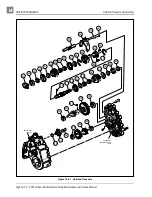


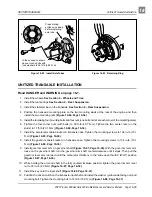


UNITIZED TRANSAXLE
Unitized Transaxle Assembly
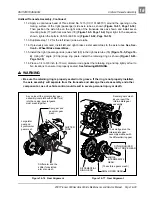
2001 Pioneer 900 Gasoline Vehicle Maintenance and Service Manual Page 16-31
16
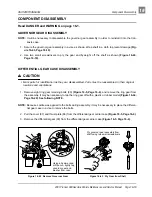
∆ CAUTION
• Use only Three Bond No. 1215 sealant to seal case. Do not use a substitute.
• If the two sides of the case cannot be easily closed or do not make complete contact, do not force
them together. Check that all internal components are properly seated and then try again.
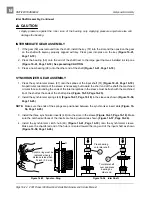
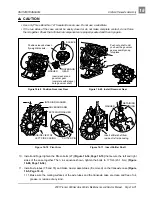
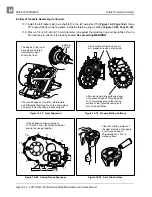
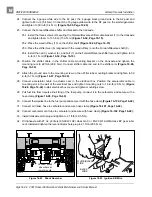
10. Install and finger tighten the fifteen bolts (27) (Figure 16-34, Page 16-15) that secure the left and right
sides of the case together. Then, in sequence shown, tighten the bolts to 17 ft-lb (23.1 N·m) (Figure
16-80, Page 16-34).
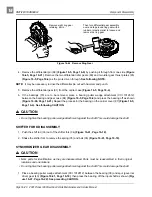
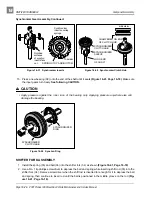
11. Install axle tubes (75 and 76) and brake cluster assemblies (if removed) on the transaxle case (Figure
11.1. Make sure the mating surfaces of the axle tubes and the transaxle case are clean and free of oil,
grease, or residue of any kind.
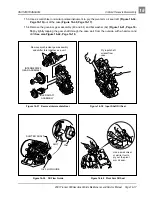
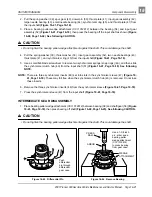
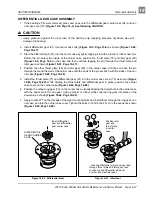
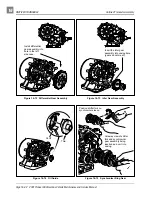
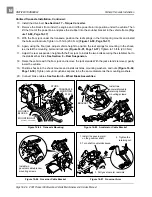
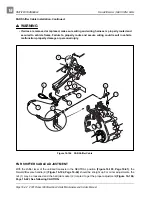
Figure 16-68 Position Governor Gear
Figure 16-69 Install Governor Gear
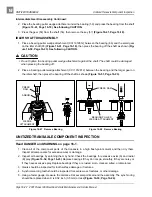
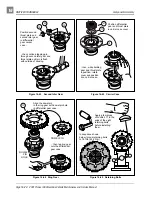
Figure 16-70 Pivot Arm
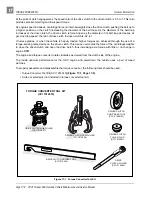
Figure 16-71 Insert Shifter Shaft
Position sleeve between
flyweight brackets.
Insert washer and
governor gear
(complete with sleeve)
onto governor shaft.
SLEEVE
GOVERNOR
GEAR
WASHER
Push onto shaft until
you hear the governor
gear assembly snap
into place.
INSIDE VIEW OF
LEFT SIDE CASING
EXTERIOR WASHER
COTTER PIN
INTERIOR WASHER
GOVERNOR ARM
Insert shifter shaft from
inside of left side casing.
RETAINING
RING
WASHER