


4
3.3 Video
① In the main interface of the software, click "Video" (see Figure 2);
② Clike "send" after videos be selected;
③ Select the received frame to upload to the cloud frame;
3.4 Photo
① In the main interface of the software, click "Photo" (see Figure 2);
② After taking photos, you can directly select "use photos" to add descriptions in batches (see Figure 7);
③ Click the picture to cut the single picture according to the original picture, 1:1, 16:9, 9:16, 3:4, 4:3
and other proportions (see Figure 8);
④ After adding a description, click send to send photos to the photo frame. Up to 9 photos can be sent
at a time (when sending, please select the photo frame to receive in the sending interface (see Figure 7)).
Note: if you choose to send the jigsaw puzzle, you can combine the selected photos according to the
preset style, and send them after adding a description and selecting a picture frame.
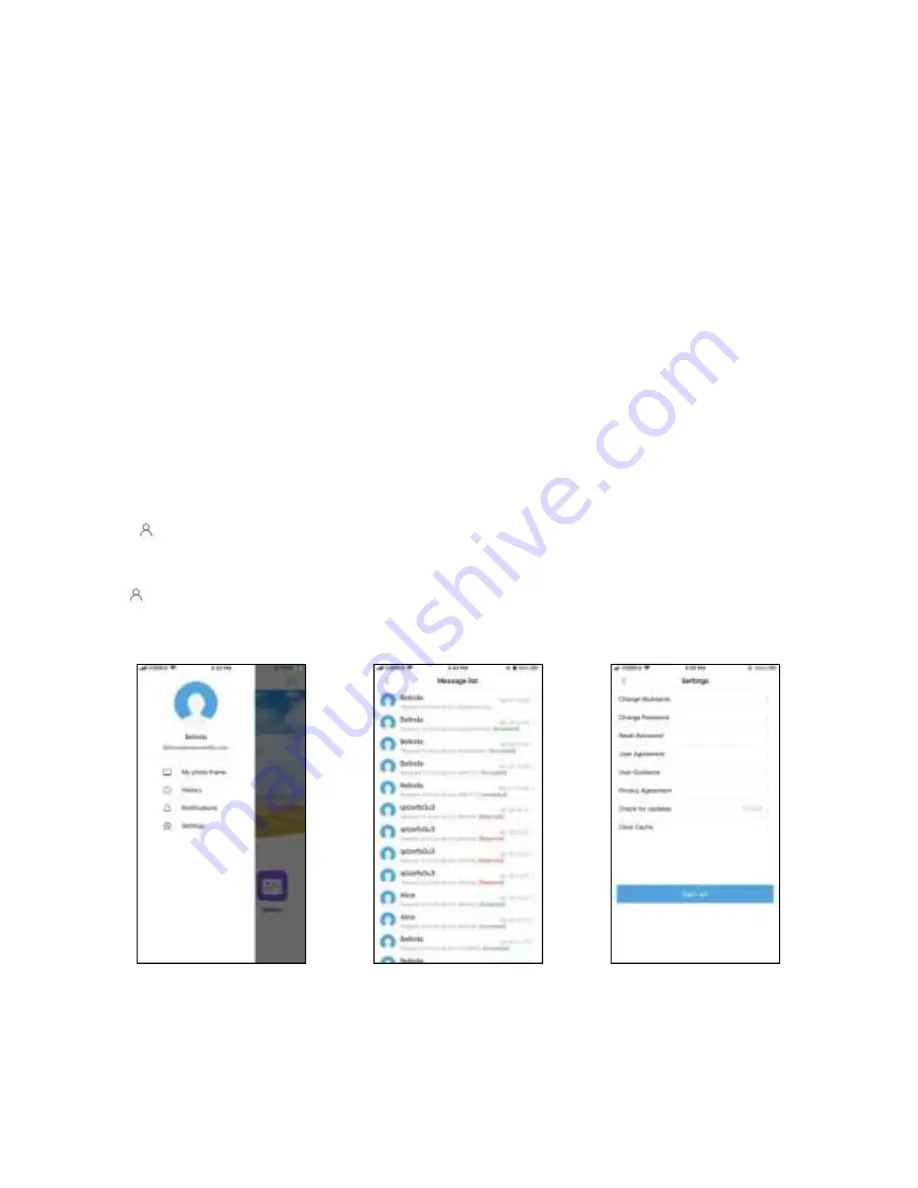
3.5 Menu
Menu It consists of seven parts: user image, user name, email, my photo frame, history, message
and settings (as shown in Figure 9).
Figure
9
Figure
10
Figure
11
3.5.1 User profile
Users can click the avatar to set the it.


