Montage instructiesInstallation InstructionsNotice de montageMontageanweisungen
Dimensions in mm, for reference only / 10.03.2016 / rev_02
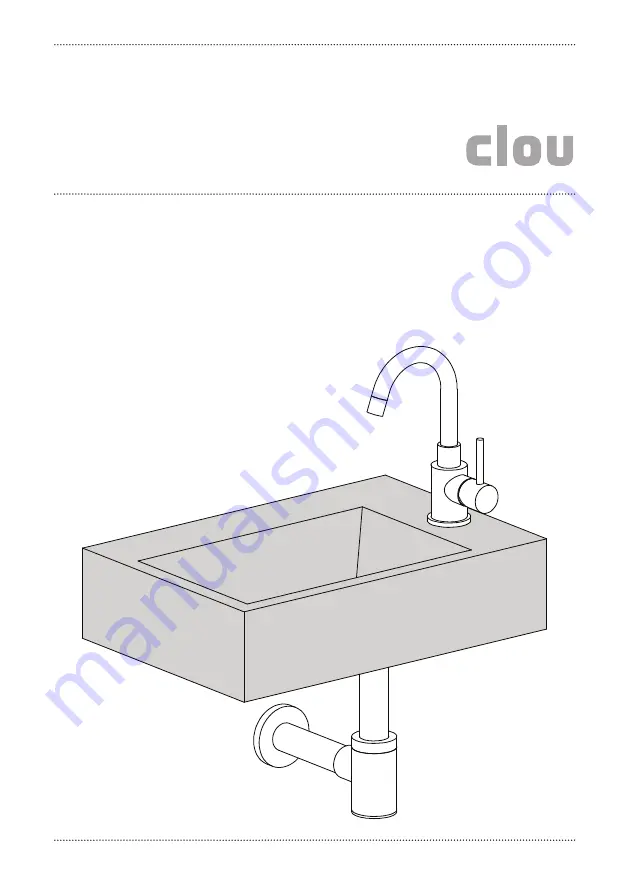
www.clou.nl
flush 2_
composite without tap hole
CL/03.08221, CL/03.13221
b a t h f i n d i n g s
Page 1: ...ties Installation Instructions Notice de montage Montageanweisungen Dimensions in mm for reference only 10 03 2016 rev_02 www clou nl flush 2_composite without tap hole CL 03 08221 CL 03 13221 b a t h f i n d i n g s ...
Page 2: ...elden steeds De montage dient uitgevoerd te worden door 2 personen waarvan minstens één vak kundig opgeleid persoon Alle maten zijn in mm Before starting with the mounting check whether the delivery is complete At the same time the delivery should be checked for damage due to transportation damage reports that are too late 1 day after delivery will not be accepted The included fixing media are sui...
Page 3: ...ontage überprüfen Sie bitte ob die Liefe rung vollständig ist bzw ob durch den Transport Schäden entstanden sind Diese Überprüfung muss direkt am Liefertag erfolgen Sollte ein Schaden festgestellt werden muss dieser unmittelbar nach der Lieferung spätestens 1 Tag nach Liefe rung angezeigt werden Die im Lieferumfang enthaltene Beschreibung für verputzte oder geflieste massive Wände sind ausschließl...
Page 4: ...ur www clou nl Gebrauchsanweisungen Wartungsanweisungen finden Sie auf unsere Homepage www clou nl Tijdens de installatie moet men voorkomen dat het opper vlak van het product beschadigd raakt door harde voorwer pen op het product te leggen During installation one has to prevent damaging the surface of the product due to placing hard objects on the product Pendant l installation on doit empêcher d...
Page 5: ...65 85 90 45 45 60 105 74 Ø45 Ø70 196 315 150 172 Ø35 45 290 425 ...
Page 6: ...75 75 150 norm 645 max 750 min 585 725 900 1050 80 75 75 150 norm 645 max 750 min 585 725 900 ...
Page 7: ...s le haut Passez cette étape si vous avez un robinet mural Bohren Sie das Armaturlöch mit einem Spatenspitze ø 35 mm Bohren Sie das letzte Stück von der Oberseite aus Übersprin gen Sie diesen Schritt wenn Sie eine Wandmontiert Armatur haben 2_ Duidt met potlood en waterpas de middellijn van de fontein aan Mark with pencil and level the centreline of the wash hand basin Marquez avec un crayon et av...
Page 8: ... lave mains recomman dé X 900 mm Markieren Sie mit einem Blei stift und mithilfe der Wasser waage die gewünschte Höhe X des Handwaschbecken Emp fohlener Wert X 900 mm 4_ Duidt met potlood de plaatsen aan waar u gaten moet boren Mark with pencil the spots to drill holes Marquez avec un crayon les endroits de perçage des trous Markieren Sie mit einem Blei stift die Stellen an denen Lö cher gebohrt w...
Page 9: ...e pluggen in de gaten en schroef de stokschroeven in de pluggen Insert the dowels in the holes and screw the dowel screws in the dowels Enfoncez les chevilles dans les trous et vissez les goujons dans les chevilles Bringen Sie die Dübel in den Löchern an und schrauben Sie die Stockschrauben in die Dübel 2x ø 10 mm ...
Page 10: ...uf den Stockschrauben an und befestigen Sie es mit Spannmuttern 8_ Bevestig de kraan niet inbe grepen op de fontein en sluit deze aan op de waterleiding Mount the tap not included on the wash hand basin and connect it to the water supply Fixez le robinet non inclus sur le lave mains et le raccordez à la conduite d eau Befestigen Sie die Waschti scharmatur nicht im Liefer umfang enthalten am Hand w...
Page 11: ...Sie den Ablauf nicht im Lieferumfang enthalten am Handwaschbecken 10_ Bevestig de sifon niet inbegre pen aan de afvoer en aan de afvoerleiding Attach the trap not included to the drain and to the waste pipe Fixez le siphon non inclus à la bonde et à la décharge d eau Befestigen Sie den Siphon nicht im Lieferumfang ent halten am Ablauf und an der Abflussleitung ...
Page 12: ...Clou bv Thermiekstraat 1 NL 6361 HB Nuth T 31 0 45 524 56 56 F 31 0 45 524 60 00 info clou nl www clou nl b a t h f i n d i n g s ...