25
Engl
ish
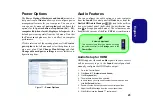
Sound Blaster Audio
Install the
Sound Blaster AP
to allow you to configure
the audio settings to your requirements for the best perfor-
mance in games, music and movies.
Sound Blaster X-Fi MB-3 Audio AP Installa-
tion
1. Click
Option Drivers
(button).
2. Click
4.Install SBX-Fi MB 3 AP
> Yes
.
3. Choose the language you prefer and click
Next
.
4. Click
Yes
to accept the license.
5. Click
Next
>
Full Installation
(button).
6. Click
Next > Finish
to restart the computer.
Sound Blaster Cinema Application
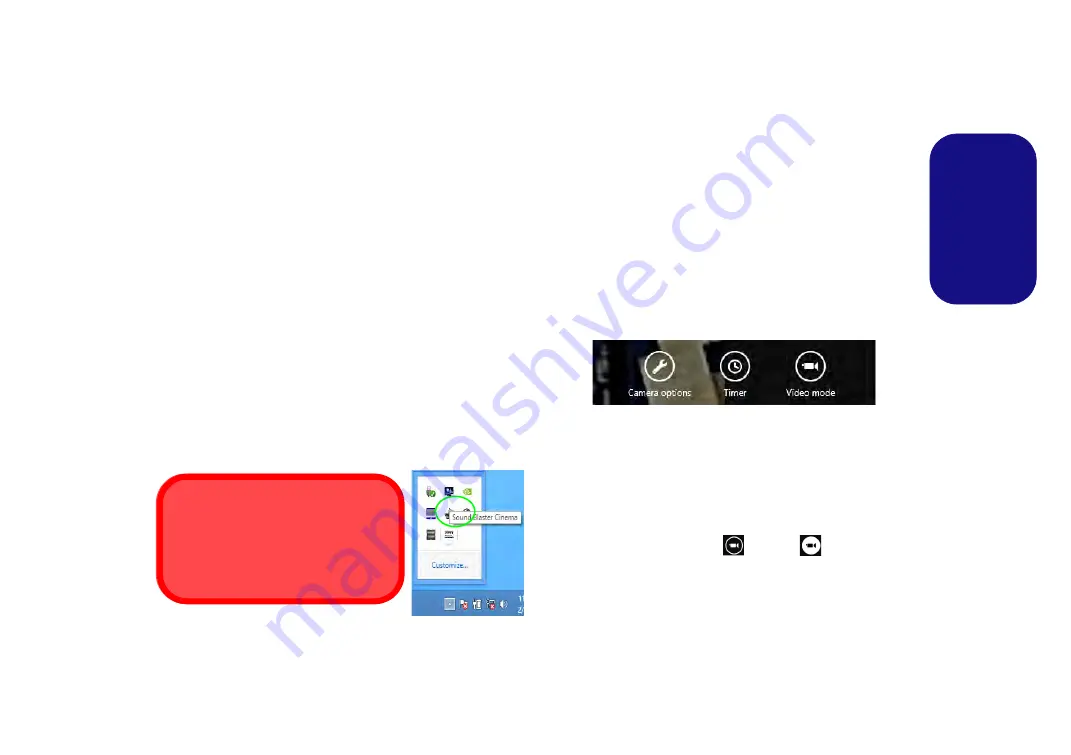
Run the
Sound Blaster Cinema
control panel from the
notification area of the taskbar (or from the item in the
Start screen). Click on the tabs to access any of the control
panel menus.
Figure 21 - Sound Blaster Cinema
(Taskbar Notification Area Icon)
PC Camera (Option)
When the PC Camera is in use the LED indicator to the
left of the camera will be illuminated in red (see
Map: Front View with LCD Panel Open (Models A, B &
C) on page 8
).
Metro UI Camera App
1.
Make sure the PC Camera is turned on by using the
Fn + F10
key combination.
2.
Run the Camera App from the Metro UI by clicking on the
Camera
icon.
3.
The camera interface is a translucent app bar with three
buttons.
Taking Pictures/Capturing Video
1.
Make sure the PC Camera is turned on by using the
Fn + F10
key combination.
2.
Run the Camera App from the Metro UI by clicking on the
Camera
icon.
3.
Click to select the
timer
if you require a countdown before
capture.
4.
Click to select either
photo
or
video
mode.
5.
Click in the main window to take a picture or start video capture
(if video capture begins a timer will appear in the bottom right
corner of the screen).
6.
To stop video capture click the main window again.
7.
Captured photos and videos will be saved to a
Camera Roll
folder within the
Pictures
folder in
Libraries
.
Sound Blaster Cinema & HDMI
Note that the Sound Blaster Cinema
audio effects do not apply to audio gen-
erated through an HDMI connection.

