Upgrading The Computer
Upgrading the System Memory (RAM) 6 - 11
6
7.
Pull the latches to release the second module if necessary.
8.
Insert a new module holding it at about a 30° angle and fit the connectors firmly
into the memory slot.
9.
The module’s pin alignment will allow it to only fit one way. Make sure the module
is seated as far into the slot as it will go. DO NOT FORCE the module; it should fit
without much pressure.
10. Press the module in and down towards the mainboard until the slot levers click into
place to secure the module.
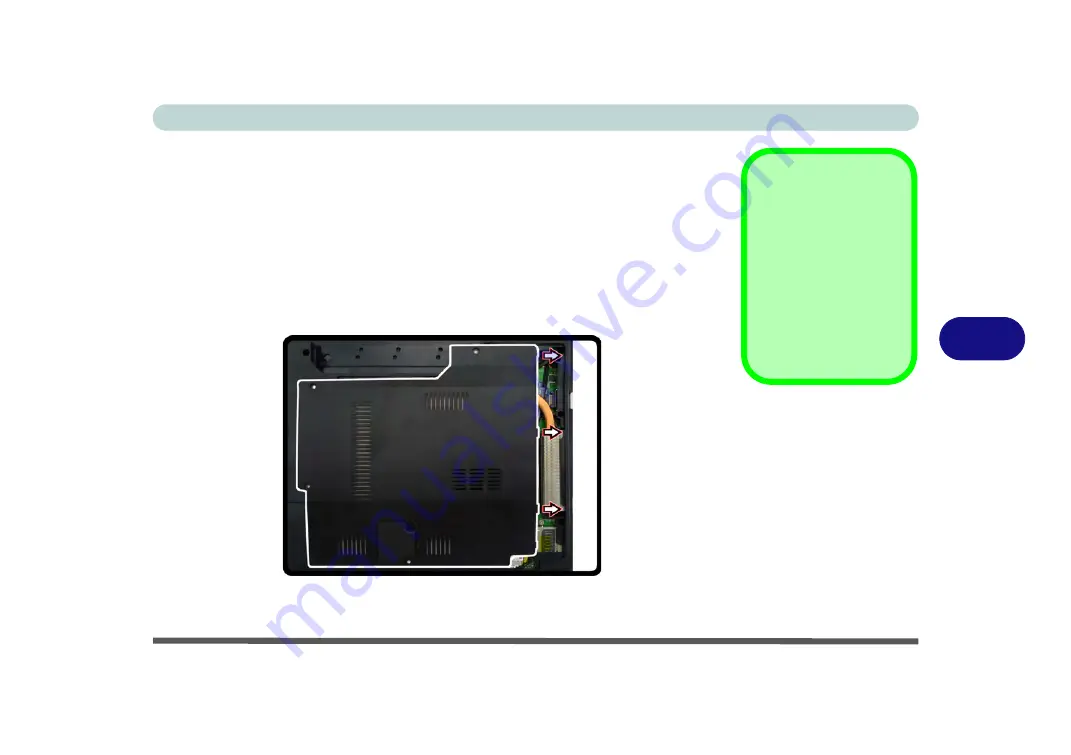
11. Replace the bay cover (see sidebar) and screws (
make sure you reconnect the
fan cable before screwing down the bay cover
).
12. Restart the computer to allow the BIOS to register the new memory configuration
as it starts up.
Cover Pins
Note
that this
computer
model has
three
cover
pins. These pins need to
be aligned with slots in
the case to insure a
proper cover fit, before
screwing down the bay
cover.
Figure 6 - 9
Component Bay
Cover Pins
Summary of Contents for E4120
Page 1: ...V10 1 00 ...
Page 2: ......
Page 18: ...XVI Preface ...
Page 24: ...XXII Preface ...
Page 44: ...Quick Start Guide 1 20 1 ...
Page 66: ...Features Components 2 22 2 ...
Page 175: ...Modules Options PC Camera Module 7 53 7 Figure 7 47 Audio Setup for PC Camera Right click ...
Page 212: ...Interface Ports Jacks A 4 A ...
Page 226: ...Intel Video Driver Controls B 14 B ...
Page 232: ...Specifications C 6 C ...


