To turn on the Puck, press and hold the power
button for 3 seconds.
While the Puck is searching for the CLEAR 4G
network, the 4G indicator flashes green.
Once the Puck is connnected to the CLEAR 4G
network, the 4G indicator will stop flashing and
turn solid green.
Once the wi-fi status indicator turns green, the
Puck is ready for you to connect your laptop or
wi-fi-enabled device.
SET IT UP
(continued)
SET IT UP
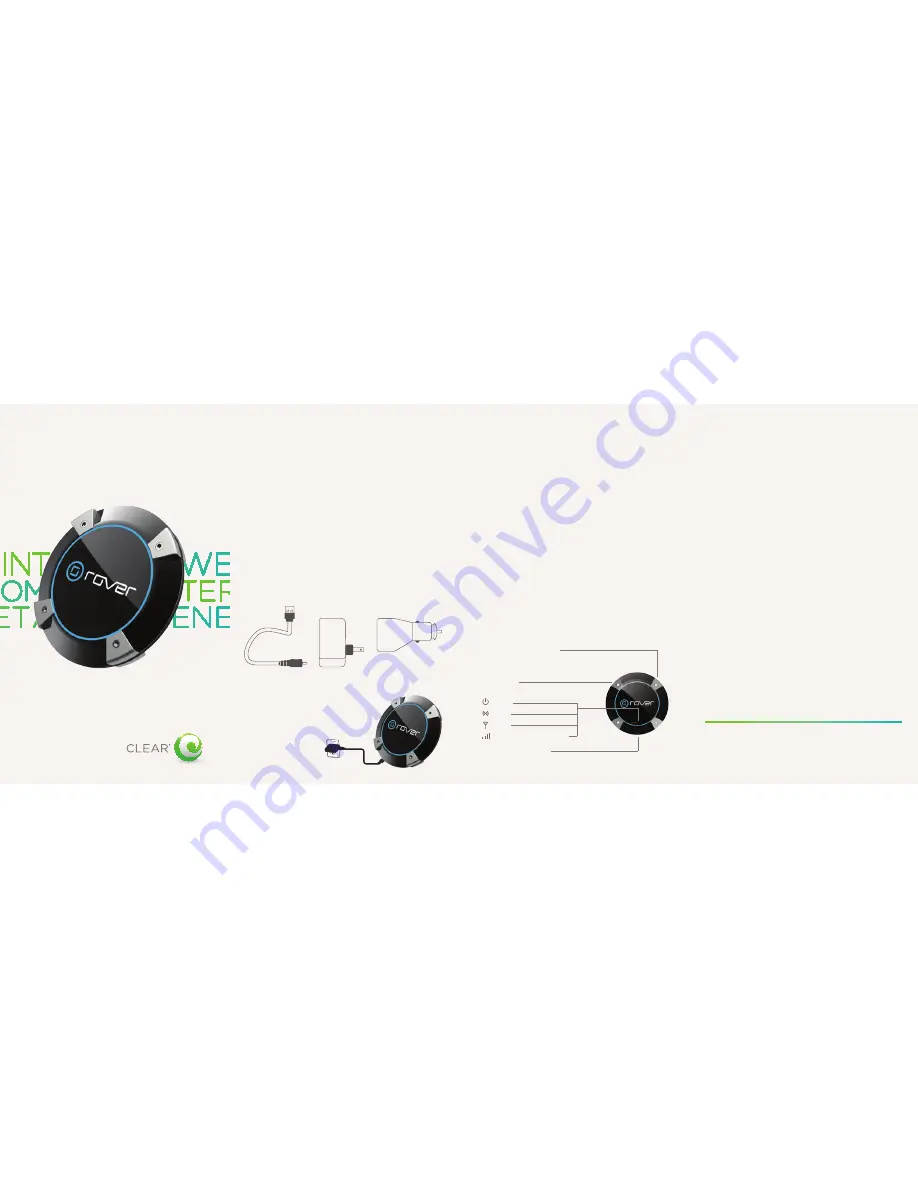
Please completely charge your Rover Puck by
CLEAR (Puck), which will take approximately 5
hours or until the power indicator changes from
amber to green. (You can charge the battery
while you’re using the Puck.)
Use the included Wall Charger, Micro USB Cable
or even the Car Charger to charge the battery.
The fastest charging time is achieved through the
Wall Charger.
CAUTION:
Ensure you carefully align
the Micro USB with the charging
port on the Puck, as inserting
the Micro USB improperly can
cause damage.
LET’S GET STARTED
Rover Puck
TM
by CLEAR
®
Place the Puck near a window or outside wall to
receive the strongest signal. The Puck wi-fi signal
range is 100-150 feet, so you don’t have to be next
to the Puck to connect your devices.
CONNECT TO
THE INTERNET
(continued)
We recommend you use a laptop to set up
your Puck.
In order to indentify your Puck wi-fi password,
turn your Puck over and look for the password
located on the label in the middle of the device.
NOW YOU ARE READY TO CONNECT TO THE
INTERNET:
•
With your computer’s wi-fi turned on, view
the list of available wireless (Wi-Fi) networks
•
Select the default Rover 4G Service network
(PUCKxxx * Rover) and click “Connect”
•
Enter the default 8-digit wi-fi password
located on the back of your Puck
•
Once your computer is successfully
connected to your Puck via wi-fi, you will
receive a message indicating you
are connected
4G Signal Strength Indicator
Power on/off
Power
Wi-Fi
4G
4G Signal/Battery Strength
Micro USB Charging Port
Press and release to show signal strength
Press and release to show battery strength


