


Chapter 5: Front Blade Installation
This section dicusses the general installation steps for the front blades in the SC6300 Series
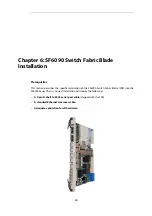
Chassis. A detailed description for the installation of SFBs can be found in Chapter 6,
Switch Fabric Blade Installation
. A detailed description for how to install different processor blades
can be found in the separate manuals for each blade type.
Modules should be inserted into the SC6300 chassis in the following order:
1.
The first SFB should be first fitted into slot 2 using the steps described below.
2.
A second SFB goes into slot 1. If there is only one SFB, install an air management filler panel
into slot 1.
3.
Install the processing blades and any other front-slot blades, one at a time, using the same
steps described below. Follow any specific slot-assignment instructions, otherwise, use the
slots closest to the SFBs.
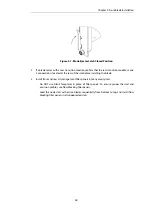
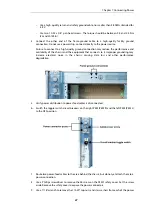
The general steps for installing any blade into the chassis are as follows:
1.
Attach your ESD wrist strap to one of the front ESD friction-lock connectors, which are
located in the top corners of the chassis. Protect the blades from ESD damage as described
previously.
2.
Slide the blade half way into the physical slot.
If correctly aligned, the right and the left edges of the blade will fit within the narrow
channels of the chassis.
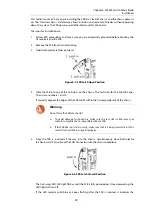
3.
To fully seat a blade into the chassis:
•
Lift the ejector latches outward to the open position, and insert the blade all the way
into the chassis.
•
Close both ejector latches simultaneously. This will seat the blade's connectors into the
backplane.
13


