English
GREAT BRITAIN •
customer service
tel:
08545 300 9799
e-mail:
internet:
www.clasohlson.com/uk
1
2
3
4
5
6
7
V
er
. 20
131
01
8
Barbecue Thermometer
Art.no 34-1037
Please read the entire instruction manual before using the product and
save it for future reference. We reserve the right for any errors in text
or images and any necessary changes made to technical data. If you
have any questions regarding technical problems please contact our
Customer Services.
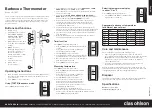
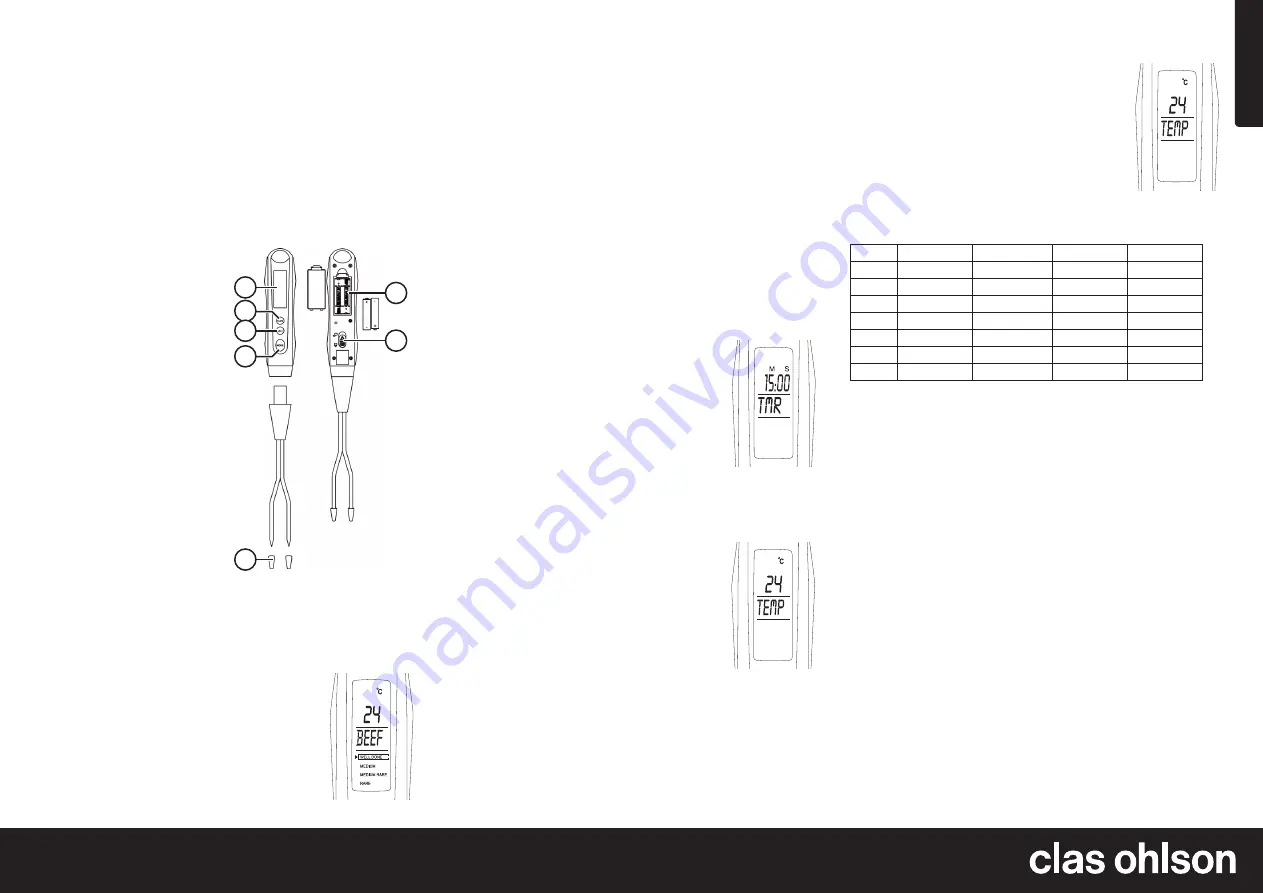
Buttons and functions
Selecting temperature display
in either °C or °F
Press [ MODE ] until the display shows:
•
Press[ MODE ] and [ MEAT ] simultaneously to
toggle between °C and °F.
1. Display screen
2. [ TASTE ] Doneness selector:
WELL DONE, MEDIUM,
MEDIUM RARE or RARE.
Timer start. Time and
temperature control.
3. [ MEAT ] Meat selection, timer
reset, time and temperature
settings.
4. [ MODE ] Function:
Measuring using doneness,
“well done”, “medium”, etc.,
timer, measuring preset
desired temperature, confirm
timer and temperature
settings.
5. Protective prong caps
6. Battery holder
7. Fork lock button
Operating instructions
1. Open the battery compartment and insert 2 × AAA/LR03 batteries.
Note the polarity markings in the battery compartment to ensure
correct insertion.
2. Press [ MODE ] to select a function.
1. Press [ MEAT ] to select the type of meat.
BEEF
,
VEAL
,
LAMB
,
PORK
,
CHIC
(chicken),
TURK
(turkey),
FISH
.
2. Press [ TASTE ] to select the doneness level and have the alarm
alert you at this setting.
3. Select between
WELL DONE
,
MEDIUM
,
MEDIUM RARE
or
RARE
.
Note:
Not all types of meat have all the doneness options.
Fish for example only has
WELL DONE
as an option.
4. Remove the protective caps from the fork prongs and insert
the fork into the thickness part of the meat. Avoid placing
the prongs directly against bone or other sections of meat
containing large fat deposits.
5. Leave the thermometer in the meat. Once the temperature for
the set doneness level has been reached, the display will flash and
an alarm will sound. The signal will sound for 1 min and shut off.
6. Try other sections of the meat to ensure that the temperature is
even throughout.
7. Wash the thermometer’s fork carefully after each use. Refer to
the
Care and maintenance
section below.
Timer function
Press [ MODE ] until the display shows:
1. Hold in [ MODE ] until the minutes display begins
to flash.
2. Press [ TASTE ] for increasing or [ MEAT ] for
decreasing the minutes setting.
3. Push [ MODE ] to save your settings.
4. Press [ TASTE ] to start the timer. Pressing [ TASTE ]
again while the timer is active will pause the timer.
5. Once the timer has reaches zero, the display will
flash and an alarm will sound.
6. Press [ MODE ] to turn off the alarm.
Using [ TASTE ]/doneness mode
Press [ MODE ] until the display shows:
Measuring temperature
Press [ MODE ] until the display shows:
1. Hold in [ MODE ] until the temperature display
begins to flash.
2. Press [ TASTE ] for increasing or [ MEAT ] for
decreasing the temperature setting.
3. Push [ MODE ] to save your settings.
4. Remove the protective caps from the fork
prongs and insert the fork into the thickness
part of the meat. Avoid placing the prongs
directly against bone or other sections of meat
containing large fat deposits.
5. Press [ TASTE ] to start the thermometer.
6. Once the meat has reached the temperature for the set
doneness level, the display will flash and an alarm will sound.
7. Press [ MODE ] to turn off the alarm.
Approximate doneness temperatures
for different types of meat
Rare
Medium rare Medium
Well done
Fish
-
-
-
60 °C/140 °F
Beef
55 °C/131 °F 60 °C/140 °F 70 °C/158 °F 75 °C/167 °F
Veal
-
60 °C/140 °F 70 °C/158 °F 75 °C/167 °F
Lamb
55 °C/131 °F 60 °C/140 °F 70 °C/158 °F 75 °C/167 °F
Pork
-
-
71 °C/160 °F 77 °C/171 °F
Chic
-
-
-
82 °C/180 °F
Turk
-
-
-
82 °C/180 °F
Care and maintenance
The fork should be removed during cleaning. Usage:
1. Slide the lock button on the back to release the fork (refer to
the symbol beside the button) and remove the fork from the handle.
Note:
Make sure you are in area that is free and clear of any
bystanders or objects. The fork can sometimes be difficult to
control during removal.
2. Clean the fork and refit it to the handle. The fork only fits onto
the handle in one way. Never try to force it to fit.
Change the batteries If the display is unclear or blank. Never mix old
and new batteries. Change both batteries at the same time. Never mix
rechargeable batteries with non-rechargeable batteries.
Disposal
This product should be disposed of in accordance with local regulations.
If you are unsure how to proceed, contact your local authority.
Specifications
Batteries
2 × AAA/LR03
Temperature range
0–130 °C

