USER INSTRUCTIONS
ORIGINAL INSTRUCTIONS DL1121
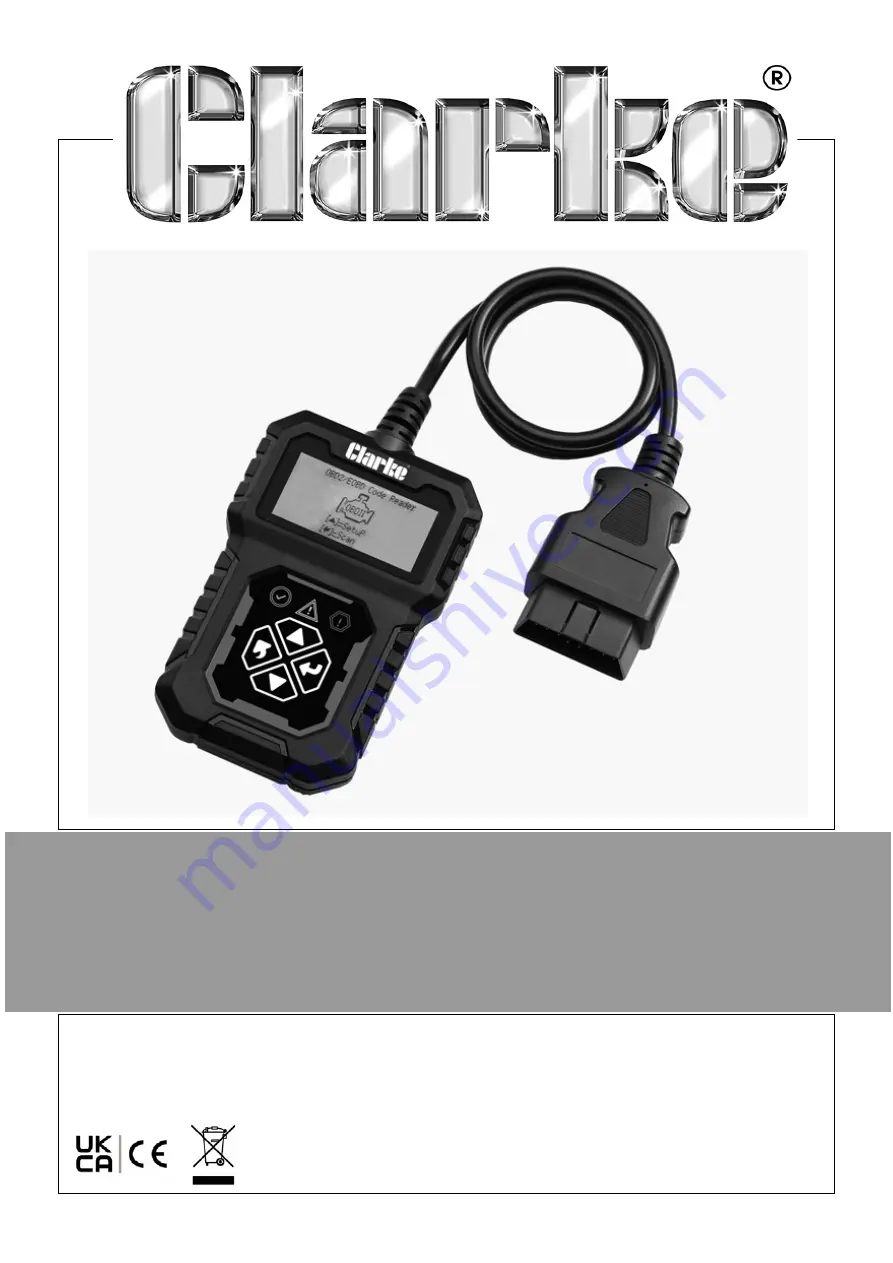
ENGINE FAULT CODE READER
MODEL NO: COBDIIR
PART NO: 4501138
Page 1: ...USER INSTRUCTIONS ORIGINAL INSTRUCTIONS DL1121 ENGINE FAULT CODE READER MODEL NO COBDIIR PART NO 4501138 ...
Page 2: ...pered with in any way or not used for the purpose for which it was intended Faulty goods should be returned to their place of purchase no product can be returned to us without prior permission This guarantee does not effect your statutory rights ENVIRONMENTAL RECYCLING POLICY Through purchase of this product the customer is taking on the obligation to deal with the WEEE in accordance with the WEEE...
Page 3: ...n 2 Green LED Indicates correct engine operation no Diagnostic Trouble Code DTC 7 Enter Button 3 Yellow LED Indicates a possible problem Some diagnostics could not be performed and or a DTC is pending 8 Down Button 4 Red LED Indicates a problem with the engine The MIL Malfunction Indicator Light may be on 9 OBDII 16 Pin Connector 5 Back Button ...
Page 4: ...hicle information Vehicle Identification Number VIN Calibration Identification Number IDs Calibration Verification Number CVNs 7 Multi Language English Spanish French German Polish Finnish Italian Dutch Russian 8 Code Compliant OBDII EOBD JOBD 9 Protocols Supported SAE J1850 VPW SAE J1850 PWM ISO 9141 2 ISO 14230 4 KWP FAST ISO 14230 4 KWP 5BAUD ISO 15765 4 CAN 11 250 ISO 15765 4 CAN 11 500 ISO 15...
Page 5: ...me caution when working around the ignition coil distributor cap ignition wires and spark plugs These components create hazardous voltages when the engine is running 7 Put transmission in PARK for automatic transmission or NEUTRAL for manual transmission and make sure the parking brake is engaged 8 Keep a fire extinguisher suitable for gasoline chemical electrical fires nearby 9 DO NOT connect or ...
Page 6: ...sh and the Vehicle Emission Control Information Label must state that the vehicle is OBDII compliant OBDII COMPLIANT CAR MANUFACTURERS European Alfa Romeo Audi BMW Citroen Ferrari Fiat Jaguar Iveco Lamborghini Lancia Lotus Land Rover MAN Maserati Mercedes Benz Mini Peugeot Porche Renault Rover Opel Vauxhall Saab Scania Seat Skoda VW Volvo Smart Asian Daewoo Daihatsu Honda Hyundia Isuzu Kia Lexus M...
Page 7: ...onents have been evaluated by the OBDII system They run periodic tests on specific systems and components to ensure that they are performing within allowable limits Currently there are eleven OBDII Readiness Monitors or I M Monitors defined Not all monitors are supported by all vehicles and the exact number of monitors in any vehicle depends on the motor vehicle manufacturer s emissions control st...
Page 8: ... reported as Ready or Complete meaning they have been tested by the OBDII system The purpose of recording readiness status is to allow inspectors to determine if the vehicle s OBDII system has tested all the components and or systems The powertrain control module PCM sets a monitor to Ready or Complete after an appropriate drive cycle has been performed The drive cycle that enables a monitor and s...
Page 9: ...stic system can not turn the MIL off until the necessary repairs are completed or the condition no longer exists DIAGNOSTIC TROUBLE CODES DTC Diagnostic Trouble Codes DTC that identify which section of the emission control system has malfunctioned ENABLING CRITERIA Also termed Enabling Conditions They are the vehicle specific events or conditions that must occur within the engine before the variou...
Page 10: ...ely 12 inches from the centre of the instrument panel dashboard under or around the drivers side for most vehicles Consult the vehicles handbook for exact location 2 Plug the OBDII 16 pin data link connector to the vehicles DLC port SET UP The code reader allows you to make the following adjustments and settings 1 Language The factory default is English other languages can be manually selected 2 U...
Page 11: ...he menu and sequence of currently selected item LANGUAGE SETUP 1 From the System Setup menu use UP DOWN buttons to select Language and press ENTER button 2 Use UP DOWN buttons to select the desired language and press ENTER button to save your selection and return to previous menu UNIT OF MEASUREMENT 1 From the System Setup menu use UP DOWN buttons to select Unit of Measure and press ENTER button ...
Page 12: ...ect the desired unit of measurement and press ENTER button to save your selection and return to previous menu CONTRAST ADJUSTMENT 1 From the System Setup menu use UP DOWN buttons to select Contrast and press ENTER button 2 From the Contrast menu use UP DOWN buttons to adjust the contrast and press ENTER button to save your selection and return to previous menu ...
Page 13: ...ols will be observed on the display until the vehicle protocol is detected If the code reader fails to communicate with the vehicles Engine Control Unit ECU a LINKING ERROR message shows up on the display If this happens Verify that the ignition is ON Check if the code readers OBDII connector is securely connected to the vehicles DLC port Verify that the vehicle is OBDII compliant Turn the ignitio...
Page 14: ...u READING CODES 1 Use the UP DOWN buttons to select Read Codes from the Diagnostic Menu and press ENTER button If more than one module is detected you will be prompted to select a module before test Use UP DOWN buttons to select a module and press ENTER button 2 View DTC s and their definitions on screen The control module number sequence of the DTCs total number of codes detected and type of code...
Page 15: ...t the engine 1 If you decide to erase the DTCs use UP DOWN buttons to select Erase Codes from the Diagnostic Menu and press ENTER button 2 A warning message comes up asking for your confirmation 3 If you want to proceed with erasing the codes press ENTER button to erase If the codes are cleared successfully an Erase Done message will show up WARNING ERASING THE DIAGNOSTIC TROUBLE CODES MAY ALLOW T...
Page 16: ...he codes then press UP DOWN buttons to select NO and press ENTER button A Command Canceled mes sage will show up Press any key or wait a few seconds to return to the Diagnos tic Menu VIEWING DATA STREAM 1 To view Data Stream use the UP DOWN buttons to select Data Stream from Diagnostic Menu and press ENTER button 2 Wait a few seconds while the code reader validates the PID MAP 3 View live PIDs on ...
Page 17: ...tons to select a module and press the ENTER button 2 Wait a few seconds while the code reader validates the PID MAP 3 If the retrieved information covers more than one screen use the UP DOWN buttons as necessary to view all data The number x x to the upper right corner of the screen indicates total number of screens the retrieved freeze frame covers and sequence of currently displayed data If ther...
Page 18: ...e the beginning of the current drive cycle An I M Readiness Status result of NO does not necessarily indicate that the vehicle being tested will fail the state I M inspection For some states one or more such monitors may be allowed to be Not Ready to pass the emissions inspection OK indicates that a particular monitor being checked has completed its diagnostic testing INC Indicates that a particul...
Page 19: ... DOWN buttons to view the status of the MIL light ON or OFF and the following monitors Misfire Monitor Misfire Monitor Fuel System Mon Fuel System Monitor Comp Component Comprehensive Components Monitor EGR EGR System Monitor Oxygen Sens Mon O2 Sensors Monitor Catalyst Mon Catalyst Monitor EVAP System Mon Evaporative System Monitor Oxygen Sens htr O2 Sensor Heater Monitor Sec Air System Secondary ...
Page 20: ...he Vehicle Info function enables retrieval of the Vehicle Identification No VIN Calibration ID Nos CINs Calibration Verification Nos CVNs and In Use Performance Tracking on 2000 and newer vehicles that support Mode 9 1 Use the UP DOWN buttons to select Vehicle Information from the Diagnostic Menu and press ENTER button 2 Wait a few seconds or press ENTER button to continue If the vehicle does not ...
Page 21: ...tional com 3 Wait a few seconds while the code reader reads the vehicle information 4 From Vehicle Info menu use the UP DOWN buttons to select an available item to view and press the ENTER button 5 View retrieved vehicle information on the screen 6 Press ENTER button to return to previous menu ...
Page 22: ...22 Parts Service 020 8988 7400 E mail Parts clarkeinternational com or Service clarkeinternational com DECLARATION OF CONFORMITY UKCA ...
Page 23: ...23 Parts Service 020 8988 7400 E mail Parts clarkeinternational com or Service clarkeinternational com DECLARATION OF CONFORMITY CE ...
Page 24: ......