AM/FM CD/MP3/WMA PLAYERBUILT-IN DSP/EQ WITH TOUCHPANEL
•
Owner’s manual
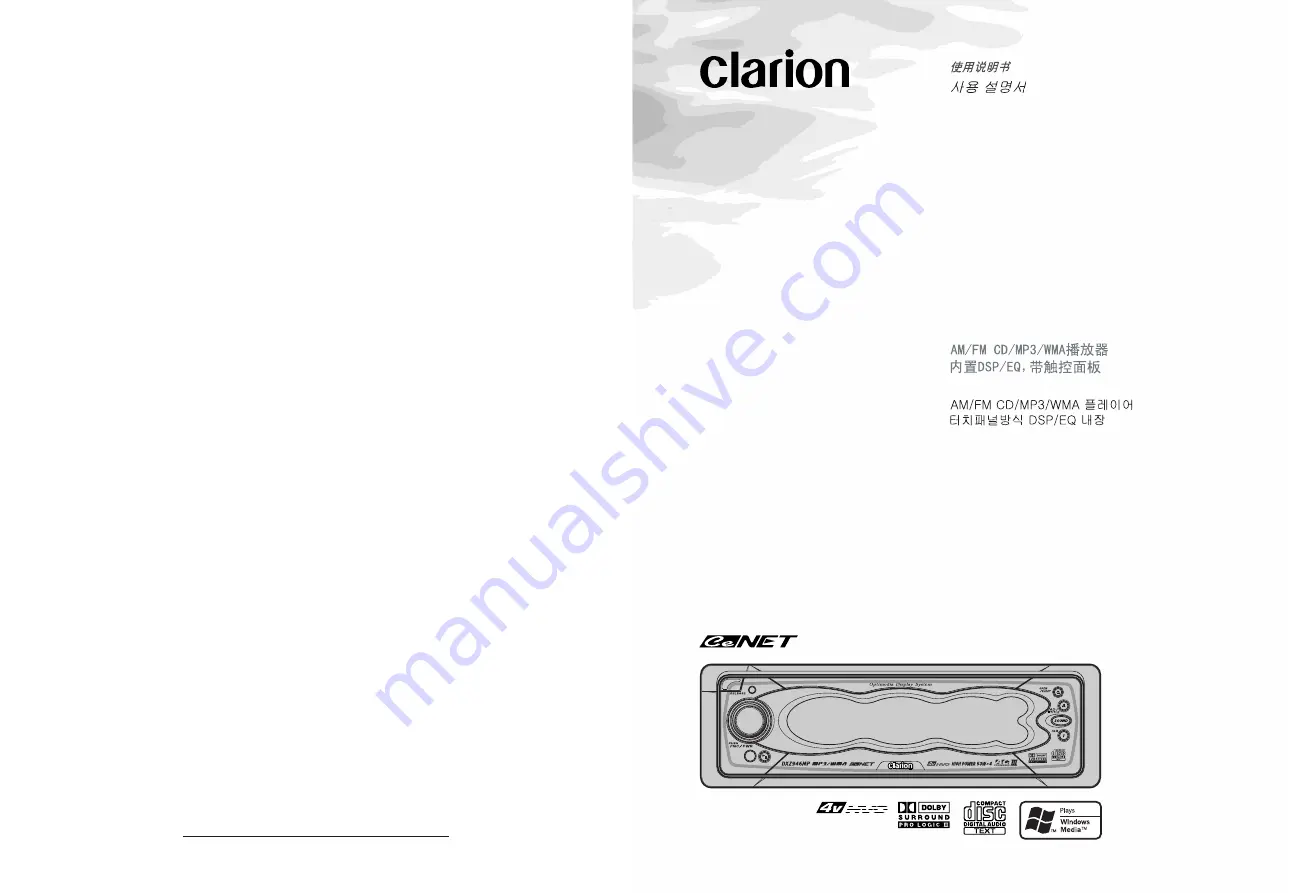
DXZ946MP
Clarion Co., Ltd.
All Rights Reserved. Copyright © 2004: Clarion Co., Ltd.
2004/1 (Abe·Abe)
PE-2635K
280-8039-00
Page 1: ...AM FM CD MP3 WMA PLAYER BUILT IN DSP EQ WITH TOUCHPANEL Owner s manual DXZ946MP Clarion Co Ltd All Rights Reserved Copyright 2004 Clarion Co Ltd 2004 1 Abe Abe PE 2635K 280 8039 00 ...
Page 2: ...for Audiophile 4V 6ch Gold Plated RCA Output and 2ch RCA AUX Input with 3 Level Adjustments 5 1ch Surround Decoder Control Contents 1 FEATURES 2 2 PRECAUTIONS 3 Sloping Console 4 Handling Compact Discs 4 3 CONTROLS 5 4 NOMENCLATURE 6 Names of the Buttons and their Functions 6 Major Button Operations when External Equipment is Connected to this Unit 7 Display Items 8 Display Operations 8 5 DCP 9 6 ...
Page 3: ... unit uses a precision mechanism Even in the event that trouble arises never open the case disassemble the unit or lubricate the rotating parts WARNING For your safety do not watch or operate the touch panel while driving CAUTION USE OF CONTROLS ADJUSTMENTS OR PERFORMANCE OF PROCEDURES OTHER THAN THOSE SPECIFIED HEREIN MAY RESULT IN HAZARDOUS RADIATION EXPOSURE THE COMPACT DISC PLAYER AND MINI DIS...
Page 4: ...y high temperature and humidity and some CD R and CD RW discs may not be playable Therefore do not leave them for a long time in the car New discs may have some roughness around the edges If such discs are used the player may not work or the sound may skip Use a ball point pen or the like to remove any roughness from the edge of the disc Never stick labels on the surface of the compact disc or mar...
Page 5: ...DXZ946MP 5 English 3 CONTROLS I SOUND A RELEASE ROTARY Q CD SLOT Source unit With the SLOPING CONSOLE opened Photo Sensor IR Receiver Display ...
Page 6: ...n to set or adjust the various settings in the adjust mode Use this button to enter station names in the radio mode or disc titles in the CD mode SOUND button Use this button for setting or adjusting various settings such as audio space Holding this button down for 1 second or longer also toggles the 2 ZONE function ON and OFF I button Immediately calls up a favorite radio station regardless of th...
Page 7: ...s cf page 45 For the DVD changer refer to the Owner s Manual provided with the DVD changer button Play or pause a CD or DVD A button Used for entering disc titles in the CD changer mode When the TV is connected For details see the section TV operations cf page 48 button Switch the TV picture mode or VTR external picture mode A button Used for entering the name of the TV station ...
Page 8: ...nd holding the display for 2 seconds or longer is used for storing preset memory or other information Display Operations Touch Touch the display with your fingertip and move your finger to the left or right with your fingertip still touching the display and take your fingertip away within 1 second This operation is used for selecting preset memory 1 to 6 or tracks Touch Touch the display with your...
Page 9: ...r fingers caught Attaching the DCP 1 Insert the DCP so that the A section on the right side of the DCP catches on the hook B on the unit 2 Press the left side C of the DCP carefully to fit it in place CAUTION The DCP can easily be damaged by shocks After removing it be careful not to drop it or subject it to strong shocks If the RELEASE button is pressed and the DCP is not locked into place it may...
Page 10: ...ries improperly can cause them to explode Take note of the following points When replacing batteries replace both batteries with new ones Do not short circuit disassemble or heat batteries Do not dispose of batteries into fire or flames Dispose of spent batteries properly FUNC ISR MUTE SCN RPT BAND DISP RDM 2 ZONE Remote control unit Inserting the Batteries Receiver for remote control unit Operati...
Page 11: ...ode on Switches among main display clock display Press and hold for 1 second or longer to turn on or off the 2 ZONE mode Press to switch the control zone between main zone or sub zone while 2 ZONE mode on Preset scan When pressed and held for 2 seconds or longer Auto store No function No function Scan play Press and hold the button for 1 second or longer to perform folder scan play while in the MP...
Page 12: ...ress the ROTARY knob The system check starts When the system check is complete Completed appears on the display 2 Press the ROTARY knob again The main display for the radio mode appears 7 OPERATIONS Basic Operations CODEMATIC function When CODEMATIC is set to ON and the power is turned ON with the DCP attached the Touch Code display appears Touch the display in the order that was set in the adjust...
Page 13: ...witching operations cf page 14 Operations for displaying title entry screens In screens e g list display adjust mode etc other than the main display there is no difference between the standard operation and the simple operation Descriptions given in this manual are mainly for the standard operation For descriptions for operations in the simple operation refer to the descriptions for the screen dis...
Page 14: ...Each time you touch and hold the display switches the display as follows CD TEXT disc User title disc CD text title disc Artist name CD text title track User title disc MP3 WMA disc Folder File Album TAG Artist TAG Title TAG Folder Notes MP3 supports ID3 Tags V2 3 2 2 1 1 1 0 Tag displays give priority to V2 3 2 2 In the case of album Tags for WMA the information written into the extension header ...
Page 15: ... the right of the display to select the ADF mode RTN OFF ADF MODE When ADF is set to OFF the ADF setting is not reflected on the music source This ends the ADF setting Press the SOUND button to return to the original mode Select one of USER 1 2 3 or OFF 4 To change the details of the ADF setting press the A button 5 Touch on the adjustment item display to select the desired item Each touch of swit...
Page 16: ...y to select BALANCE or FADER RTN BALANCE AUDIO MODE 0 4 Touch on the right of the display adjust the item as desired BALANCE can be adjusted within the range L13 left side emphasized and R13 right side emphasized FADER can be adjusted within the range R12 rear side emphasized and F12 front side emphasized 5 Press the SOUND button to return to the original mode Adjusting bass treble The bass treble...
Page 17: ...TRIX matrix mode This mode is suited for sound sources such as AM FM radio OFF The Dolby Pro Logic II mode is not used and the AC PROIII mode is used For details on the AC PROIII mode see Selecting each mode cf page 39 1 Press the SOUND button 2 Touch Dolby PLII RTN 2 ZONE POSITION OFF OFF ADF P EQ OFF OFF A MODE Dolby PLII OFF SOUND MENU AC Processor III Operations 3 Touch on the right of the dis...
Page 18: ...re all the same AC Processor III Operations 1 Press the SOUND button 2 Touch POSITION 3 Touch on the ON OFF display The position effect is toggled ON OFF 4 Touch B U to select BASIC or USER 5 Touch on the right of the display to select the menu that is used as the menu for adjustment 6 Press the A button 7 Touch on the left of the display to select T ALIGN or SP GAIN 8 Touch on the center of the d...
Page 19: ...ry default setting for VSE is OFF and for the VSE basic menu is FLAT VSE basic menu Six basic menus are pre stored to this function Select the basic menu to suit your preference 1 Press the SOUND button 2 Touch VSE RTN 2 ZONE VSE OFF OFF ADF P EQ OFF OFF A MODE Dolby PLII OFF SOUND MENU AC Processor III Operations 3 Touch on the ON OFF display The VSE effect is toggled ON OFF BASIC B U BU RTN 1 2 ...
Page 20: ... short beep the adjustment values up to step 9 are discarded Adjust these values again as required 13 Touch RTN 14 Press the SOUND button to return to the original mode To select a stored user memory touch B U to display USER and touch on the user memory No AC Processor III Operations Selecting the P EQ menu P EQ Parametric Equalizer allows you to compensate the entire frequency level range in det...
Page 21: ...SIC or USER display Operation so far completes P EQ adjustment To continue to store the adjustment values to the P EQ user menu perform the following 12 Touch and hold RTN for 1 second or longer The P EQ menu list is displayed 13 Touch and hold the user memory you want to store the adjustment values to for 2 seconds or longer You will hear a long beep and the values you adjusted up to step 10 are ...
Page 22: ...qualizer Compensation of frequency characteristics The figure below shows the relationship between the center frequency gain and Q curve 3dB Q F f f Q curve The Q curve becomes sharper when the numerical value is increased and smoother when the numerical value is decreased Flat frequency characteristics can be made by selecting a Q curve opposite to that of the curve to be compensated F Center fre...
Page 23: ...ayed during an auto store Touching this ends auto store BAND Touching this switches the reception band Touching and holding this for 1 second or longer switches between the manual tuning mode and the seek tuning mode a d only in the simple operation display Touching these enables seek tuning or step tuning in the manual tuning mode Touching and holding these enables quick tuning in the manual tuni...
Page 24: ...nger away from the panel Radio Operations Recalling a preset station Recalling a preset station is a function for tuning pre stored stations 1 Touch and hold MODE for 1 second or longer The preset memory list is displayed 2 Touch the station you want to listen to In the normal mode preset No can also be tuned by touching in the main display To cancel tuning 1 Touch RTN Preset memory A total of 24 ...
Page 25: ...d in an FM broadcast FM stations are received as follows FM1 1 6 FM2 1 6 FM3 1 6 FM1 1 6 When preset scan is performed in an AM broadcast AM stations are received as follows AM 1 6 AM 1 6 and so forth To cancel preset scan 1 Touch P SCAN The P SCAN display changes to MODE and the stations that were being received when P SCAN was touched are received next Radio Operations Instant station recall ISR...
Page 26: ... scan play RPT RPT This is displayed during repeat play Touching this ends repeat play RDM RDM This is displayed during random play Touching this ends random play TOP Touching this starts play from the track at the top of the disc or folder being played a d only in the simple operation display Touching these buttons selects the track to play Touching and holding these buttons fast forwards or fast...
Page 27: ...t your own responsibility Precautions when creating an MP3 WMA disc Usable sampling rates and bit rates 1 MP3 Sampling rate 11 025 kHz to 48 kHz Bit rate 8 kbps to 320 kbps VBR 2 WMA Bit rate 48 kbps to 192 kbps File extensions 1 Always add a file extension MP3 or WMA to an MP3 or WMA file by using single byte letters If you add a file extension other than specified or forget to add the file exten...
Page 28: ... eject these discs from the unit and they may cause the unit to break down Loading a CD 1 Press the Q button The control panel opens CD MP3 WMA Operations 2 Load the disc into the CD SLOT When the disc is loaded the control panel automatically closes after several seconds and play starts Notes Never insert foreign objects into the CD SLOT If the CD is not loaded easily there may be another CD in t...
Page 29: ...played Touching PREV or NEXT displays the previous or next part of the folder list 2 Touch the folder name To play the play list Play lists M3U file also can be played Note however that of M3U files currently saved down to five layers including the root in the file hierarchy only the top 5 files having new file timestamps can be played Notes Up to 255 files can be played in a single play list Only...
Page 30: ...s to MODE and regular play starts from the track that was playing when you touched RPT Folder repeat play This function allows you to repeatedly play the folder currently being played This function is available only when a CD R CD RW recorded with MP3 files or WMA files is loaded 1 Touch MODE 2 Touch REPEAT The MODE display changes to RPT and folder repeat play is started To cancel folder repeat p...
Page 31: ...on the speakers The AUX SENS setting is reflected on both the speakers and the headphones Screen display when the 2 ZONE function is in use INT internal mode or EXT external mode is displayed in the center of the display to indicate whether you can hear play in the internal mode or external mode in the current 2 ZONE function operation mode 1 Press the SOUND button 2 Touch 2 ZONE RTN 2 ZONE POSITI...
Page 32: ...nected is not displayed 1 When the TV mode is selected the mode automatically changes to the VTR mode and cannot be changed Different Pieces of Music Heard by Plural Listeners 2 ZONE function Screen display in the title entry mode Main display This is displayed when the title entry mode is selected cf page 14 Z MEMO M RTN TITLE INPUT JAZZ Text type display A Capital alphabet letters a Small alphab...
Page 33: ...r memories such as titles stored on this unit 5 Touch on the text type display to select the type of text Each touch of switches the type of text as follows Capital alphabet letters space A B C D E F G H I J K L M N O P Q R S T U V W X Y Z Small alphabet letters a b c d e f g h i j k l m n o p q r s t u v w x y z Numbers 0 1 2 3 4 5 6 7 8 9 Symbols Umlaut Å Ä Ë É E Ê Ï Æ Ø å ä ë é e ê ï ö ü æ ø 6 ...
Page 34: ...e rings in the car This function is not compatible with all cellular telephones Contact your local authorized Clarion dealer for information on proper installation and compatibility Operations Common to Each Mode Changing settings Selecting setting items 1 Press the A button The mode changes to the adjust mode ADJUST MODE CLOCK EDIT DISPLAY 2 Touch on the setting item display to select the item to...
Page 35: ...C PRO III Selecting the VSE mode STD PRO cf page 39 EQ SELECT Selecting the equalizer mode cf page 39 SP SETTING Setting the speaker configuration cf page 40 CENTER SP SUB WOOFER Setting sub woofer speaker ON OFF cf page 40 HPF SUB W LPF Adjusting the speaker filter frequency cf page 41 AMP CANCEL Setting internal amplifier use ON OFF cf page 41 SP GAIN Adjusting the speaker output level cf page 4...
Page 36: ...uch SET You will hear a long beep and the time is set Notes The clock cannot be adjusted when the power is OFF When the battery has been removed for maintenance or for repair set the time again 7 Press the A button to return to the original mode Setting the screen saver SCREEN SVR This function allows you display a screen saver when you have not operated this unit for about 30 seconds The factory ...
Page 37: ...for 2 seconds or longer If you perform the operation at step 8 with the message cleared the message returns to its factory default setting 5 Touch on the left of the display to select the type of text Each touch of switches the type of text For details see page 32 6 Either touch on the right of the display or turn the ROTARY knob to determine the entered characters 7 Repeat steps 4 to 6 to enter t...
Page 38: ...ithin the range SPEED 1 to SPEED 7 Adjust this setting item while viewing how the appearance of the display changes Operations Common to Each Mode 4 Press the A button to return to the original mode Setting the auto dimmer DIMMER IN This function allows you to dim the lighting of the display matched to the illumination or the brightness inside your car Select either AUTO interlocked to the brightn...
Page 39: ...ct ON or OFF 4 Press the A button to return to the original mode Setting the beep for when buttons are operated BEEP The short or long high pitched tone you hear when a button is operated is called a BEEP The factory default setting is ON 1 Press the A button to set to the adjust mode 2 Touch on the setting item display to select BEEP under APPERNCE ADJUST MODE BEEP ON APPERNCE 3 Either touch on t...
Page 40: ...nless the following settings are made when CTR SW is set 1 Referring to Selecting the PLII menu cf page 17 set the Dolby Pro Logic II mode to MUSIC or MATRIX 2 Referring to Setting speakers ON OFF cf page 40 set the center speaker to ON Sound is not output from the sub woofer Lch when SW L SWR is set and the Dolby Pro Logic II mode is set to MUSIC or MATRIX 4 Press the A button to return to the or...
Page 41: ... and SUB W LPF under SOUND ADJUST MODE HPF SOUND THROUGH 3 Either touch on the right of the display or turn the ROTARY knob to set the frequency Select one of THROUGH 50Hz 80Hz and 120Hz 4 Press the A button to return to the original mode Setting internal amplifier use ON OFF AMP CANCEL Set internal amplifier use ON OFF matched to whether or not an external amplifier is used Set AMP CANCEL to ON i...
Page 42: ...the original mode Setting the music mode in detail PL II CONT This function allows you to set the music mode in more detail when the Dolby Pro Logic II mode is set to MUSIC This item can be set only when the Dolby Pro Logic II mode is set to MUSIC The factory default setting for PANORAMA is NO for DIMENSION is 3 and for CTR WIDTH is 3 Adjustment items PANORAMA panorama control setting This widens ...
Page 43: ...vel of optional external devices connected to this unit The factory default setting is MID 1 Press the A button to set to the adjust mode 2 Touch on the setting item display to select AUX SENS under SETTING AUX SENS MID SETTING ADJUST MODE 3 Either touch on the right of the display or turn the ROTARY knob to set the input level Select one of LOW MID or HIGH 4 Press the A button to return to the or...
Page 44: ... the right of the screen Here select the item for which ON or OFF is displayed at the right of the display 3 Either touch on the right of the display or turn the ROTARY knob to select ON or OFF 4 Touch on the setting item display to select CODEMATIC under SETTING Here select the item for which INPUT is displayed at the right of the display 5 Touch INPUT The Touch Code display appears Operations Co...
Page 45: ...y pressing the ROTARY knob to select the CD changer mode DISC No DISC MODE 03 T04 01 18 DISC 05 Touching the left of the display for 1 second or longer switches the simple operation display MODE T04 01 18 SIMPLE MODE DISC Track playing time display T01 02 00 The No of the track currently being played and the playing time are displayed Touching or in the standard operation display allows you to sel...
Page 46: ...sc Play starts If magazine does not contain the disc you selected the No for that disc is not displayed Touching DISC starts play of the next disc To select a disc from the disc list display 1 Touch and hold MODE for 1 second or longer The disc list is displayed If you touch NEXT the next part of the disc list is displayed 2 Touch the disc name If magazine does not contain the disc you selected NO...
Page 47: ... track on each disc in the currently selected CD changer This function continues automatically until it is canceled Disc scan play is useful when you want to select a desired CD 1 Touch MODE 2 Touch D SCAN The MODE display changes to D SCAN and disc scan play starts Disc scan play starts from the next disc after the disc currently being played To cancel disc scan play 1 Touch D SCAN The D SCAN dis...
Page 48: ...hed D RDM CD Changer Operations TV Operations TV tuner function When an optional TV tuner is connected through the CeNET cable this unit controls all TV tuner functions To watch TV you need a TV tuner and a monitor Screen displays in the TV mode Main display This is displayed by pressing the ROTARY knob to select the TV mode TV 1 MODE 3 STATION 5ch BAND B Touching the left of the display for 1 sec...
Page 49: ...ed is not displayed Switching the reception band 1 Touch BAND to switch the reception band Each touch of BAND switches the reception band TV1 TV2 TV1 Seek tuning Seek tuning is a function for automatically tuning stations with good reception 1 Touch and hold BAND for 1 second or longer while MANU is displayed Automatic tuning is possible when MANU disappears 2 Touch on the channel display SEEK UP ...
Page 50: ...h good reception are automatically searched and are stored to preset memory No 1 to No 6 in order from the station having the lowest frequency Notes When auto store is performed stations stored to memory so far are cleared When there are fewer than 6 stations with good reception low frequencies are automatically returned to and auto store is performed again If there are fewer than 6 stations even ...
Page 51: ...4 Press the A button to return to the original mode TV Operations 5 1ch Surround Decoder Operations When an optional CeNET wiring compatible 5 1ch surround decoder is connected the 5 1ch surround decoder can be controlled on this unit The following functions change when a 5 1ch surround decoder is connected Two modes MOVIE and VIRTUAL are added to the Dolby Pro Logic II mode The VSE POSITION mode ...
Page 52: ...FF the DSF setting is not reflected on the music source This completes the DSF setting Press the SOUND button to return to the original mode 4 Touch on the DSF menu No to select the desired DSF menu RTN CHURCH DSF MODE BASIC 1 ON DSF menus HALL CHURCH STADIUM LIVE JAZZCLUB THEATER HALL 5 Press the SOUND button to return to the original mode Selecting the Parametric Equalizer menu Parametric Equali...
Page 53: ...rn to the original mode P EQ adjustment The settings that can be adjusted in the P EQ menu are as follows The center frequency gain and Q curve can be stored to channel band combinations For example center frequency 250Hz gain 8dB and Q curve 3 can be stored to band 1 on the front For details on the P EQ function see P EQ adjustment cf page 21 Changing settings When a 5 1ch surround decoder is con...
Page 54: ... and surround speakers THROUGH 50Hz 80Hz 120Hz Set the filter matched to the speaker when small diameter speakers are used THROUGH Set this when using speakers that can generate bass THROUGH cannot be set at CENTER HPF SUB W LPF sub woofer low pass filter adjustment This filter cuts treble sound from the sub woofer 50Hz 80Hz 120Hz Set the filter frequency to match the sub woofer 1 Press the A butt...
Page 55: ...2 Touch on the setting item display to select CENTER SP under DELAY and SRD SP under DELAY ADJUST MODE CENTER SP DELAY 0ms 3 Touch on the right of the display to adjust the delay time CENTER SP can be adjusted within the range 0 ms to 5 ms SRD SP can be adjusted within the range 0 ms to 15 ms 4 Press the A button to return to the original mode Adjusting the Dolby Digital functions D RANGE This fun...
Page 56: ...e with a fuse of the same amperage If the fuse blows again consult your store of purchase Consult your store of purchase 1 Turn the unit off 2 Remove all wires attached to the power antenna lead Check each wire for a possible short to ground using an ohm meter 3 Turn the unit back on 4 Reconnect each amplifier remote wire to the power antenna lead one by one If the amplifiers turn off before all w...
Page 57: ...tem is not correct File name or extension is not correct Let dry for about 1 hour with the power on Use ISO9660 level 1 2 or JOLIET or Romeo file system Use alphanumeric ASCII characters for MP3 WMA file name Use M3U for the file extension of a play list Sound is bad directly after power is turned on Wrong filename Play list play is not performed ...
Page 58: ...side the DVD changer cannot be played because it is loaded upside down Parental level error Region code error This is a failure of CD deck s mechanism and consult your store of purchase Replace with a non scratched non warped disc Eject the disc then reload it properly 1 Turn down sound volume Function can also be restored by turning the power off and on again Speaker volume is reduced automatical...
Page 59: ...mensions Source unit 178 Width 50 Height 155 Depth mm 7 Width 2 Height 6 1 8 Depth Dimensions Remote control unit 44 Width 110 Height 27 Depth mm 1 3 4 Width 4 5 16 Height 1 1 8 Depth Note Specifications and design are subject to change without notice for further improvement FM Tuner Frequency Range 87 0 MHz to 108 0 MHz Usable Sensitivity 9 dBf 50dB Quieting Sensitivity 15 dBf Alternate Channel S...