• Hot-plug replacement is
not
supported. The compute node must be powered off.
• Monitoring of the controller and installed SATA M.2 drives can be done using Cisco Intersight. They
can also be monitored using other utilities such as UEFI HII, and Redfish.
• The SATA M.2 drives can boot in UEFI mode only. Legacy boot mode is not supported.
• If you replace a single SATA M.2 drive that was part of a RAID volume, rebuild of the volume is
auto-initiated after the user accepts the prompt to import the configuration. If you replace both drives of
a volume, you must create a RAID volume and manually reinstall any OS.
• We recommend that you erase drive contents before creating volumes on used drives from another
compute node. The configuration utility in the compute node BIOS includes a SATA secure-erase
function.
• The compute node BIOS includes a configuration utility specific to this controller that you can use to
create and delete RAID volumes, view controller properties, and erase the physical drive contents. Access
the utility by pressing
F2
when prompted during compute node boot. Then navigate to
Advanced >
Cisco Boot Optimized M.2 RAID Controller
.
Replacing a Cisco Boot-Optimized M.2 RAID Controller
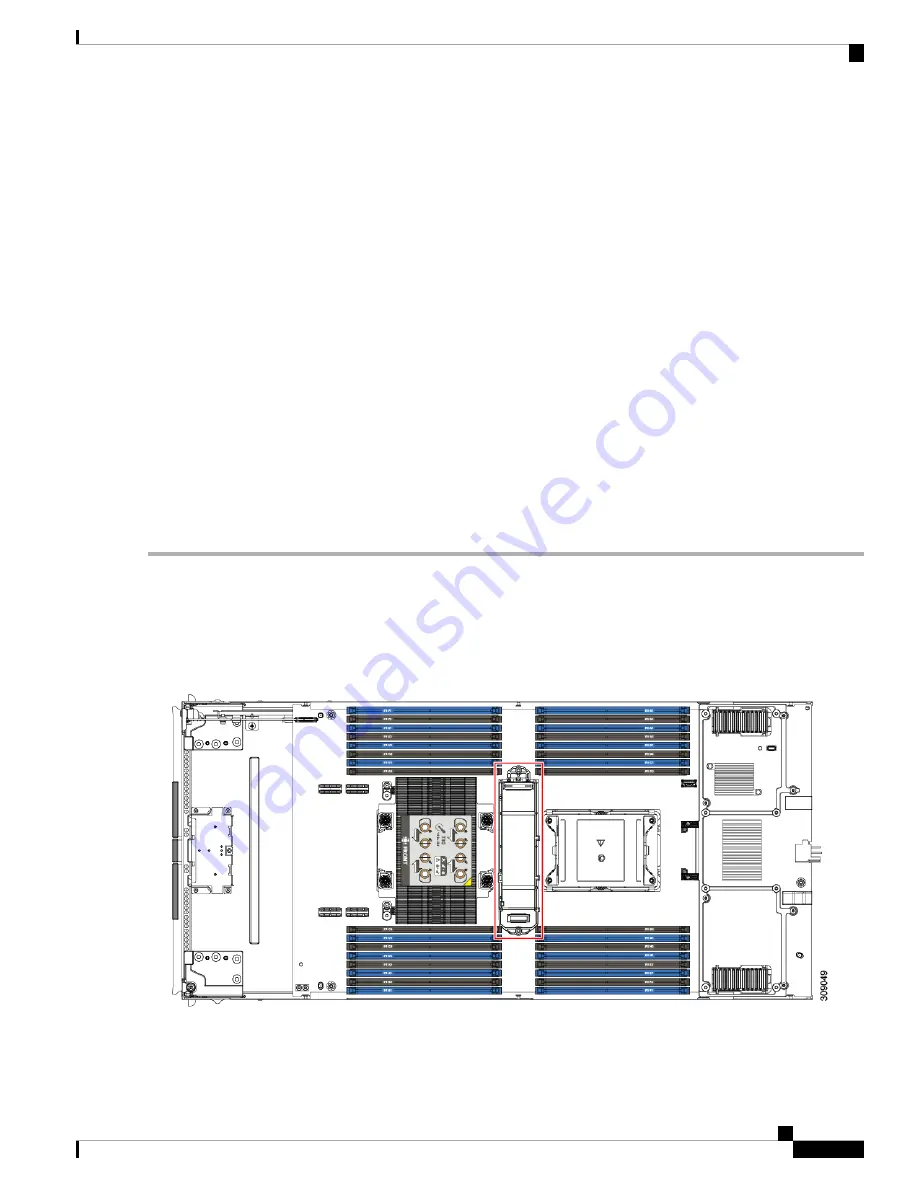
This topic describes how to remove and replace a Cisco Boot-Optimized M.2 RAID Controller. The controller
board has one M.2 socket on its top (Slot 1) and one M.2 socket on its underside (Slot 2).
Step 1
Remove the controller from the compute node:
a) Decommission, power off, and remove the compute node from the chassis.
b) Remove the top cover from the compute node as described in
Removing and Installing the Compute Node Cover, on
c) Press out on the securing clips to disengage the controller from the socket.
d) Pull straight up on the controller to remove it.
Cisco UCS X210c M6 Compute Node Installation and Service Note
65
Servicing a Compute Node
Replacing a Cisco Boot-Optimized M.2 RAID Controller


