Preparing for Installation 2-13
Site Requirements
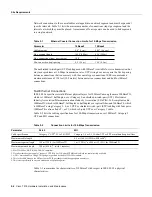
SONET Single-Mode Power Budget Example
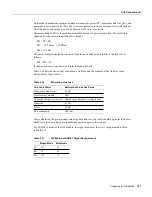
The following example of a single-mode power budget is of a two buildings, 11 kilometers apart,
connected through a patch panel in an intervening building with a total of 12 connectors.
Length of single-mode link = 11 km
12 connectors
Estimate the power budget as follows:
PB = 11.5 dB – 11 km (0.5 dB/km) – 12 (0.5 dB)
PB = 11.5 dB – 5.5 dB – 6 dB
PB = 2.5 dB
The value of 2.5 dB indicates that this link would have sufficient power for transmission and is not
in excess of the maximum receiver input power.
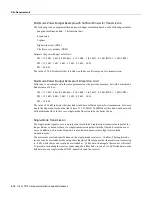
Statistical Models for Estimating Power Budget
Statistical models more accurately determine the power budget than the worst case method.
Determining the link loss with statistical methods requires accurate knowledge of variations in the
data link components. Statistical power budget analysis is beyond the scope of this document. For
further information, refer to UNI Forum specifications, ITU-T standards, and your equipment
specifications.
For Further Reference
The following publications contain information on determining attenuation and power budget:
•
T1E1.2/92-020R2 ANSI, the Draft American National Standard for Telecommunications
entitled “Broadband ISDN Customer Installation Interfaces: Physical Layer Specification.”
•
Power Margin Analysis, AT&T Technical Note, TN89-004LWP, May 1989.
HSSI Connections
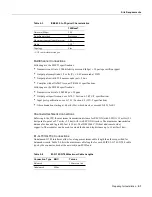
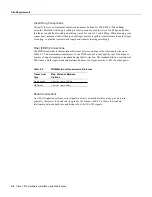
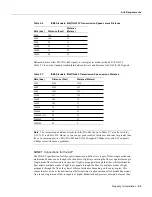
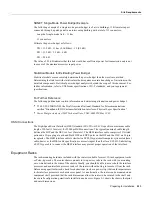
The High-Speed Serial Interface (HSSI) standard (EIA/TIA-612/613) specifies a maximum cable
length of 50 feet (15 meters) for 52 Mbps HSSI connections. The typical (nominal) cable length
between the HIP and the DSU is 6 feet (2 meters). The HSSI interface cable comprises 25 twisted
pairs and a 50-pin plug at each end. Both DTE and DCE ports on the HIP and the DSU are 50-pin
receptacles. The HSSI interface cable is similar to a SCSI-II-type (small computer systems interface)
cable; however, the HSSI cable specification is more stringent than that for a SCSI-II. Substituting
a SCSI-type cable to connect the HSSI interface may prevent proper operation of the interface.
Equipment Racks
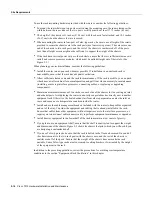
The rack-mounting hardware included with the router is suitable for most 19-inch equipment racks
or Telco-type racks. The router chassis mounts to two posts or rails in the rack with two mounting
ears, which attach to the sides of the chassis. Ideally, you should be able to access both the interface
processor and noninterface processor ends of the router without having to remove it from the rack.
Before using a particular rack, check for obstructions (such as a power strip) that could impair access
to the interface processors or chassis cover panel. As an alternative, the router can be mounted on an
equipment shelf, provided that the rack dimensions allow the router to be secured to the shelf and
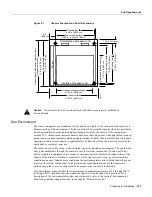
the overall configuration permits safe installation and access. Figure 2-1 shows the chassis footprint
and outer dimensions.
Summary of Contents for TelePresence Server 7010
Page 10: ...x Cisco 7010 Hardware Installation and Maintenence ...
Page 14: ...iv Cisco 7010 Hardware Installation and Maintenance Document Conventions ...
Page 148: ...3 36 Cisco 7010 Hardware Installation and Maintenance Using the Flash Memory Card ...
Page 158: ...4 10 Cisco 7010 Hardware Installation and Maintenance Troubleshooting the Processor Subsystem ...
Page 242: ...5 84 Cisco 7010 Hardware Installation and Maintenance Replacing Internal Components ...
Page 258: ...A 16 Cisco 7010 Hardware Installation and Maintenance MIP Interface Cable Pinouts ...
Page 270: ...B 12 Cisco 7010 Hardware Installation and Maintenance Interface Processor LEDs ...
Page 274: ...C 4 Cisco 7000 Hardware Installation and Maintenance ...
Page 287: ...Index 13 ...


