Chapter 8
Taking Actions
8-8 CallConnector Operator
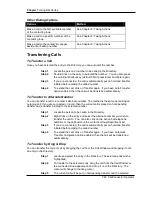
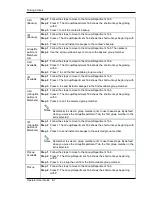
Step 3
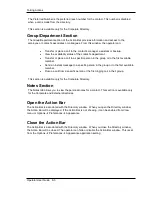
Press I to pickup the call from the selected group member.
Remember to select a group member prior to use these steps. By default
when you move the Group/Department Tab, the first group member in the
list is selected.
Notes Tab
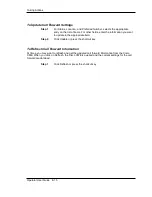
Step 1
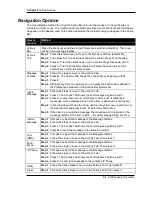
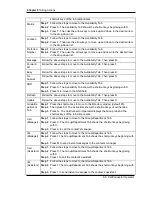
Press the shortcut key to move to the Directory window (default F5).
Step 2
Then press Alt. The Action Bar shows the shortcut keys of all the tabs.
Step 3
Press N. The CallConnector Operator displays the Notes tab and the
shortcut keys of the tab components.
Update
(Notes)
Follow the steps to move to the Notes Tab. Then press U to save the notes to the
database.
Clear
(Notes)
Follow the steps to move to the Notes Tab. Then press C to clear the text.
You can drag and drop call information from and to the Call Control window. To learn more,
please see Chapter 5: Operator Call Handling.
Actions Section
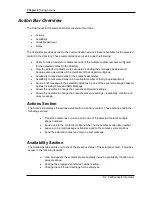
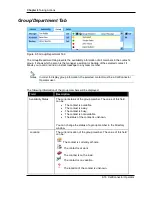
Figure 8-1 Actions Bar
The Actions tab allows the operator to make or send calls and messages using the information
from the selected directory contact. The action buttons are context-sensitive enabling only the
features that are available for the selected contact of the Directory window.
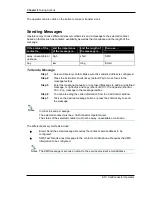
Sending Messages
Field
Description
Message textbox
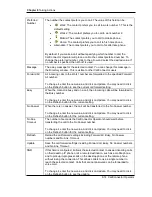
Displays a message as it is entered from the keypad. The
entered message can be used to send an instant message, or a
text message, or an email. It can also be sent to an IP phone.
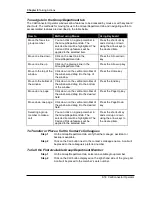
Allows you to send an email message to the selected contact.
When the button is grey, then the email address of this contact is
not available in order to send an email. Please refer to the
Directory chapter for information on how to edit contact
information.
Allows you to insert a stored message to the message textbox.
You are able to create or edit or delete as many stored
messages as you wish using this feature.
Notes

