If you configure DDNS before you add the threat defense to CDO, the threat defense automatically adds
certificates for all of the major CAs from the Cisco Trusted Root CA bundle so that the threat defense can
validate the DDNS server certificate for the HTTPS connection. The threat defense supports any DDNS server
that uses the DynDNS Remote API specification (
https://help.dyn.com/remote-access-api/).
Step 11
Click
Connect
. The
Registration Status
dialog box shows the current status of the switch to CDO. After the
Saving Management Center/CDO Registration Settings
step, go to CDO, and add the firewall.
If you want to cancel the switch to CDO, click
Cancel Registration
. Otherwise, do not close the device
manager browser window until after the
Saving Management Center/CDO Registration Settings
step. If
you do, the process will be paused, and will only resume when you reconnect to the device manager.
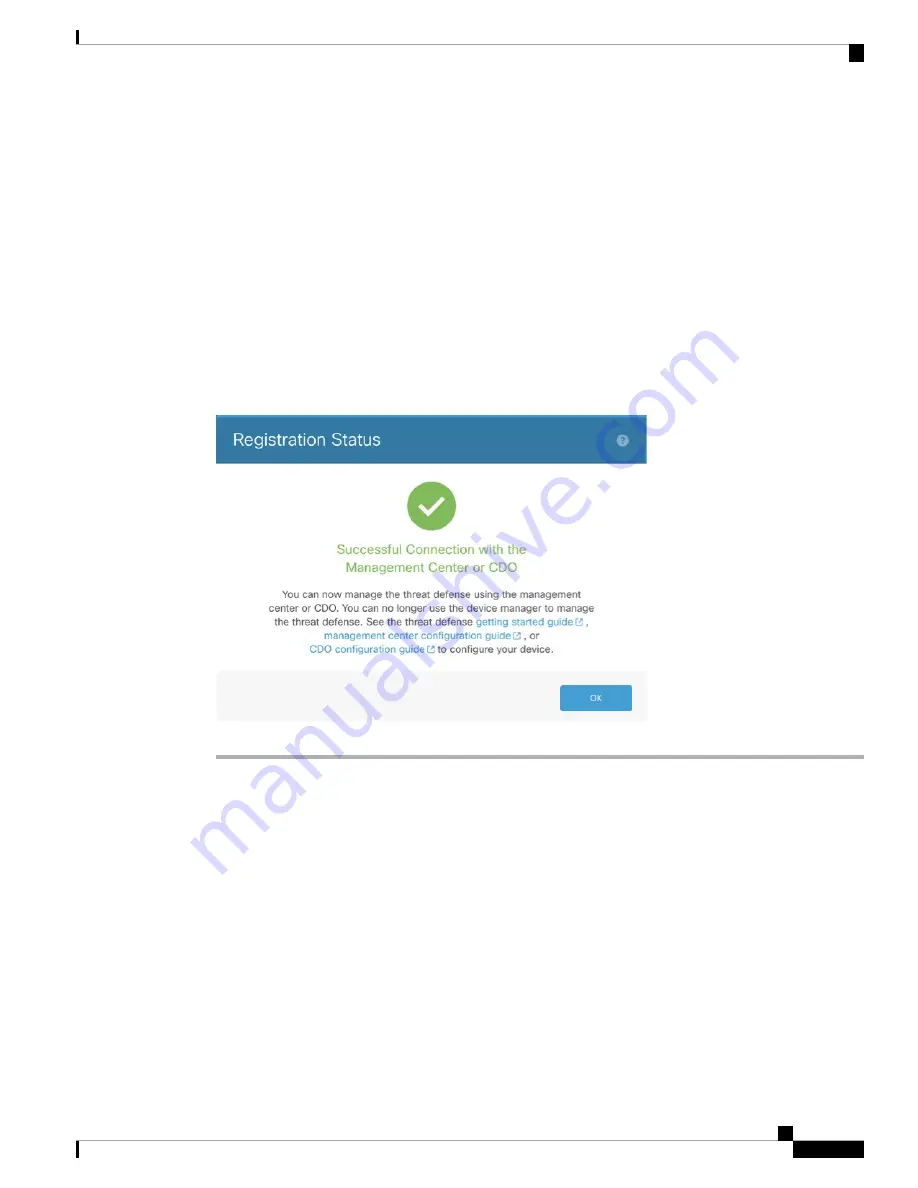
If you remain connected to the device manager after the
Saving Management Center/CDO Registration
Settings
step, you will eventually see the
Successful Connection with Management Center or CDO
dialog
box, after which you will be disconnected from the device manager.
Figure 47: Successful Connection
Configure a Basic Security Policy
This section describes how to configure a basic security policy with the following settings:
• Inside and outside interfaces—Assign a static IP address to the inside interface. You configured basic
settings for the outside interface as part of the manager access setup, but you still need to assign it to a
security zone.
• DHCP server—Use a DHCP server on the inside interface for clients.
• NAT—Use interface PAT on the outside interface.
• Access control—Allow traffic from inside to outside.
• SSH—Enable SSH on the manager access interface.
Cisco Firepower 1100 Getting Started Guide
137
Threat Defense Deployment with CDO
Configure a Basic Security Policy


